
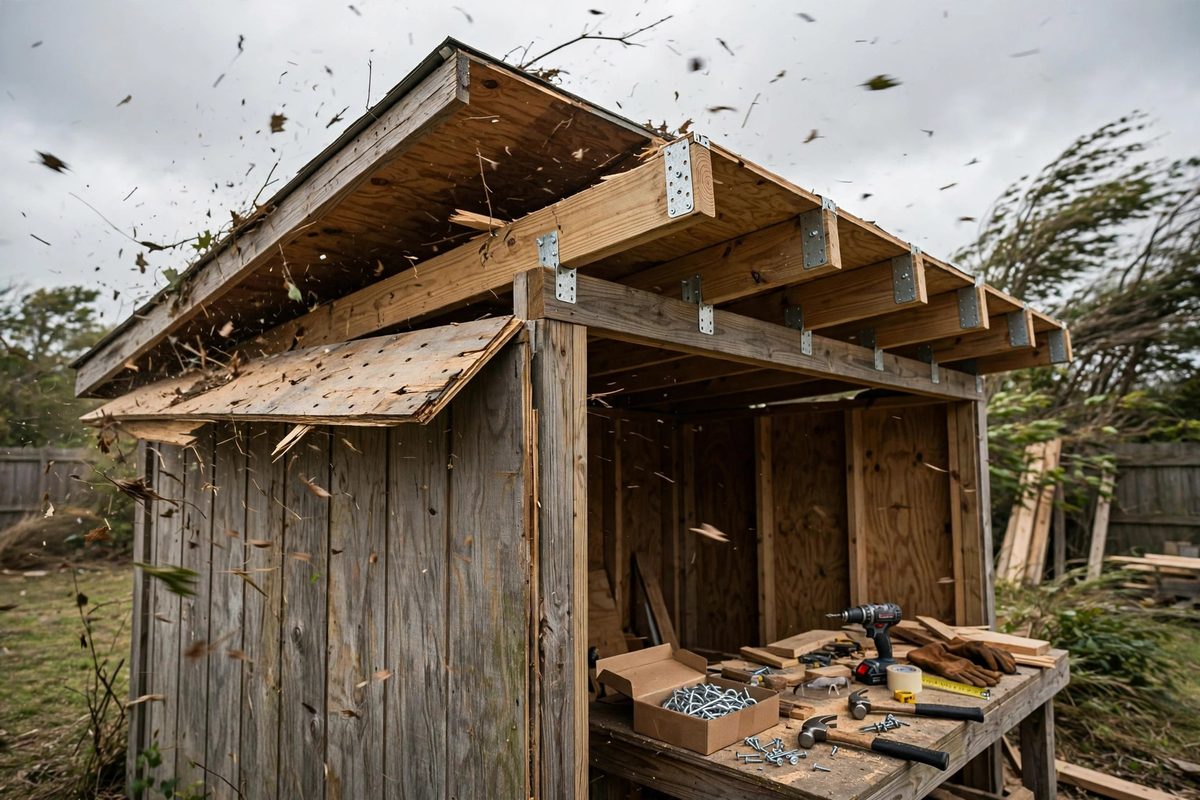
A shed roof fails in high wind the same way every time: the wind gets under the eave, the roof acts like a wing, and the rafters lift off the top plate. Gravity, which holds the roof down on calm days, is no match for uplift in a real storm. Hurricane ties, the small metal connectors that strap each rafter to the wall framing, are the standard defense, and they are cheap insurance. But not every tie suits every shed, and the sizing logic, matching the connector's rated uplift capacity to the actual wind uplift on each rafter, is worth understanding rather than guessing.
Where the uplift comes from
Wind flowing over a roof creates suction on the leeward slope and pressure under the windward eave, and the net effect on a light roof is upward. The total uplift on the roof is the wind pressure times the roof area, adjusted by shape factors that account for the roof pitch and the building's proportions. That total divides among the rafters by their spacing: each rafter carries the uplift of its tributary width. A shed with rafters on wide spacing asks each connection to resist much more force than the same shed with tight spacing. Low-slope roofs and buildings with large overhangs see higher uplift, because the overhang gives the wind a convenient handle. The number that matters at the end is pounds of uplift per rafter at the plate connection.
Reading connector ratings
Hurricane ties carry published allowable load ratings for uplift, lateral load, and sometimes both simultaneously. The rating that matters here is the uplift capacity, and it assumes proper installation: the correct number and type of fasteners, driven into the correct members, with the tie oriented as tested. A tie rated for several hundred pounds of uplift with the specified nails delivers far less if installed with fewer nails, the wrong nails, or screws substituted without verification. Ratings also assume the wood itself is adequate; a tie cannot develop its rated load in split, rotten, or undersized lumber. Select a tie whose uplift rating exceeds the calculated uplift per rafter with comfortable margin, because the published numbers are tested under controlled conditions and your shed is not a laboratory.
Matching ties to the framing
Shed framing varies enough that tie selection needs a look at the actual members. Standard ties fit common rafter and plate sizes, but sheds often use smaller or rougher lumber where a standard tie may not seat properly. The tie must bear fully on both the rafter and the top plate or stud; a tie bridging a gap or bent to fit is not developing its rating. For rafters landing on a beam rather than a plate, or for ridge connections in a shed with a structural ridge, different connector geometries apply. When the rafter and the wall framing are different widths, choose the tie sized for the combination rather than forcing the nearest standard shape. The connector catalog is large precisely because framing combinations are.
Installation details that make or break the rating
A hurricane tie is only as good as its fasteners. Fill every nail hole the manufacturer specifies, with the specified nail size and type. The common failure in the field is the half-nailed tie: three nails where eight were required, because the installer got impatient on rafter number fourteen. Stainless or appropriately coated fasteners matter in treated lumber and in exterior exposure; a tie held by corroded fasteners is a decoration. Drive nails straight and fully, since a proud nail head is a nail not developing full withdrawal resistance. Install ties on every rafter, not every other one: skipping connections doubles the load on the remaining ones and invalidates the per-rafter math. The work is repetitive, which is exactly why it needs a system: set up the fasteners, work down the line, and check each tie before moving on.
The continuous load path
Tying the rafter to the plate solves one joint, but uplift travels. The plate must be anchored to the studs or wall framing below it, and the walls must be anchored to the foundation or skid, or the whole assembly lifts as a unit with the ties performing perfectly and irrelevantly. In shed construction this often means adding strapping or anchor bolts at the plate-to-wall and wall-to-foundation connections that the original build skipped. Think of the load path as a chain from the roof surface to the ground: the hurricane tie is one link, and a chain is rated by its weakest link. Walk the path and upgrade every connection that cannot carry the uplift the ties now faithfully deliver downward.
Retrofitting existing sheds
Most sheds standing today were built without uplift connectors, and retrofitting is one of the highest-value improvements a shed can get. The work is accessible: the rafter-to-plate joints are usually reachable from inside, and modern ties are designed for retrofit installation. Inspect the existing framing first, because ties cannot save rotted plates or split rafter ends; repair the wood, then connect it. While you are in there, look at the whole load path and add the missing links. A Saturday spent tying down a shed is cheap compared with rebuilding a roof scattered across the yard, which is the alternative the wind offers.
Size the tie to the uplift each rafter actually sees, install every fastener the rating requires, and continue the load path all the way to the ground. Hurricane ties are small, cheap, and brutally effective when they are the right size and fully nailed. The wind does not negotiate, so do the math and drive the nails.
Related Guides
- Rafter Seat Cut Dimensions on Shed Wall Top Plates: The birdsmouth, where a rafter sits on the wall top plate, is the most important joint in a shed roof. Get the seat cut right and the rafter bears
- Truss Collar Tie Sizing for Snow Load Spans: A shed roof that must carry snow is a small structure with a serious load problem: snow is heavy, it arrives all at once, and it stays. Collar ties
- Load Bearing Header Sizing for Wall Spans: Open up a wall and the studs you remove were carrying weight, from the floor above, the roof, or both. A header is the beam that picks up that load
- Plywood Gusset Plate Nailing Patterns for Site Trusses: Site-built trusses for sheds and small outbuildings join their members with plywood gusset plates nailed across each joint. The gusset is the truss's
- Overhang Eave Venting Math to Prevent Roof Decay: Shed roofs rot from the inside out more often than the outside in. Warm moist air rises into the roof cavity, condenses on the cold underside of the