
The birdsmouth, where a rafter sits on the wall top plate, is the most important joint in a shed roof. Get the seat cut right and the rafter bears fully on the plate, transfers the roof load straight down into the wall, and gives you a clean fascia line. Cut it too deep and you weaken the rafter at the exact point where it carries the most stress. Cut it in the wrong spot and the rafter never seats, leaving the roof to rock on a corner of wood. Here is how to dimension the cut correctly.
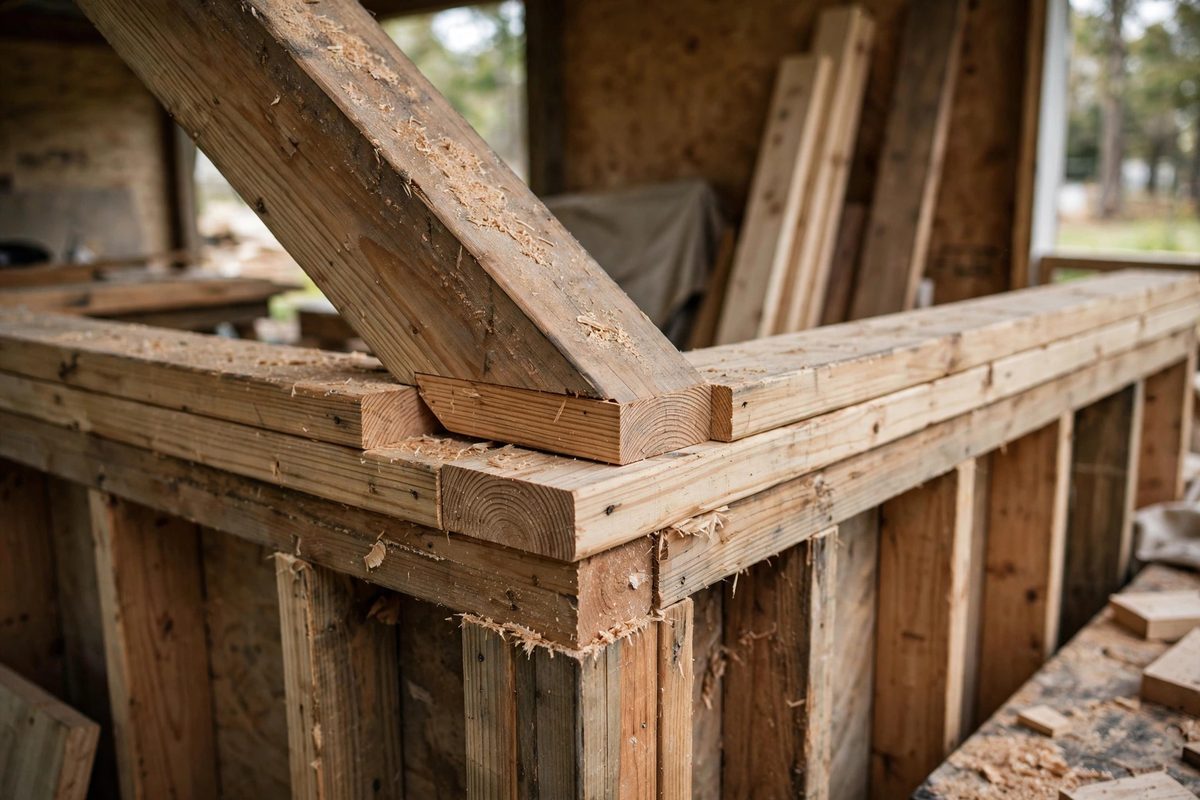
Anatomy of the Birdsmouth
A birdsmouth is two cuts working together. The plumb cut runs vertically (or nearly so) and faces the outside of the wall, while the seat cut runs horizontally and rests flat on top of the wall plate. Where they meet is the throat, the inside corner of the notch. The distance from the throat up along the rafter to the ridge end is the heel, and the vertical portion of the rafter above the seat cut is the heel stand. The seat cut is the bearing surface: it is the only part of the rafter that actually touches the wall, so its width and flatness determine how well the whole roof sits.
Laying Out the Seat Cut for Your Pitch
Start with the pitch, because it sets every angle. On a framing square, the pitch gives you the unit rise and unit run (for example, 4 and 12 for a 4/12 roof). Mark the plumb cut at the birdsmouth location using the pitch angles, then mark the seat cut level, perpendicular to the plumb cut. The birdsmouth goes at the point where the rafter crosses the outside edge of the wall top plate. Many framers lay out the pattern rafter once, cut it, test-fit it on the wall, and only then use it as a template for the rest. That test fit is cheap insurance: if the seat cut rocks or gaps, adjust the pattern before you cut a dozen identical mistakes.
How Deep Is Too Deep
The critical rule of thumb is to keep the seat cut shallow, roughly a quarter of the rafter's depth or less, and never cut past the point where the remaining rafter above the throat gets too thin to carry the roof. A deep seat cut weakens the rafter exactly where bending stress is high, and the remaining wood above the notch becomes the weak link that can crack under snow or wind uplift. On a shed, rafters are often small (2x4 or 2x6), which makes overcutting even easier and more dangerous: a seat cut that looks fine on a 2x10 can remove half the strength of a 2x4. Mark your depth line with a gauge or a square, and stop the saw at the line. The common failure is cutting past the throat with a circular saw, which scores the fibers of the remaining wood and creates a ready-made crack line.
Bearing Width on the Plate
The seat cut should bear on the full width of the top plate, typically a nominal 2x4 giving you about three and a half inches of bearing. Full bearing matters because the roof load squeezes through that contact patch; a seat cut that hangs off the inside edge of the plate concentrates the load and can crush the plate edge over time. When laying out, position the birdsmouth so the seat cut spans the plate width with the heel landing just inside the outer face of the wall. This keeps the fascia and the roof plane where you expect them and gives the rafter maximum support.
Heel Stand and the Fascia Line
The heel stand is the vertical distance from the seat cut up to the top of the rafter, and it controls where your fascia board lands. Consistent heel stands across all rafters are what make the eave line straight. When you lay out the pattern rafter, decide your heel stand based on the fascia depth and the roof finish you plan: the top of the rafter at the heel needs to sit high enough that roofing and any overhang clear the wall. Because the heel stand grows or shrinks with the seat cut depth, keeping the seat cut uniform across every rafter is what keeps the roof plane flat and the fascia straight. Any rafter that is different becomes visible as a dip or bump in the eave.
Cutting and Fastening Safely
Cut the birdsmouth with a circular saw for the long straight cuts, stopping short of the throat, then finish the corner with a handsaw or sharp chisel rather than overcutting. Clamp the rafter solidly before cutting, and keep your free hand well clear of the saw path: birdsmouth cuts are short, awkward, and tempting to do handheld, which is exactly when a saw kicks or the workpiece shifts. Once seated, tie each rafter to the plate with a metal connector or toe-nails, because the birdsmouth resists gravity beautifully but offers little against uplift. A connector at the seat is cheap and turns a good joint into a storm-proof one.
Take your time with the pattern rafter: the seat cut dimension you get right on that one board gets copied onto every rafter in the roof. Shallow seat cut, full plate bearing, consistent heel stand, no overcuts at the throat. Do those four things and your shed roof will sit flat, shed water, and hold its shape for the life of the building.
Related Guides
- Sizing Hurricane Ties for Shed Rafter Tie Downs: A shed roof fails in high wind the same way every time: the wind gets under the eave, the roof acts like a wing, and the rafters lift off the top
- Load Bearing Header Sizing for Wall Spans: Open up a wall and the studs you remove were carrying weight, from the floor above, the roof, or both. A header is the beam that picks up that load
- Truss Collar Tie Sizing for Snow Load Spans: A shed roof that must carry snow is a small structure with a serious load problem: snow is heavy, it arrives all at once, and it stays. Collar ties
- Plywood Gusset Plate Nailing Patterns for Site Trusses: Site-built trusses for sheds and small outbuildings join their members with plywood gusset plates nailed across each joint. The gusset is the truss's
- Overhang Eave Venting Math to Prevent Roof Decay: Shed roofs rot from the inside out more often than the outside in. Warm moist air rises into the roof cavity, condenses on the cold underside of the