
When your workshop manual, build log, or cut-list guide needs to live as a PDF, how you set up the pages matters as much as what you write. Pagination decides whether a reader can follow an assembly sequence without losing their place, and bleed decides whether your diagrams and photos print cleanly to the edge of the page. Get these two things right at the start, because retrofitting them onto a finished layout is miserable.
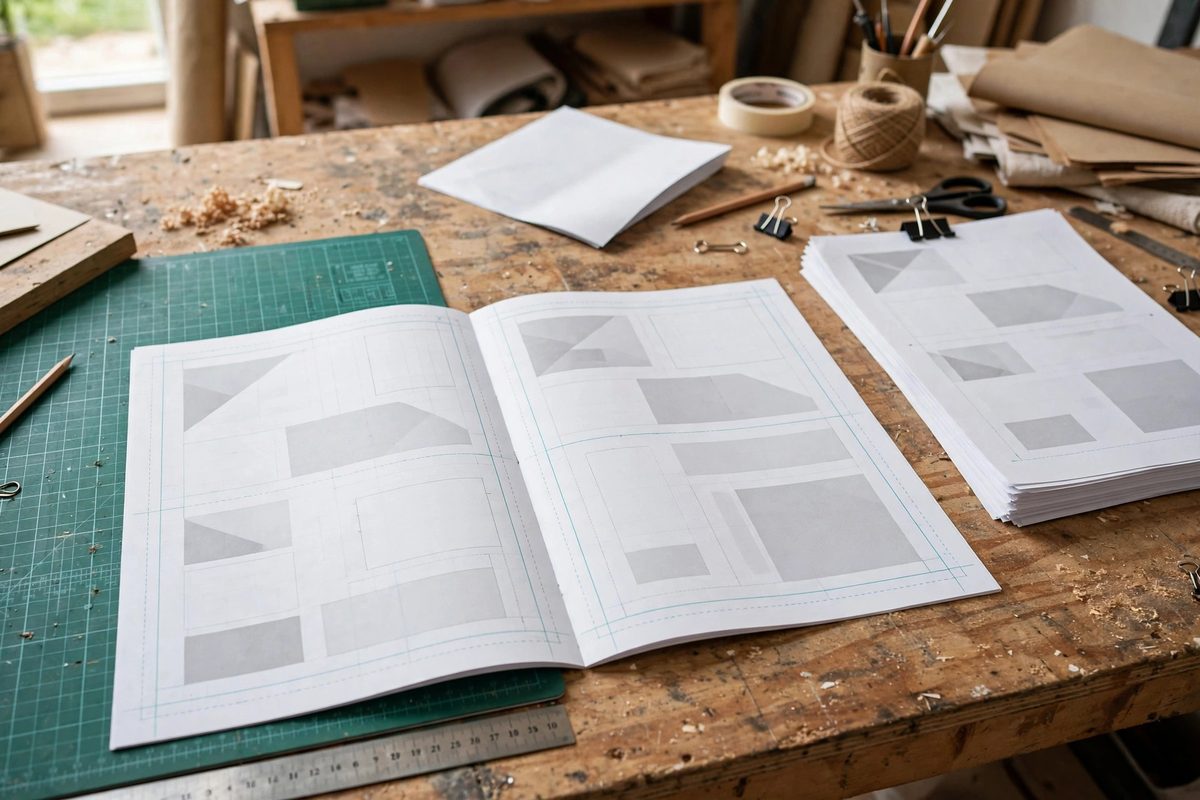
Page Size and Margins First
Pick one page size and stick with it for the entire document. US Letter is the safe default if your readers print at home; a square or landscape format suits step photos, but only if the whole document commits to it. Set margins wide enough that nothing important sits near the trim edge: roughly 0.75 inch on all sides gives your printer wiggle room, and a deeper inside margin (the gutter) on bound documents keeps text from disappearing into the spine. Readers annotate PDFs in the margins, so white space there is a feature, not a waste.
Pagination That Reads Like a Map
Number every page, including the front matter, and put the folio (the page number itself) in a consistent spot: bottom center or the outside corner of every page. Running headers carry the chapter or section name so a reader flipping through a printed stack can tell where they are at a glance. For build sequences, restart numbered steps per section rather than running one sequence through the whole book; step 1 through 12 per chapter is far easier to follow on a shop bench than step 47. Keep tables and diagrams on the same page as the paragraph that references them, or at least on the facing page, so the reader never has to hunt.
Bleed: Why the Extra Eighth Inch Matters
Bleed is the strip of artwork that extends past the page's trim edge, usually about 0.125 inch (3 mm) on each side. Any photo, diagram background, or colored bar that is supposed to run to the edge of the page must extend into the bleed, because printers and trimmers are never perfectly registered. Without bleed, a microscopic shift leaves a hairline of white paper along the edge, and that hairline screams amateur louder than any typo. Elements that sit fully inside the page, like text columns, need no bleed at all.
Setting Up Bleed in Your Layout Tool
Enable bleed in the document setup dialog before you place a single image, since most layout programs refuse to add it cleanly later. When you export, turn on crop marks and include the bleed area so the print shop (or your own printer) can trim accurately. Export PDFs in a print-ready format, generally PDF/X or a high-quality press setting, with images at 300 dpi. Screen-optimized exports at 72 dpi look crisp on a monitor and terrible on paper, so if readers might print, give them the high-resolution file.
Spreads, Imposition, and the Home Printer
Reader spreads (two pages side by side) are how the document looks in a PDF viewer, and printer spreads are how a booklet must be arranged to print and fold correctly. These are different things. If readers will print double-sided and staple, keep your page count a multiple of four and design so facing pages make sense together. The practical rule: let the layout software handle imposition. Export single pages in reading order and use the booklet function in the printer dialog, rather than trying to rearrange pages yourself, because hand-shuffled pages are a guaranteed way to scramble a build sequence.
Fonts and File Hygiene
Embed all fonts in the export so a diagram's labels do not reflow into a fallback font on someone else's computer. Keep linked images in one project folder next to the layout file, and do a preflight pass before export: the software will flag missing links, oversized text frames, and images below print resolution. A clean preflight plus a test print of the trickiest spread will catch the problems that only show up on paper, like a photo that looked fine on screen but banded in the midtones.
A workshop PDF earns its keep when a maker can print it, get sawdust on it, and still follow the steps. Careful pagination and a properly bled layout are invisible when they work, and they are the difference between a reference document that lasts years and one that frustrates everyone who touches it. Set it up right once, and every document after it gets easier.
Related Guides
- Pagination Imposition for Multi-Page Workshop Guides: A workshop guide that reads perfectly on screen can become a confusing mess when printed and bound, because print imposes a physical order on pages
- Typesetting Multi-Column Technical Handbooks for Print: A technical handbook has to be readable, referenceable, and dense with information, three demands that fight each other on the page. Multi-column
- Structuring Technical Maker Manuals for Print Delivery: A technical maker manual has to do something most books never attempt: teach hands-on skills through paper alone, in an order the reader can follow
- Kinesthetic Learning Feedback in Shop Tool Mastery: Reading about a hand plane teaches you what a hand plane is; pushing one teaches you what sharp feels like. Tool mastery in the shop is kinesthetic
- Metacognitive Scaffolding in Open Maker Spaces: An open maker space gives people tools, materials, and freedom. What it does not automatically give them is the ability to think about their own