
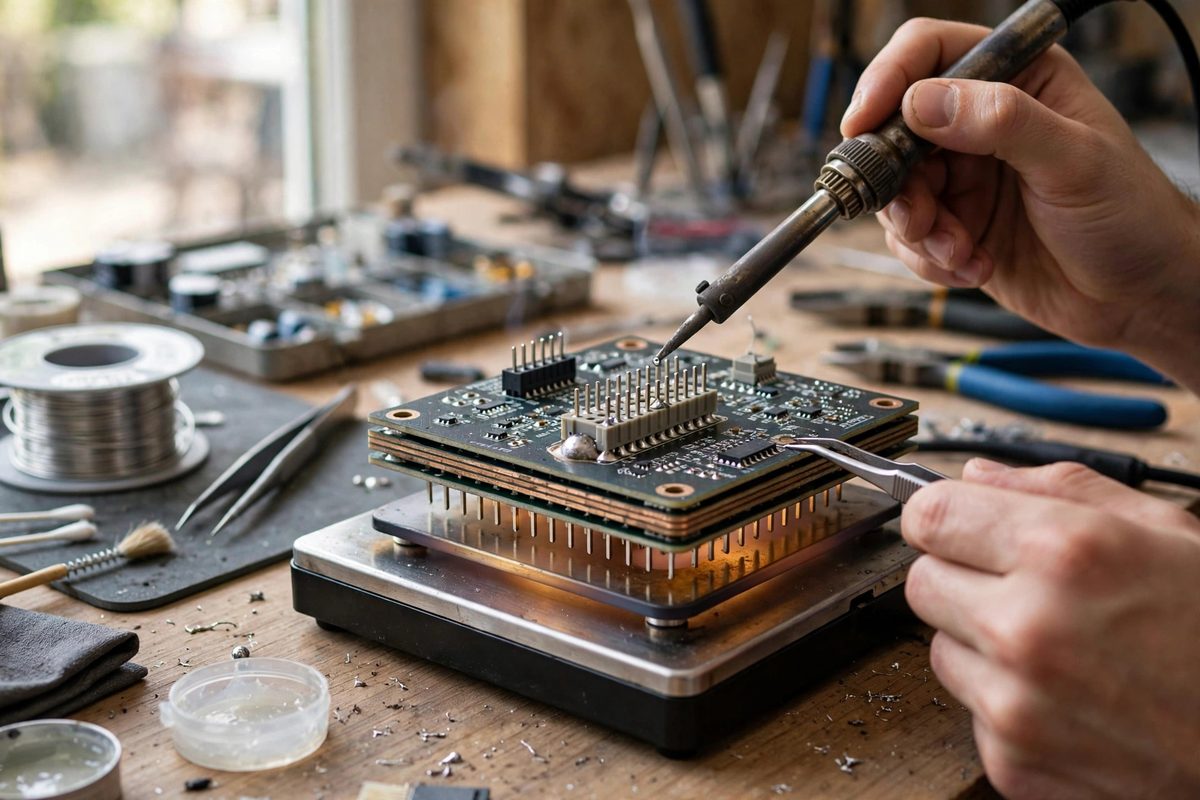
Anyone who has tried to solder a connector into a board with solid internal ground planes knows the particular frustration: the iron is hot, the technique is right, and the solder simply refuses to flow, wicking its heat away into the board faster than the tip can deliver it. A multi-layer board with big copper pours is one of the most effective heat sinks on your bench, and a soldering iron alone often cannot win that thermal tug of war. A bottom preheat plate changes the contest entirely. By raising the whole board to an elevated temperature from below, it shrinks the gap the iron has to close, turning an impossible joint into a routine one.
Why ground planes defeat irons
Copper is an outstanding thermal conductor, which is exactly the problem. An internal ground plane connects thermally to nearly every grounded pin on the board, so heat applied at one joint spreads across square inches of copper in seconds. The iron keeps pumping heat in and the plane keeps carrying it away, and the joint sits stubbornly below the solder's melting point while nearby areas get uncomfortably warm. Bigger tips and hotter iron settings help at the margins, but they fight the symptom. The plane will always out-sink a hand iron because the plane has enormously more thermal mass and conductivity. Preheating attacks the cause: if the whole board starts at an elevated temperature, the iron only needs to supply the final increment, and the plane's conductivity starts working for you by distributing that last bit of heat evenly.
Choosing and setting up the plate
A preheat plate for this work is a temperature-controlled hot surface, sized to support the board evenly. Set the plate temperature well below solder melting but high enough to matter: a board starting around one hundred to one hundred fifty degrees Celsius gives the iron a dramatically shorter climb to reflow. Support the board on standoffs or rails so heat reaches it by a mix of conduction and convection without scorching one spot, and keep tall bottom-side components clear of the surface. Let the board soak until its temperature stabilizes, which takes several minutes for a heavy multi-layer assembly. Rushing this step is the most common mistake. A board that is hot on the bottom and cool on top solders no better than a cold board, because the ground plane in the middle is still sinking heat.
Soldering technique on a preheated board
With the board soaked, the actual soldering feels almost easy, which is when technique errors creep in. Use a normal iron temperature, not a cranked one: the preheat is doing the heavy lifting, and excessive iron heat on an already-warm board risks lifting pads and cooking nearby components. Apply the iron to the joint, feed solder, and watch it flow with a speed that will surprise you the first time. Work efficiently across the joints you need, because the board will not stay at temperature forever once removed from the plate, and reheating cycles add thermal stress. Keep the iron contact times short. The whole point of preheating is that you no longer need to park the iron on the joint for ten seconds, so do not. Long dwells on a preheated board are how pads delaminate.
Protecting the rest of the assembly
Raising the whole board's temperature affects every component on it, not just your target joints. Most parts tolerate the preheat range without complaint, but know your assembly: batteries, some electrolytic capacitors, and certain plastic-bodied parts have limits worth checking. Keep the preheat temperature as low as the job allows rather than defaulting to maximum. Watch for previously soldered joints elsewhere on the board; at typical preheat temperatures they should stay solid, but a plate set too hot combined with a heavy board can soften them enough to shift under vibration. If the board has already been reflowed once, every additional thermal cycle is a withdrawal from its reliability budget. Plan the work so each joint gets heated once, properly, instead of three times tentatively.
Through-hole specifics
Through-hole joints into ground planes benefit from preheating more than any other hand-soldering task, because the plated barrel of the hole is in intimate thermal contact with every internal plane it passes through. On a preheated board, feed solder from the top while the iron heats the pad and lead together; the solder should wick down the barrel and form a clean fillet on both sides. If the bottom side shows a good fillet but the top is starved, the board was not soaked long enough for heat to equalize through its thickness. For stubborn connectors with many grounded pins, consider soldering a few pins, letting the board recover on the plate, and continuing, rather than fighting a losing thermal battle pin after pin. Patience with the soak beats force with the iron every time.
Safety around hot boards
A board at preheat temperature looks exactly like a cold board, which makes burns the primary hazard of this technique. Handle the board with heat-resistant tweezers or gloves, set it down only on heat-safe surfaces, and warn anyone sharing the bench that it is hot. The plate itself stays dangerously hot long after it is switched off, so treat it like a stove burner and give it a cool-down zone. Work ventilated as always: flux fumes rise more vigorously off a hot board, and a fume extractor earns its keep here. A small infrared thermometer is a cheap way to confirm both the soak temperature and that the board is safe to handle again.
Bottom preheating turns the ground plane from your enemy into your assistant. Soak the board thoroughly at a moderate temperature, solder with a normal iron and short dwells, protect the rest of the assembly, and respect the heat. The joints that used to be impossible become the easy ones.
Related Guides
- Solder Wicking and Thermal Mass on Big Pins: Big through-hole pins, connector shells, transformer leads, binding posts, are heatsinks wearing a component disguise. The iron pours heat in and the
- Solder Sucker Suction Velocity and Tip Sizing: The solder sucker, or desoldering pump, is a spring-loaded vacuum tool for clearing solder from through-holes, and its effectiveness comes down to
- Solder Pot Temperature Windows for Tinning Strands: Tinning stranded wire, coating the stripped end with solder so the strands behave as one conductor, is cleanest and fastest with a solder pot: dip
- Wetting Balance Tests on Heavily Oxidized Leads: A wetting balance test measures, with a precision scale, exactly how well molten solder wets a component lead, and on heavily oxidized leads it