
Tinning stranded wire, coating the stripped end with solder so the strands behave as one conductor, is cleanest and fastest with a solder pot: dip the stripped end into molten solder and it wicks up between the strands in a second. But the pot's temperature must sit in a window: hot enough to tin quickly and completely, cool enough not to damage the wire's insulation or wick solder too far up the strands. The window is wider than a soldering iron's, but it has firm edges, and operating outside them produces the classic tinning defects.
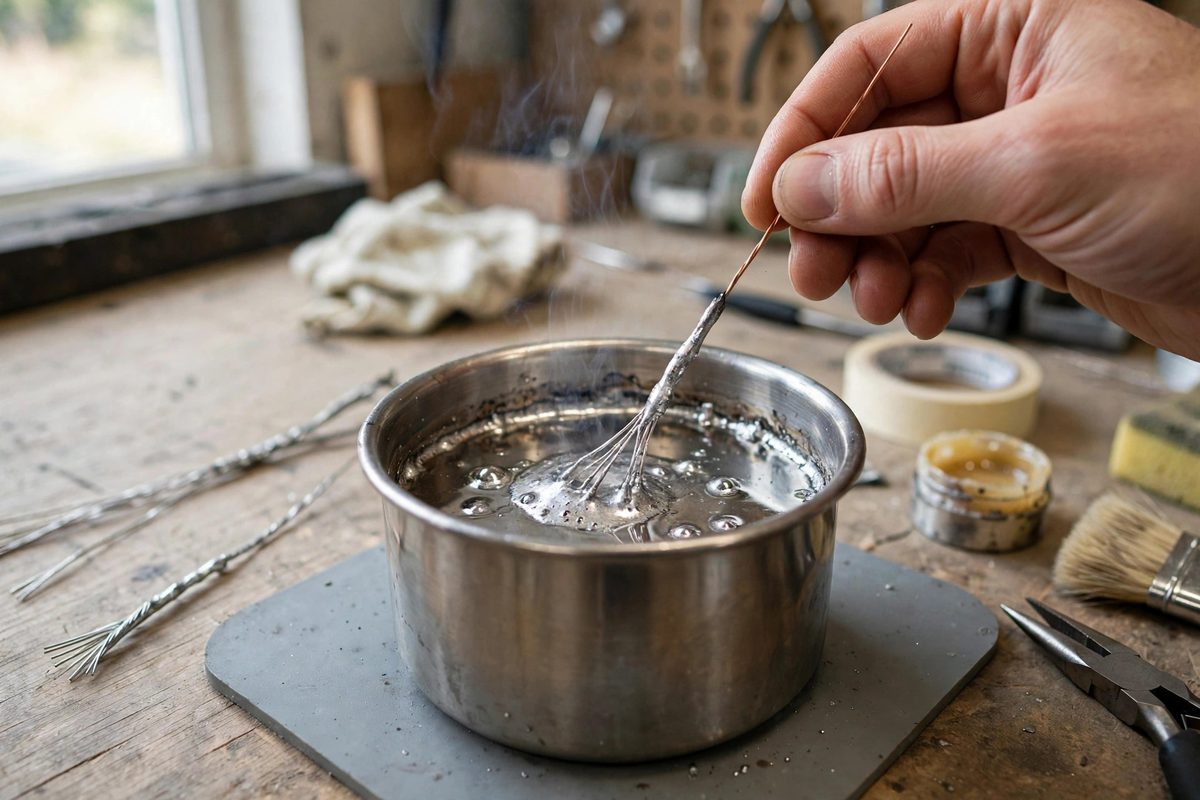
Why Temperature Matters for Tinning
Solder wets copper readily when both are at the right temperature, and the molten pot provides both heat and solder in one dip. Too cool a pot, and the solder does not fully wet: it balls on the surface, leaves dry strands inside, and the "tinned" end is a lumpy shell over untinned copper that will fray and corrode. The operator's instinct is to hold the wire in longer, which overheats the insulation without fixing the wetting.
Too hot a pot brings the opposite failures: the solder wicks far up under the insulation, creating a rigid section where the wire should flex (the classic fatigue failure point), the insulation melts back or chars, and the flux burns off before it can clean the copper, producing dull, grainy tinning. Excess heat also accelerates dross formation on the pot's surface, contaminating subsequent dips.
The Working Window
For conventional tin-lead solder, the tinning window typically centers a moderate distance above the alloy's liquidus: hot enough for instant, fluid wetting, cool enough for control. In practical terms, this usually lands in the range where the solder flows like thin oil off a test wire but does not smoke the flux violently or discolor the copper. Lead-free alloys run hotter by nature, and their window sits correspondingly higher; the principle is identical, the numbers shift with the alloy.
Calibrate by tinning test pieces, not by the dial: pot thermostats and dial markings drift, and the solder's behavior is the truth. A properly tuned pot tins a stripped end in about a second of immersion, leaving a smooth, shiny, fully wetted coating with a clean transition at the insulation. Adjust until the test pieces look right, then note the setting for that alloy and wire size.
Dip Technique Within the Window
Even at the right temperature, technique matters. Skim the dross from the pot's surface before dipping; dross dragged onto the wire contaminates the tinning. Immerse the stripped end briskly to the desired depth, hold briefly while the solder wets (about a second at proper temperature), and withdraw smoothly. A quick wipe or shake removes the excess; the goal is a thin, even coating, not a blob.
- Use flux on the stripped wire before dipping; the pot's surface flux depletes and the wire's own flux ensures wetting.
- Control immersion depth deliberately; the tinned length should match the terminal's needs, no more.
- Keep the wire still during the dip; movement produces uneven, icicled tinning.
- Re-skim dross periodically during production tinning; it accumulates and degrades every dip.
Wire Size and Insulation Effects
Heavy gauge wire sinks more heat, pulling the pot's local temperature down on immersion; allow the pot to recover between dips on large wire, or the later pieces tin poorly. Fine wire heats instantly and wicks aggressively; use a quick dip and watch the wicking distance, since fine strands draw solder surprisingly far under the insulation.
Insulation type sets the upper temperature limit: PVC melts back readily, silicone tolerates more heat, PTFE tolerates the most. The pot temperature must serve both the solder's needs and the insulation's limits; when they conflict (as with PVC-insulated fine wire), the answer is a quick dip at the lower end of the working window, not a slow dip at high temperature.
Safety Around the Solder Pot
A solder pot is a crucible of molten metal at hundreds of degrees: treat it with the respect that commands. Eye protection is mandatory; solder can spit, especially when a damp wire hits the pot. Work in ventilation; flux fumes are the primary inhalation concern. Keep the work area clear of clutter and combustibles, secure the pot against tipping, and never leave it unattended while hot. Burns from molten solder are severe; prevention is entirely in handling discipline.
One second in, smooth and shiny out, insulation intact, wicking controlled. The solder pot at the right temperature turns tinning from a chore into a rhythm; find the window for your alloy and wire, and the dips take care of themselves.
Related Guides
- Solder Wicking and Thermal Mass on Big Pins: Big through-hole pins, connector shells, transformer leads, binding posts, are heatsinks wearing a component disguise. The iron pours heat in and the
- Solder Sucker Suction Velocity and Tip Sizing: The solder sucker, or desoldering pump, is a spring-loaded vacuum tool for clearing solder from through-holes, and its effectiveness comes down to
- Preheating Multi-Layer Ground Planes With Bottom Plates: Anyone who has tried to solder a connector into a board with solid internal ground planes knows the particular frustration: the iron is hot, the
- Wetting Balance Tests on Heavily Oxidized Leads: A wetting balance test measures, with a precision scale, exactly how well molten solder wets a component lead, and on heavily oxidized leads it