
The solder sucker, or desoldering pump, is a spring-loaded vacuum tool for clearing solder from through-holes, and its effectiveness comes down to two variables most users never think about: how fast the suction pulse moves air, and how well the tip seals against the joint. A sucker that barely clears holes is usually not broken; it is mismatched to the job through tip size, seal quality, or technique. Understanding the suction physics turns desoldering from a frustrating battle into a one-shot operation.
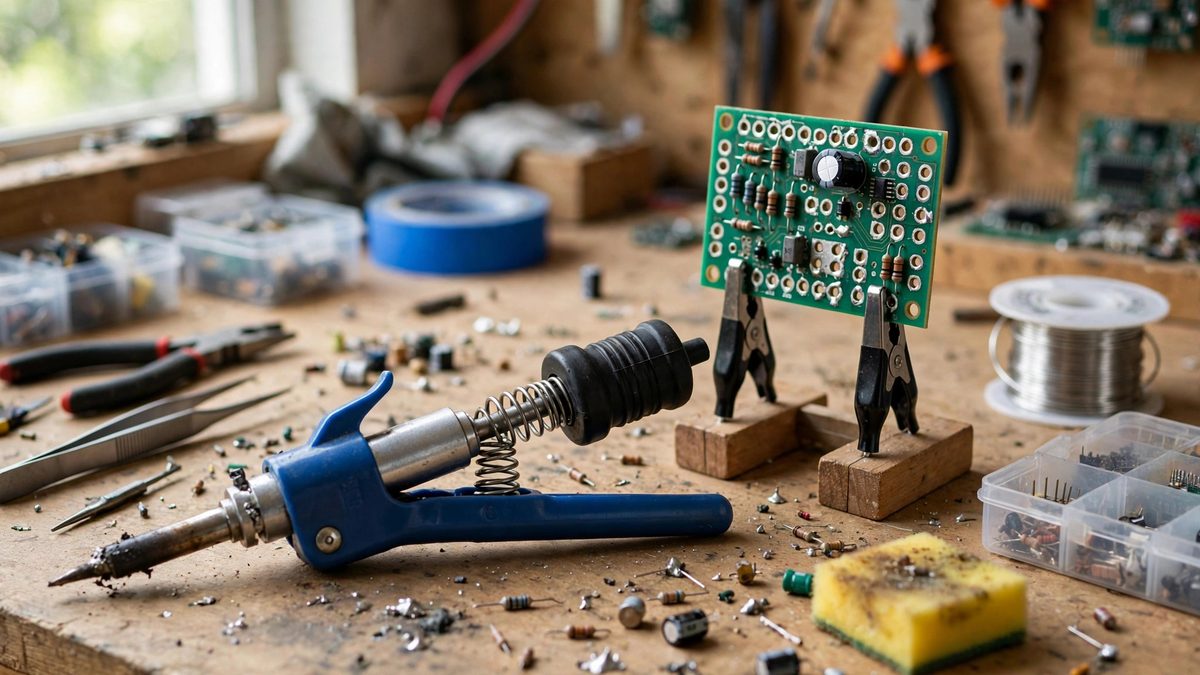
How the Suction Pulse Works
Pressing the plunger compresses a spring and latches it; pressing the trigger releases the spring, driving the piston back rapidly and creating a sudden vacuum in the cylinder. Air rushes in through the tip to fill the vacuum, and that inrush carries molten solder with it. The key performance metric is the velocity of the air pulse in the first milliseconds: high velocity entrains the solder droplets and pulls them into the chamber before they can cool and stick. A weak spring, a leaky piston seal, or a clogged tip all reduce the pulse velocity, and the symptom is the same: the sucker makes a sad hiss and the solder stays put. The pulse is brief, a fraction of a second, which is why timing matters enormously: the solder must be fully molten when the pulse hits, because the sucker gets exactly one chance per trigger pull.
Tip Sizing and the Seal
The tip must seal against the joint to direct the full suction pulse through the molten solder. A tip much larger than the pad leaks air around the edges, wasting the pulse; a tip much smaller cannot cover the solder mass and leaves material behind. The practical approach is a small set of tips: one sized for typical small joints, one for larger pads and ground-plane connections. The tip material matters too: heat-resistant tips, usually silicone or PTFE, seal better because they conform slightly to the joint surface, and they survive contact with the hot iron. Inspect tips regularly: a melted, cracked, or solder-clogged tip seals poorly, and replacing a worn tip restores a "broken" sucker more often than any other fix. Keep the tip clean between joints; a buildup of sucked solder in the tip bore narrows the passage and kills velocity.
Technique: Heat, Seal, Trigger
The sequence that works: heat the joint thoroughly with the iron until the solder is fully liquid and flowing, which takes longer than most beginners expect, especially on ground-connected pins that sink heat. Then, keeping the iron on the joint or removing it at the last instant, press the sucker tip firmly over the molten solder to seal, and trigger immediately. The iron-kept-on variant works better for stubborn joints because the solder stays molten through the pulse; it requires a third hand or a sucker design that works alongside the iron, but the results justify the coordination. The most common technique failure is triggering before the solder is fully molten: the pulse hits semi-solid solder, clears nothing, and the operator concludes the sucker is useless. Patience with the iron is the actual skill; the sucker is just the vacuum.
Dealing With Stubborn Joints
Some joints resist the sucker through thermal mass: large ground planes, thick traces, and multi-layer boards conduct heat away faster than the iron supplies it, so the solder never fully liquefies. The fixes are thermal, not mechanical. Add fresh solder to the joint first: counterintuitively, more solder helps, because the fresh solder's flux cleans the joint and the larger molten mass stays liquid longer. Use a larger iron tip with more thermal mass, or raise the iron temperature within safe limits for the board. Preheat the board area with a hot air gun to reduce the thermal gradient. And consider that the sucker may be the wrong tool: for severely stubborn joints, desoldering braid (wick) with good flux often succeeds where the sucker fails, because the wick stays in thermal contact throughout the process rather than delivering a single pulse. The professional bench has both tools because neither handles every joint.
Maintenance for Consistent Suction
A solder sucker is a maintenance item, not a buy-once tool. Empty the collection chamber frequently; a chamber full of solder balls reduces the air volume and weakens the pulse. Clean the piston and cylinder occasionally, because flux residue and fine solder dust degrade the seal. Lubricate the piston seal sparingly with a heat-appropriate lubricant if the action feels sluggish. Check the spring: a spring that has taken a set from being stored compressed delivers a weaker pulse, so store the sucker with the plunger released. These are two-minute tasks that keep the tool performing like new. A sucker that worked great last year and barely works now almost certainly needs cleaning, not replacing.
Desoldering with a sucker is a thermal operation with a vacuum finish: get the joint fully molten, seal the right-sized tip over it, trigger without hesitation, and maintain the tool. Master that sequence and through-holes clear in one shot, leaving clean pads ready for the new component.
Related Guides
- Solder Wicking and Thermal Mass on Big Pins: Big through-hole pins, connector shells, transformer leads, binding posts, are heatsinks wearing a component disguise. The iron pours heat in and the
- Solder Pot Temperature Windows for Tinning Strands: Tinning stranded wire, coating the stripped end with solder so the strands behave as one conductor, is cleanest and fastest with a solder pot: dip
- Preheating Multi-Layer Ground Planes With Bottom Plates: Anyone who has tried to solder a connector into a board with solid internal ground planes knows the particular frustration: the iron is hot, the
- Wetting Balance Tests on Heavily Oxidized Leads: A wetting balance test measures, with a precision scale, exactly how well molten solder wets a component lead, and on heavily oxidized leads it