
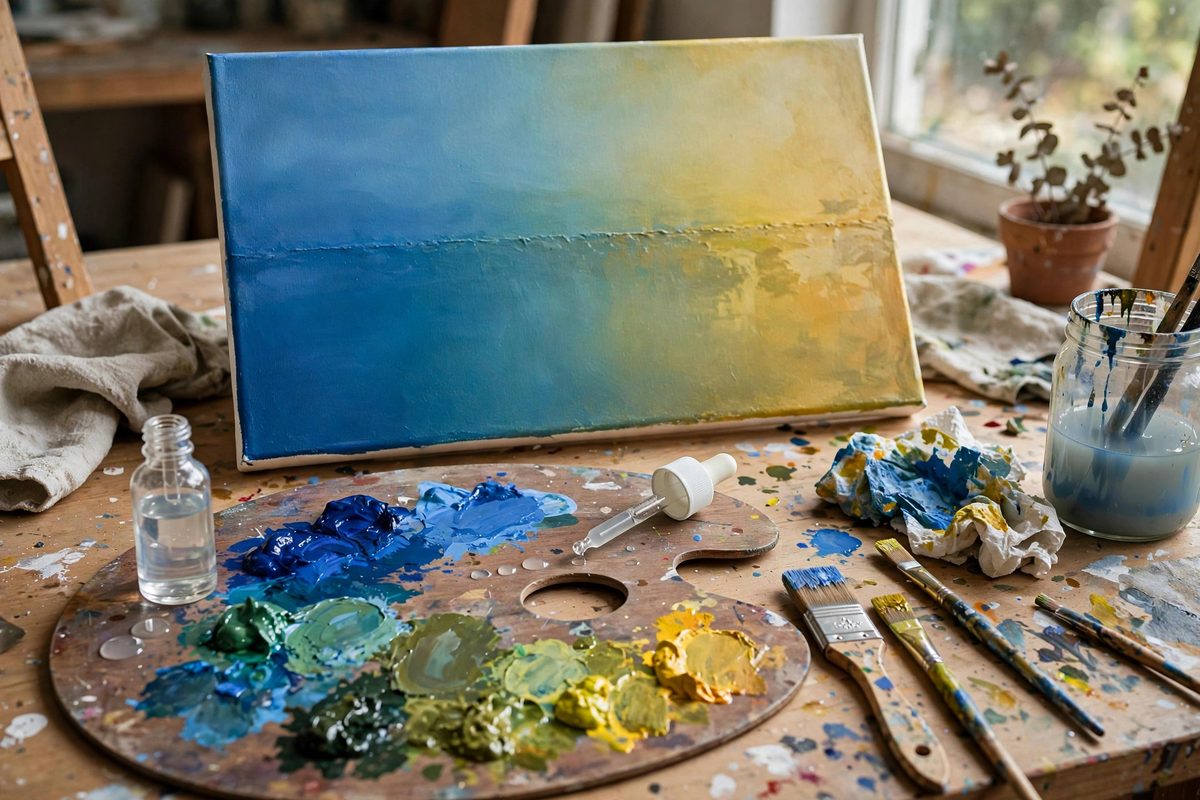
Acrylic paint's fast drying is its signature and its curse. On the palette, speed is convenient. On the canvas, it means a blended gradient can lock up halfway across, leaving a visible seam where the paint stopped being workable. Acrylic retarder slows the drying, buying working time, but the ratio matters enormously. Too little does nothing. Too much leaves the paint tacky for days, weakens the film, and can cause later layers to lift. The goal is the minimum retarder that gives you the blend time you need, mixed consistently so the whole painting cures evenly.
How Retarder Buys Time
Acrylic paint dries by evaporation: water leaves the film and the polymer particles coalesce into a solid layer. Retarder is a slow-evaporating solvent, typically a glycol, that stays in the film longer than water does. While it remains, the polymer particles cannot fully lock together, so the paint stays workable and brushable. This is a delay, not a transformation: once the retarder finally evaporates, the paint cures normally. The working-time extension is roughly proportional to the amount added, but the relationship is not linear at the extremes. Large additions push drying out by hours but at the cost of film integrity, because the paint stays soft long enough to attract dust and because the delayed coalescence can produce a weaker, more porous film.
Finding Your Working Ratio
The standard starting point is about 5% retarder to paint by volume, roughly a pea-sized amount of retarder to a walnut-sized blob of paint. At this ratio, most acrylics gain an extra 10 to 20 minutes of workable time in normal studio conditions, enough to blend a gradient across a moderate area without rushing. For larger blends, step up to around 10%, which can extend working time to roughly half an hour or more. Beyond 10 to 15%, the drawbacks start outweighing the benefits: the paint becomes gummy, brushstrokes lose their edges, and drying stretches past a day. Measure by volume with a consistent method, because eyeballing the ratio is how painters accidentally double the dose on one color and end up with uneven curing.
Mixing for Even Results
Retarder must be mixed thoroughly into the paint, not just stirred on top. Incomplete mixing creates pockets of high-retarder paint that stay tacky and pockets of unretarded paint that dry fast, which is worse than using no retarder at all. Mix on the palette with a knife until the color is completely uniform and the consistency feels the same throughout. Mix only what you need for the session: pre-mixed paint left sealed can stay wet for days, making its behavior unpredictable when you return to it. Add the retarder to the paint, not the other way around, and add any water separately and sparingly. Water plus retarder together thins the paint body dramatically, and over-thinned paint loses covering power and adhesion.
Matching Ratio to Technique
Different painting moves need different working times, and the ratio should follow the job. Wet-into-wet blending, where two colors meet and melt together on the canvas, benefits from the higher end of the safe range, around 8 to 10%, because both colors need to stay mobile long enough to intermix. Glazing, where thin transparent layers stack, wants less, around 3 to 5%: you need enough open time to lay the glaze smoothly without lap marks, but the layer must dry firmly before the next glaze goes on, or the layers will lift each other. Detail work often needs no retarder at all; the crisp edges that define details come from paint that sets promptly.
Environmental Factors
Studio conditions change everything about drying, so your ratio is not a fixed recipe. Hot, dry air accelerates evaporation and may push you toward the higher end of the range; cool, humid air slows drying on its own and you may need little or no retarder. A fan blowing across the canvas, a warm studio lamp, or painting near a sunny window can halve your working time without you changing a thing. Keep a spray bottle of water handy as a companion tool: a light mist over the working area extends open time without altering the paint chemistry, and misting the palette keeps mixed colors workable between applications.
Curing and Layering Safely
Paint mixed with retarder needs a full cure before overpainting, and full cure takes longer than the paint feeling dry to the touch. The surface can skin over while retarder remains deeper in the film; painting over that too soon traps the solvent and can cause the upper layer to wrinkle or delaminate later. Give retarded passages at least overnight, longer for heavy applications, before layering over them. If a passage still feels cool or slightly tacky, it is not ready. This waiting is the real cost of retarder, and it is why the minimum effective ratio is the right target: less retarder means less waiting, and a painting that builds in steady, predictable layers.
Retarder is a precision tool, not a pour-it-in solution. Start near 5%, measure consistently, mix thoroughly, match the ratio to the technique, and respect the longer cure time. Used that way, it gives acrylics the blendability of slower paints without sacrificing the film strength that makes acrylics worth using.
Related Guides
- Matte Acrylic Medium Ratios for Translucent Glazing: Glazing in acrylics means building color in thin transparent layers, and the medium-to-paint ratio decides whether the glaze is luminous or muddy
- High Solids Flow Improver Ratios in Matte Pouring: Matte acrylic pouring promises soft, velvety color fields without the plastic glare of gloss pours, but matte paints are thicker, less fluid, and
- Open Gel Medium Gloss Level Tuning for Glazes: Acrylic glazes, thin transparent color layers that modify what lies beneath, depend on their medium as much as on their pigment. Open gel medium, the