
The seam, where each printed layer starts and stops, is the visible scar on an otherwise smooth 3D print. On precision cylinders, like bearing housings, pistons, or mating parts, a poorly placed seam ruins both appearance and function. Scarf joint seams, the slicer's technique for feathering the seam into the layer, change the game: instead of a blob at one point, the layer transition stretches into a gradual overlap. Understanding how to align these seams keeps cylinders round, smooth, and dimensionally true.
Why Seams Hurt Cylinders
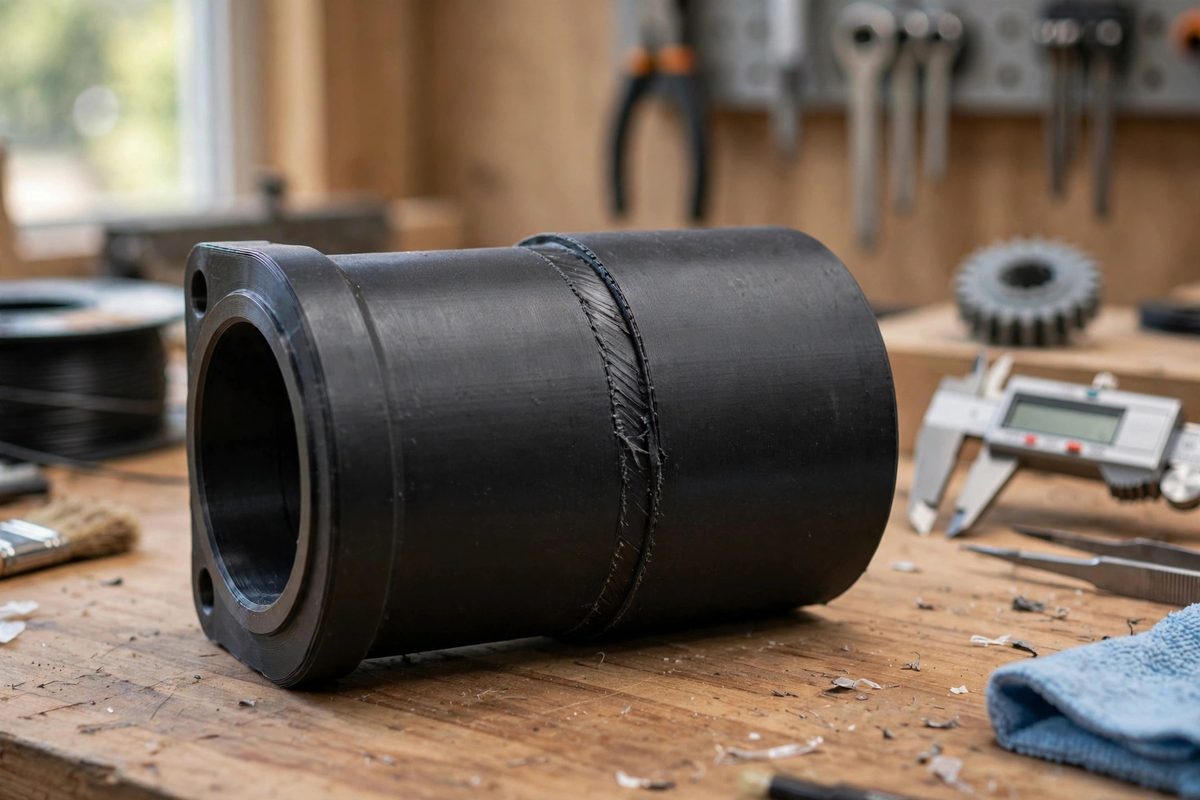
Every layer change involves the extruder stopping, moving, and restarting, which leaves a small blob or gap. On a flat wall, the seam hides in a corner; on a cylinder, there is no corner, so the seam sits on the visible curved surface as a vertical line of imperfections. Worse, the seam's blob changes the local diameter: a cylinder with a heavy seam is measurably out of round at the seam line, which matters when the cylinder must fit a bearing or slide in a bore. Traditional aligned seams put all these defects in one line, creating a ridge; random seams scatter them as pimples across the surface. Neither is acceptable on a precision part. The scarf seam addresses the root cause by eliminating the abrupt start-stop.
How Scarf Seams Work
A scarf joint seam overlaps the end of the layer with the beginning of the next layer along a diagonal path, like a woodworker's scarf joint. Instead of stopping extrusion at one point and restarting at the same point, the extruder tapers off while moving along the seam path and tapers on along the same path, so the layer transition is spread over a length of the perimeter. The result is a seam that is nearly invisible and dimensionally neutral: no blob, no gap, no diameter change. The scarf length is the tuning parameter; longer scarfs hide better but take more travel time, while shorter scarfs are faster but more visible. For precision cylinders, err toward longer scarfs; the print time cost is small and the surface quality gain is large.
Aligning Seams on Cylindrical Features
Even with scarf seams, placement matters. Align the seam to the least critical area of the cylinder: away from mating surfaces, away from the visible front if the part has an orientation, and away from thin walls where any imperfection weakens the part. Most slicers let you paint or specify the seam position; use that control deliberately rather than accepting the default. For a cylinder that presses into a bore, put the seam on the side that sees the least contact, or better, design the part with a small flat or groove where the seam can hide, turning the cylinder's weakness into a non-issue. Consistent placement also matters for strength: a seam that wanders randomly creates unpredictable weak points, while a controlled seam is a known quantity.
Tuning for Dimensional Accuracy
Scarf seams interact with the slicer's flow and retraction settings. If the scarf still shows as a faint line, adjust the scarf length and the overlap; too little overlap leaves a gap, too much creates a ridge. Check retraction: excessive retraction at the seam starves the restart, while too little leaves a blob that the scarf cannot fully hide. Print a calibration cylinder and measure the diameter at the seam versus opposite it with calipers; the two readings should match within the printer's normal tolerance. If the seam side measures large, reduce flow slightly in the seam or lengthen the scarf. This measurement loop, print, measure, adjust, is how precision is actually achieved; the slicer settings are the starting point, not the answer.
Designing for Seamless Cylinders
The best seam strategy starts in CAD. Add a tiny intentional flat, a shallow groove, or a parting line feature where the seam will live; the slicer then has a natural corner to hide even a scarf seam completely. Orient the part so the critical cylindrical surface prints as a continuous perimeter without interruptions from other features. Consider wall count and infill near the seam: enough perimeters to keep the seam zone solid, since a seam over sparse infill can show through. A precision cylinder is a system of design, slicer settings, and calibration working together; the scarf seam is the key technique, but it performs best when the design gives it somewhere to hide.
Scarf joint seams turn the layer change from a defect into a non-event: enable them, tune the length, align the seam away from critical surfaces, and verify roundness with calipers. On precision cylinders, the seam should be a setting you chose, not a flaw you accepted.
Related Guides
- Seam Placement Optimization for Cylindrical Shells: Every 3D print has a seam: the point where each layer's perimeter starts and stops, leaving a tiny vertical scar. On a box you can hide it in a
- Adaptive Layer Heights for Organic Curves: Organic curves, the smooth domes, fillets, and freeform surfaces on a model, are where fixed layer heights show their weakness. Print a curved
- Coast at End Slicing Settings to Stop Stringing: Stringing, the fine cobwebs of plastic stretching between separate parts of a print, is oozing made visible: molten filament leaking from the nozzle
- Z-Hop Height Tuning to Prevent Thin Wall Collisions: Z-hop lifts the nozzle during travel moves so it does not drag across already-printed plastic, and thin walls are where that protection matters most