
Z-hop lifts the nozzle during travel moves so it does not drag across already-printed plastic, and thin walls are where that protection matters most. A thin wall, one or two perimeters wide, has little lateral strength while printing; a nozzle that clips it during a travel move can bend it, snap it, or knock it off the bed entirely. Tuning the hop height is a balance: enough clearance to miss the walls, but not so much that the hop itself causes stringing, blobs, or wasted time.
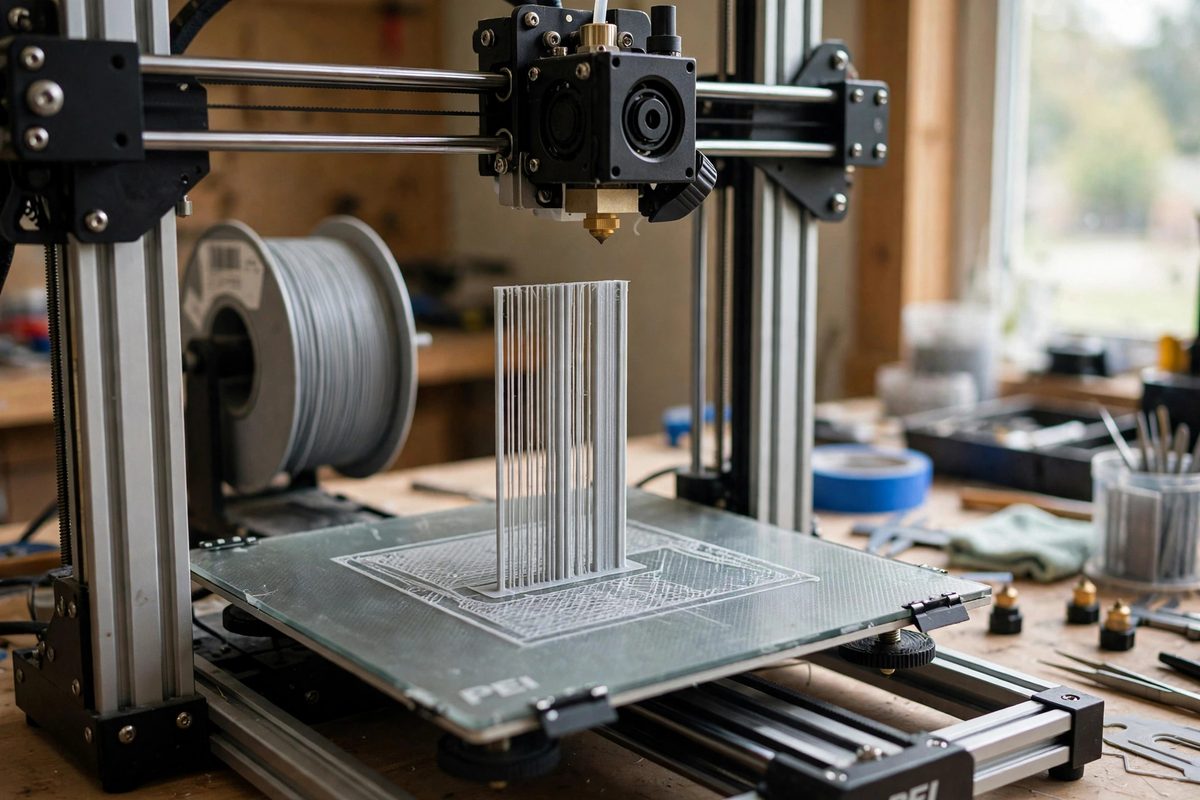
Why thin walls are vulnerable
A thick part resists a nozzle strike because there is material behind the point of contact to absorb the force. A thin wall has nothing behind it. When the nozzle catches the top edge of a thin wall during a travel move, the wall flexes, and if it flexes past the layer adhesion's ability to hold, the wall delaminates or breaks. Even when the wall survives, the strike leaves a scar: a flattened or displaced section that shows in the finished print.
The risk is worst on tall thin walls, where leverage multiplies the force at the base, and on walls printed with minimal cooling, where the plastic is still soft when the nozzle passes. Z-hop does not fix weak walls, but it removes the most common cause of mid-print wall damage.
Setting the hop height
The hop needs to clear the tallest feature the nozzle will travel over. For most prints, a hop of roughly half a millimeter to a millimeter clears normal layer irregularities, curled edges, and the slight elephant's footing at the base. For prints with tall thin walls or features prone to curling, increase toward the higher end of that range or slightly beyond.
More hop is not always better. Every hop adds two vertical moves to each travel, which adds print time, and the retraction and de-retraction around the hop add opportunities for stringing and blobbing at the resume point. Excessive hop can also cause the nozzle to ooze during the longer travel, depositing a blob when it descends. Tune to the minimum height that reliably clears the print's features, verified by watching the first few layers of travel moves.
Hop style and speed considerations
Most slicers offer a choice between a straight vertical hop and a sloped or spiral hop. The straight hop is fastest and simplest; the sloped hop reduces the sudden direction changes that can shake a tall thin wall loose through vibration alone. For delicate thin-wall prints, the gentler motion profile is worth the small time cost.
Hop speed matters too. A fast hop minimizes time but jerks the toolhead; a slower hop is gentler but adds more time and more opportunity for ooze. Match the hop speed to the print's fragility: sturdy parts can take fast hops, while tall thin walls benefit from a more measured lift.
When z-hop causes its own problems
Z-hop is not free, and on some prints it does more harm than good. The classic failure is stringing: the hop's vertical moves give molten plastic more chances to ooze, and the resume blob at each descent leaves a pimple on the surface. If a print strings badly with z-hop enabled, try reducing the hop height before disabling it entirely; often a smaller hop clears the features without the stringing penalty.
Another issue is hop-induced layer shifts on printers with marginal Z-axis mechanics. The repeated rapid Z moves can cause missed steps on a Z axis that is binding or underpowered, and a missed Z step shifts every subsequent layer. If enabling z-hop correlates with layer shifts, the Z axis needs mechanical attention, not a slicer workaround.
Alternatives and complements
Combing, which keeps travel moves within already-printed areas, reduces the need for hopping by routing the nozzle where there is nothing to hit. Avoiding crossing perimeters, where the slicer plans travels to stay inside the part, does the same. These strategies complement z-hop rather than replacing it: use travel routing to minimize the dangerous moves, and z-hop as the safety net for the ones that remain.
Set the hop to clear the features, keep it as small as reliability allows, and watch the first travels to confirm. Thin walls survive printing when the nozzle never touches them, and z-hop is how you guarantee that.
Related Guides
- Adaptive Layer Heights for Organic Curves: Organic curves, the smooth domes, fillets, and freeform surfaces on a model, are where fixed layer heights show their weakness. Print a curved
- Seam Placement Optimization for Cylindrical Shells: Every 3D print has a seam: the point where each layer's perimeter starts and stops, leaving a tiny vertical scar. On a box you can hide it in a
- Coast at End Slicing Settings to Stop Stringing: Stringing, the fine cobwebs of plastic stretching between separate parts of a print, is oozing made visible: molten filament leaking from the nozzle
- Scarf Joint Seam Alignment on Precision Cylinders: The seam, where each printed layer starts and stops, is the visible scar on an otherwise smooth 3D print. On precision cylinders, like bearing