
Self-leveling underlayment promises a flat floor from a poured liquid, but the promise depends entirely on the mix viscosity: too thick and it does not level, leaving trowel ridges and high spots; too thin and it segregates, with the heavy aggregates settling and the watery top shrinking and cracking. The slump test, a simple flow measurement done with a small ring or cone on the subfloor, tells you in seconds whether the batch is right. It is the quality control step that separates professional pours from expensive do-overs.
Why Viscosity Is the Whole Game
Self-leveling compounds are engineered fluids: cement, fine aggregates, and polymer modifiers proportioned to flow under gravity into a flat plane, then set. The flow behavior depends on the water-to-powder ratio with extreme sensitivity: a small excess of water dramatically thins the mix, while a small deficit makes it stubborn. The manufacturer's specified water ratio is not a suggestion; it is the formulation's design point, where flow, strength, and shrinkage all balance. Field adjustments, "a splash more water to make it flow," destroy that balance: the excess water does not just thin the mix, it increases shrinkage, weakens the cured surface, and causes the aggregate segregation that leaves a dusty, weak top layer. Measure the water precisely for every batch, because the difference between correct and ruined is smaller than it feels.
The Slump Flow Test
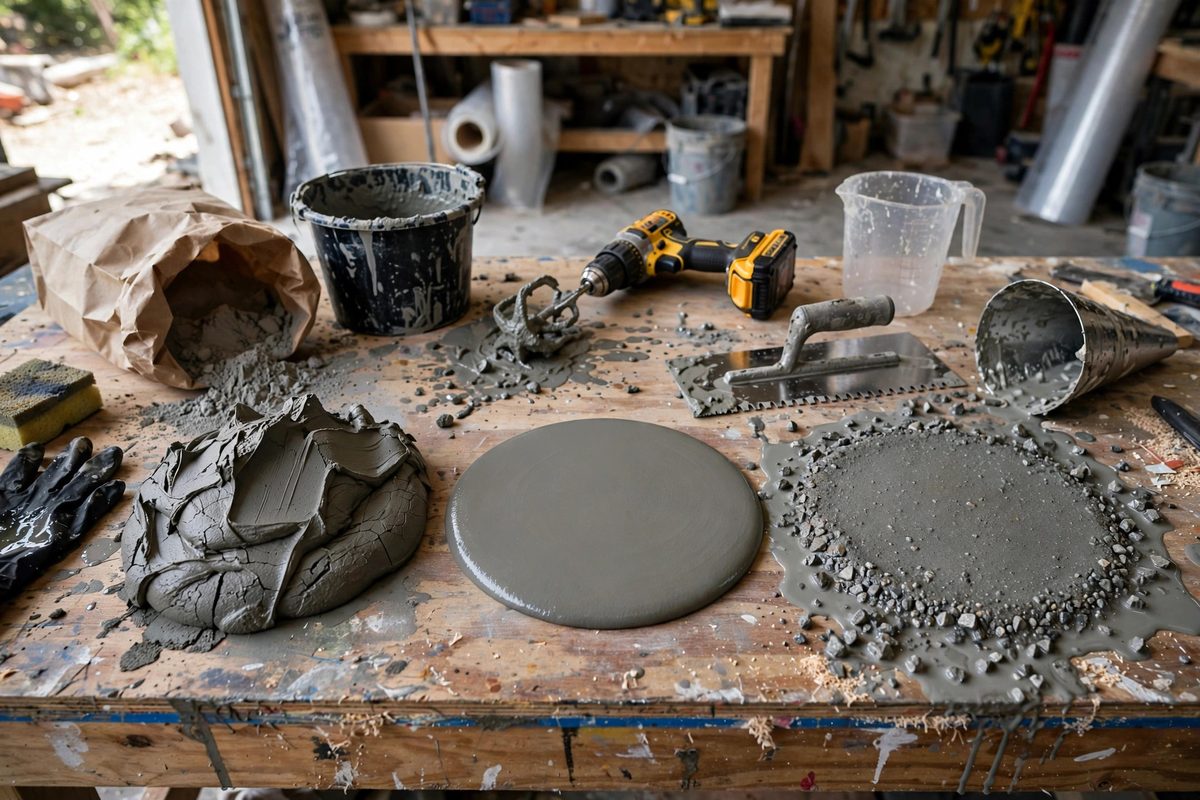
The test is simple: fill a small open cylinder or ring, typically a few inches across, with the mixed underlayment, lift it cleanly, and measure the diameter of the resulting patty after it stops spreading. That spread diameter is the slump flow, and the manufacturer specifies a target range. Too small a spread means the mix is too thick: it will not self-level, and the pour will need aggressive troweling that defeats the purpose. Too large a spread means too thin: segregation and shrinkage cracking await. Run the test on every batch, not just the first, because water measurement errors, powder settling in the bag, and ambient temperature all shift the viscosity batch to batch. The test takes under a minute and a flat piece of subfloor; skipping it to save that minute risks the entire pour.
Water Ratio Discipline
Precision starts with measurement: use a marked container for water, not a hose and a guess, and account for the water already in damp powder or a wet mixing bucket. Mix the full bag with the full specified water; partial bags invite ratio errors because the powder does not divide evenly, the fine components settle differently. Mix thoroughly to the manufacturer's time: under-mixing leaves dry pockets that behave like thick mix in some areas and release water in others, producing inconsistent flow across the pour. Mix with the correct paddle at the correct speed: over-aggressive mixing whips air into the compound, which affects flow and leaves pinholes in the cured surface. If the slump test fails, the correction is to remix or adjust within the manufacturer's allowed range, never to eyeball water additions. A batch that cannot be brought into spec should be discarded: pouring bad material is always more expensive than wasting one bag.
Temperature and Timing Effects
Ambient and substrate temperature shift the working behavior. Warm conditions accelerate the set, shortening the flow window: a mix that tested perfectly can stiffen in the bucket before the pour is complete, so in heat, mix smaller batches and move faster. Cold conditions slow the set but also thicken the mix slightly and delay strength development; do not pour below the manufacturer's minimum temperature. The substrate matters too: a porous, unprimed subfloor sucks water from the mix on contact, thickening it at the interface and causing a weak, crumbly bond line. Prime per the manufacturer's system: the primer seals the substrate so the underlayment's water stays in the underlayment, preserving the designed viscosity at the critical interface. Pour onto a properly primed substrate within the primer's open time; expired primer is barely better than none.
Pouring Technique for True Level
Even a perfect mix needs competent placement. Pour continuously, maintaining a wet edge so each new material flows into the previous without cold joints. Use a gauge rake or spreader to distribute the material to roughly the target thickness, then let gravity finish the leveling; the tool distributes, the fluid levels. A spiked roller passed over the surface releases trapped air and helps the flow knit together, but roll lightly and promptly: aggressive or late rolling disturbs the setting surface. Work from the far corner toward the exit so you never walk through the pour. And respect the thickness limits: self-levelers have minimum and maximum depths per lift, and exceeding them, in either direction, produces failures that no viscosity correction fixes. Deep fills need multiple lifts or a different product.
Self-leveling underlayment levels itself only when the viscosity is right, and the slump test is how you know. Measure water precisely, test every batch, prime the substrate, mind the temperature, and pour with a wet edge. The floor comes out flat because the fluid dynamics were respected, not because the product name promised it.
Related Guides
- Subfloor Deflection Limits for Stone Tile: Stone tile is beautiful, heavy, and utterly unforgiving of a bouncy floor. Unlike ceramic, natural stone has little flexural strength and variable
- Expansion Gap Requirements for Solid Oak Planks: Solid oak flooring moves with the seasons, and it does not ask permission. Planks installed tight to the walls will push against the framing when
- Vapor Retarder Permeability Ratings Under Hardwood: Hardwood floors fail from below more often than from above. Cupping boards, crowning, and gaps that open and close with the seasons almost always
- Uncoupling Membrane Thin-Set Coverage for Large Tiles: Large format tile over an uncoupling membrane is one of the most reliable tile assemblies you can build, but only if the thin-set coverage is right