
Hardwood floors fail from below more often than from above. Cupping boards, crowning, and gaps that open and close with the seasons almost always trace back to moisture moving up through the subfloor faster than the wood can accommodate. A vapor retarder under the flooring slows that migration, but not all retarders are equal, and the permeability rating, how much vapor the material lets through, decides whether the assembly works or merely feels like it does. Choosing the right perm rating for the subfloor, the climate, and the installation method is one of those invisible decisions that determines whether the floor stays flat for decades.
What perm ratings actually measure
Permeability is rated in perms, a measure of how much water vapor passes through a material under standard conditions. Lower numbers mean less vapor passes. Materials fall into rough classes: vapor barriers at a tenth of a perm or less, which block nearly all vapor; Class II vapor retarders between a tenth and one perm, which slow vapor substantially; and Class III retarders between one and ten perms, which merely moderate it. Above ten perms a material is considered vapor permeable and does little retarding at all. These classes matter because the goal under hardwood is rarely to block vapor completely. Wood needs to exchange some moisture with its environment to stay dimensionally stable; the goal is to slow the flow enough that the flooring never sees a rapid moisture spike from below.
Why hardwood is picky about moisture
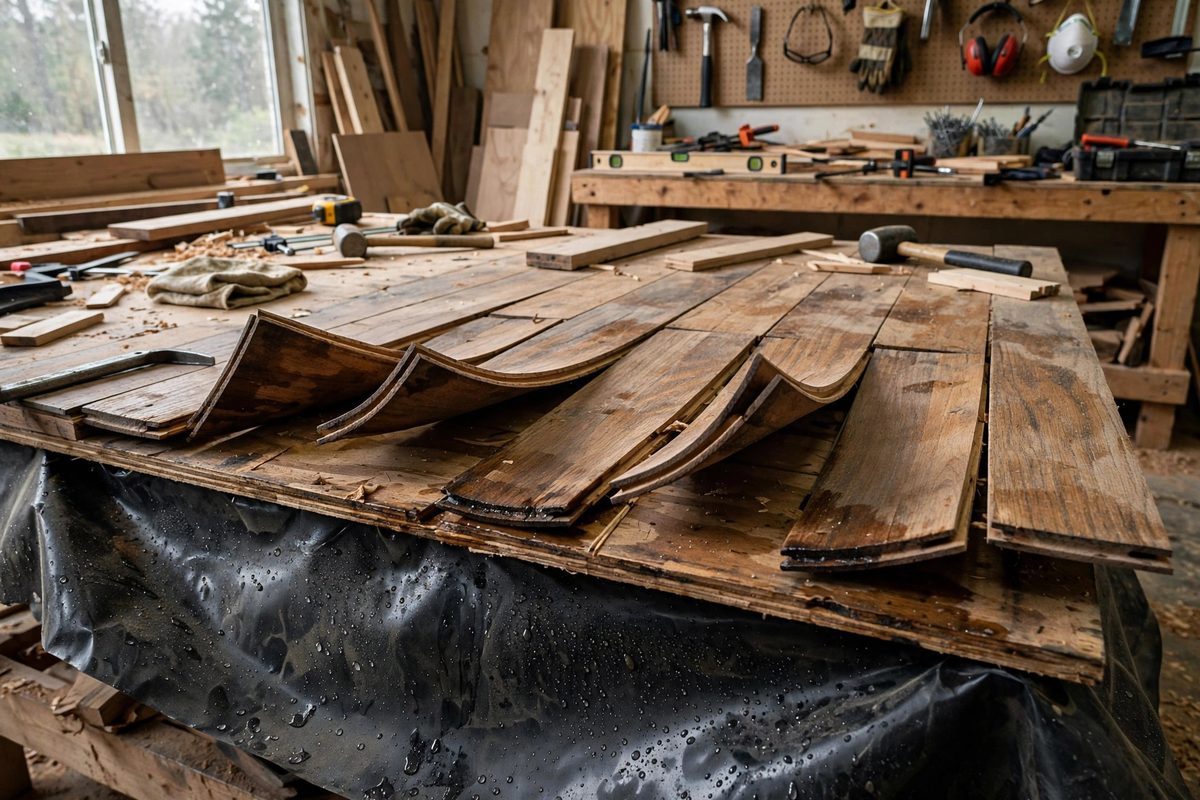
Solid hardwood changes dimension with moisture content, swelling across the grain as it gains moisture and shrinking as it loses it. A floor installed dry over a damp subfloor or a moist crawlspace absorbs vapor from below while its top face stays at room conditions, and the differential swelling cups each board, edges rising higher than centers. Install the same floor in the damp season and it may look perfect until the dry season shrinks it into gappy planks. Engineered flooring tolerates more movement but is not immune. The vapor retarder's job is to narrow the moisture swings the flooring experiences, keeping the boards near the moisture content they were acclimated to at installation. Acclimation gets the floor to the right starting point; the retarder keeps it from wandering.
Matching the retarder to the assembly
The right perm rating depends on where the moisture comes from and where it needs to go. Over a dry plywood subfloor on an upper story, a simple rosin paper or felt underlayment in the Class III range is traditional and adequate; its main jobs are reducing squeaks and providing a slip surface, with modest vapor moderation as a bonus. Over a concrete slab, especially below grade, moisture drive is stronger and a lower-perm retarder is warranted, often a polyethylene sheet or a rated membrane in the Class I or II range, because concrete holds and transmits substantial moisture. Over a vented crawlspace in a humid climate, the retarder needs to handle vapor rising from below while still allowing the assembly to dry somewhere; this is where the building science gets genuinely tricky and where local practice, developed for the regional climate, deserves real weight.
The double vapor barrier trap
The most damaging mistake is installing vapor retarders on both sides of the flooring assembly, trapping moisture in the middle with no drying path. A low-perm membrane under the floor combined with an impermeable finish or coating on top can sandwich the wood between two barriers; any moisture that gets in, through a leak, a wet installation, or construction moisture, cannot get out, and the floor rots from the inside. Every assembly needs a drying direction. In most climates that means the retarder goes on the side facing the stronger moisture drive, usually below, while the top remains permeable enough to dry upward into the conditioned space. If the installation method calls for a moisture barrier, such as glue-down over concrete, follow the adhesive and flooring manufacturers' system exactly, because they have tested that specific stack for moisture behavior.
Installation details that decide performance
A retarder only works where it is continuous. Overlap seams by the specified amount and seal them where the rating demands it; a polyethylene sheet with unsealed, gaping seams is a retarder in name only. Run the material up the walls slightly or seal the perimeter according to the system design, because edges and penetrations are where vapor bypasses the field of the membrane. Keep the retarder clean and intact during flooring installation; a membrane sliced by a stray utility knife or punctured by debris underfoot has holes that no rating accounts for. And verify subfloor and slab moisture with a meter before the retarder goes down. A retarder slows vapor drive; it does not fix a slab that is actively wet. Wet substrates need to dry or be mitigated first.
Acclimation still matters
No vapor retarder compensates for flooring installed at the wrong moisture content. Acclimate the hardwood in the installation space, with the HVAC running at normal living conditions, until its moisture content stabilizes near the expected in-service range. Test with a moisture meter rather than counting days, because acclimation time varies with species, thickness, and how far the wood has to travel. The retarder then holds the floor near that acclimated state against the subfloor's moisture. Think of acclimation as setting the thermostat and the vapor retarder as the insulation: both are needed, and neither substitutes for the other.
Choose the perm rating for the moisture the assembly actually faces: light retarders over dry upper-story subfloors, serious membranes over slabs and damp crawlspaces, and never barriers on both sides. Install it continuous and intact, verify the substrate is dry first, and acclimate the flooring to the room. The floor will never know how much trouble you saved it, which is exactly the idea.
Related Guides
- Subfloor Deflection Limits for Stone Tile: Stone tile is beautiful, heavy, and utterly unforgiving of a bouncy floor. Unlike ceramic, natural stone has little flexural strength and variable
- Self-Leveling Underlayment Slump Test Viscosity Ratios: Self-leveling underlayment promises a flat floor from a poured liquid, but the promise depends entirely on the mix viscosity: too thick and it does
- Expansion Gap Requirements for Solid Oak Planks: Solid oak flooring moves with the seasons, and it does not ask permission. Planks installed tight to the walls will push against the framing when
- Uncoupling Membrane Thin-Set Coverage for Large Tiles: Large format tile over an uncoupling membrane is one of the most reliable tile assemblies you can build, but only if the thin-set coverage is right