
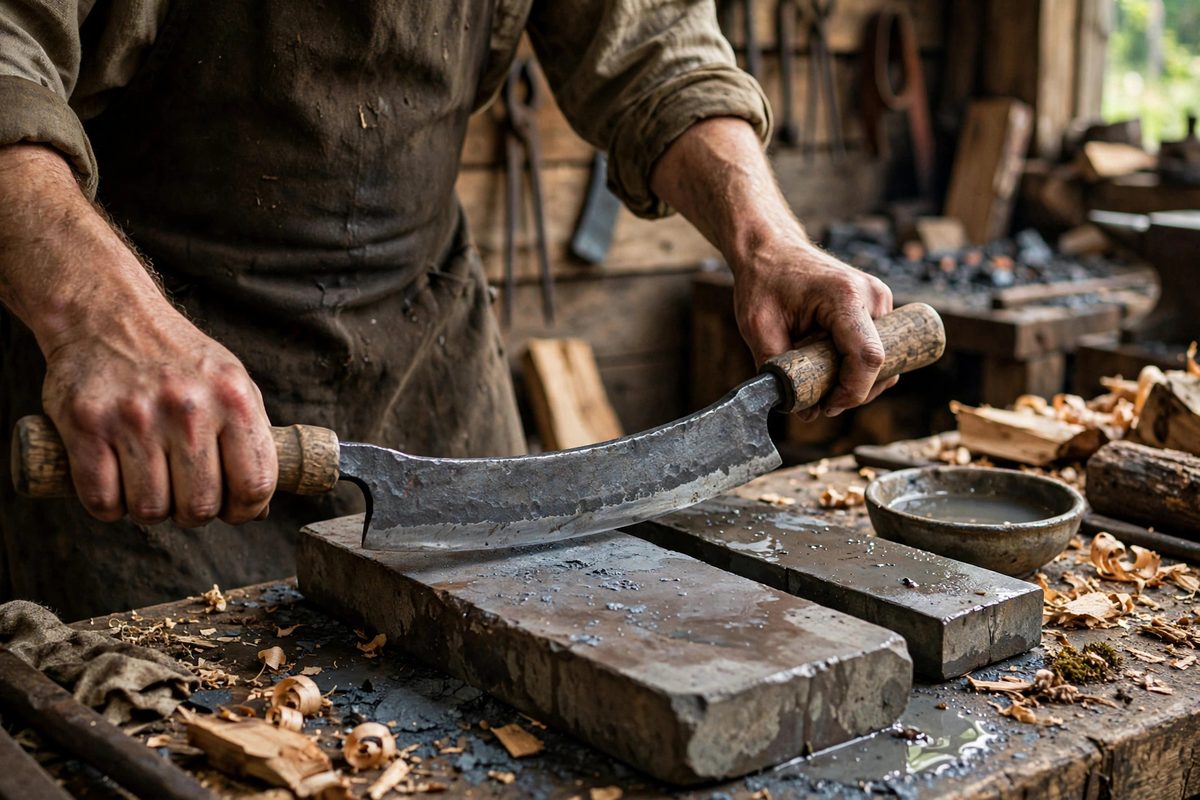
The drawknife, pulled toward the user to shave wood, is one of the oldest edge tools, and a hand-forged one carries the smith's geometry in its bevels: often slightly irregular, with a character no factory grinder reproduces. Sharpening it on stones respects that geometry: stones remove metal slowly and controllably, letting you refine the edge without grinding away the forging's personality or overheating the steel. Here is how to bring a drawknife to a working edge by hand.
Reading the forged bevel
Before touching stone to steel, study the existing bevels. Hand-forged drawknives typically have a flat or slightly convex bevel on one side and a flat back on the other, though some are beveled on both sides for specific work. The bevel angle is usually around 25 to 30 degrees, set by the smith for the tool's intended use. Your job is to maintain that angle, not to impose a new one; regrinding a forged bevel to a different angle wastes steel and erases the smith's intent. Mark the bevel with a felt pen and make a few light stone passes; where the ink removes shows where you are actually cutting.
Stone progression
Start with a stone coarse enough to address the edge's condition: a dull but undamaged edge begins at medium grit, while a nicked or rounded edge needs coarse work first. Drawknives are long, so use a long stone or work in sections, keeping the angle consistent along the whole edge; a drawknife sharpened at varying angles cuts unevenly and is miserable to use. Progress through medium to fine stones, removing the previous grit's scratches at each stage. The back side gets attention too: flatten and polish it on the fine stone, since the back forms half of the cutting edge.
Technique for the long edge
Hold the drawknife by its handles and draw it across the stone bevel-down, maintaining the bevel angle by feel and by the ink test. Work the full length in smooth, overlapping strokes; short choppy strokes create an uneven edge with high and low spots. Keep the stone wet (for water stones) or oiled (for oil stones) throughout; dry sharpening clogs the stone and heats the edge. Check for a burr along the back side: the burr's even formation along the whole length tells you the bevel is fully apexed. An edge with no burr in sections is not yet sharpened there.
Removing the burr and refining
Once the burr forms evenly, switch to the back side and remove it with light passes on the fine stone, then return to the bevel for a few final polishing strokes. Alternate sides with decreasing pressure until the burr is gone and the edge catches a fingernail uniformly along its length. A light stropping on leather charged with compound finishes the edge; drawknives respond beautifully to stropping because of their long, accessible bevel. Test on wood: a sharp drawknife peels continuous shavings with light pulling force, not dust or torn grain.
Caring for the tool and stones
Keep the stones flat; a dished stone rounds the drawknife's long bevel. Dry the drawknife after sharpening and oil it lightly; hand-forged steel is often high-carbon and rusts readily. Store the drawknife with its edge protected; a leather sheath or a simple wooden guard prevents the nicks that send you back to the coarse stone. Sharpening is maintenance, not restoration: a few minutes on the fine stone after use keeps the edge perpetually ready.
Read the bevel, keep the angle, work the full length, chase the burr evenly, and strop it keen. The forged drawknife will cut like the smith intended.
Related Guides
- Punching Drift Holes in Tool Steel Hammer Heads: Forging a hammer head means making an eye: the hole through which the handle passes, and the most structurally critical feature of the tool. The
- Hardening Face Plates on Heavy Anvil Horns: A blacksmith's anvil takes thousands of hammer blows, and its working faces must be hard enough to resist denting while the body stays tough enough
- Heat Treating Shock Resistant S7 Steel Cold Chisels: S7 is the shock-resistant tool steel, formulated to absorb impact without chipping or shattering, which makes it the natural choice for cold chisels
- Hardening Drift Punches With Differential Water Dips: A drift punch needs a hard working tip and a tough body that can take hammer blows without shattering. Hardening the whole punch uniformly makes it