
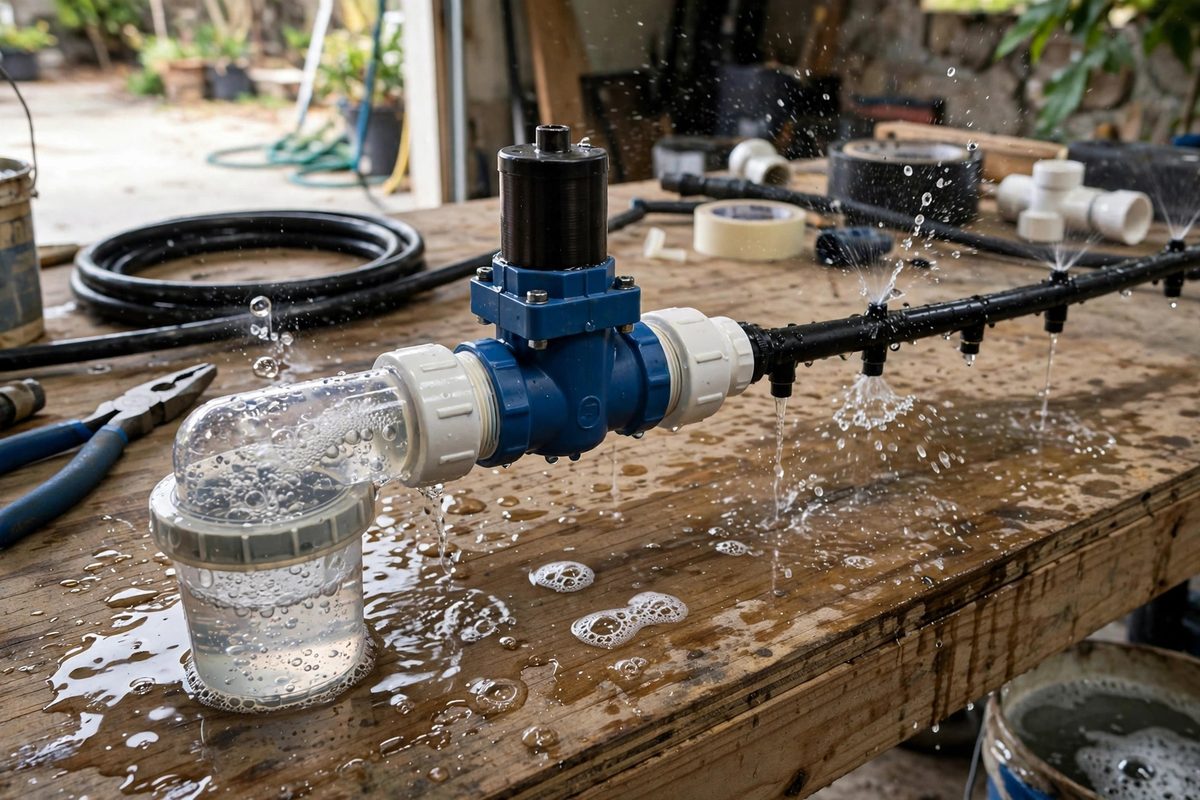
You start a drip zone and instead of a quiet, even seep you get sputtering, hammering, and half the emitters barely dripping. Trapped air is the usual suspect, and the solenoid valve is both the most common place for air to collect and the best tool for getting it out. Understanding how air gets in and how to bleed it properly will fix most drip-system startup problems in a few minutes.
How Air Gets Into the Lines
Air enters a drip system in several ordinary ways. Every time a zone drains down after a watering cycle, air replaces the water in the lines and emitters. Repairs and filter cleanings open the system and let air in. High spots in the layout collect air that rises out of lower sections, and on the first startup of the season the entire system is full of air from sitting idle. Drip tubing and emitters are especially sensitive because they run at low pressure and low flow: there is not enough force to shove a big air pocket through a hundred feet of tubing and out a pinhole emitter the way a sprinkler head can blast air clear. So the air sits there, and water squeezes around it in fits and starts.
Why Air Causes Sputtering and Uneven Zones
Trapped air does three bad things at once. First, it compresses, so when the valve opens, the air pocket acts like a spring: pressure builds, the pocket shrinks, then it bursts through an emitter and the pressure collapses, which reads as sputtering. Second, air locks block flow entirely in high spots, leaving downstream emitters dry while upstream ones work fine. Third, when the air finally purges suddenly it can hammer, sending a pressure spike through the tubing that stresses fittings. None of this means your valve or emitters are broken; it means the system needs to be filled smoothly and the air needs an exit path.
Manual Bleed Using the Valve's Bleed Screw
Most solenoid valves have a manual bleed: a small screw or a quarter-turn knob on top of the valve body. Opening it bypasses the solenoid and lets water flow directly through the valve, filling the zone. To bleed a zone, open the bleed screw slowly and let water run until the flow is steady and free of hissing or spitting, then close it. The steady flow matters: closing the bleed while air is still moving through just traps it downstream. On systems with an air or vacuum relief valve at the high point, leave it open until it starts spitting water, then close it. Work zone by zone from the valve outward, and give each zone enough time: drip lines fill slowly by design.
Using the Controller to Cycle the Zone
If the valve has no manual bleed, or as a second pass after bleeding, run the zone from the controller in short cycles. Turn the zone on for a few minutes, off for a few minutes, and repeat. Each on-cycle pushes the air front further down the tubing; each off-cycle lets pressure equalize and lets trapped pockets merge and migrate toward the emitters. Three or four short cycles clear a typical zone faster than one long run, because a single long run just compresses the air against the far end of the line without an escape route. While cycling, walk the line and listen: hissing at emitters means air is still coming out, and steady flow means that section is clear.
Finding Persistent Air Sources
If a zone needs bleeding every time it runs, air is getting in continuously, not just at startup. The prime suspects are a cracked or loose fitting on the suction side of the valve, a filter housing that is not sealing, or a check valve that has failed and is letting the zone drain back through the valve after every cycle. A zone that drains completely between cycles will always start with a full line of air. Look for wet spots at fittings, listen for air sucking in when the zone shuts off, and check that any elevation changes have vacuum relief valves installed so the lines stay charged. Fixing the source beats bleeding the symptom every day.
Startup and Shutdown Habits That Prevent Air
Seasonal startup deserves patience. Open the main supply slowly so water enters the system gently rather than ramming air pockets ahead of it, and bleed each zone at the valve before the first scheduled cycle. On shutdown, if you winterize with compressed air, keep the pressure low: drip tubing and emitters are not built for shop-air pressures, and excessive pressure can split tubing and crack emitter barbs. Low, steady air, zone by zone, with the bleed screw open to let the air escape, clears the lines without damage.
Trapped air is a maintenance issue, not a design failure. Bleed at the valve, cycle the zones, listen to the emitters, and fix whatever keeps letting air back in. A drip system that starts up smooth and runs silent is a system where water, not air, is filling the lines, and that is exactly what your plants are waiting for.
Related Guides
- Sub-Surface Lateral Drip Line Purging Valve Setups: Sub-surface drip irrigation is wonderfully efficient and quietly vulnerable. Buried emitters deliver water straight to the root zone with almost no
- Mainline Pressure Regulators for Zone Drip Lines: Drip emitters are designed for low pressure, and house water pressure is not low pressure. Hook drip zones straight to the main and you get misting
- Friction Head Loss in Drip Line Lateral Runs: A drip irrigation lateral that starts strong and dribbles at the far end is showing friction head loss: the pressure the water spends fighting the
- Backflow Prevention Check Valve Sizing on Slope Zones: Irrigation zones on a slope have a drainage problem that flat zones do not. When the zone shuts off, the water in the downhill lateral lines keeps