
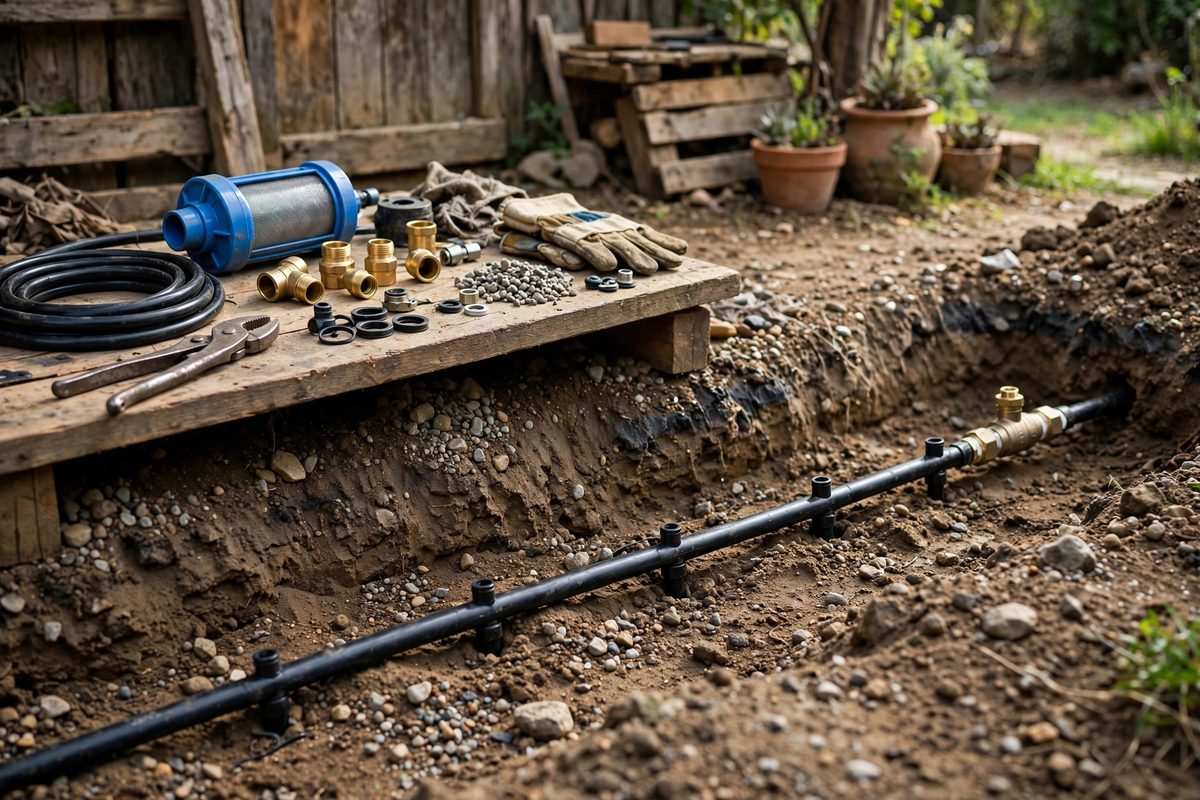
Sub-surface drip irrigation is wonderfully efficient and quietly vulnerable. Buried emitters deliver water straight to the root zone with almost no evaporation, but being underground means you cannot see when an emitter clogs, a line fills with sediment, or air locks a lateral. Purge valves, installed at the low ends of the laterals, are the maintenance access that keeps the whole system honest. Open them periodically and the line flushes itself: sediment, algae, and trapped air blow out in a muddy rush, and the emitters go back to their rated flow. A sub-surface system without purge valves is a system you cannot service.
Why buried lines need purging
Everything that plugs a drip emitter enters through the lateral, and the lateral accumulates it at its lowest points. Fine silt passes the filter and settles where the water slows. Bacterial slime and algae grow in the warm, dark, nutrient-rich environment. Air enters whenever the system drains or a repair opens the line, and trapped air pockets compress and expand with each cycle, hammering emitters and throwing off their flow. In a surface system you see the symptoms: a dry spot, a weak emitter. Underground, the first symptom is often a dead plant. Purging addresses all of these at once by running the lateral at high velocity with the emitters bypassed, scouring the line and expelling the air. It is preventive maintenance that takes minutes and prevents the slow decline that kills buried systems.
Where to put the purge valves
Place a purge valve at the downstream end of every lateral, at the lowest elevation point of that lateral's run. Water and sediment both obey gravity, so the purge point must be where they collect. On sloped ground this is straightforward: the downhill end. On flat ground, grade the lateral with a slight fall toward the purge end during installation, because a truly level buried line still needs a defined low point. For long laterals, consider whether one purge point can effectively flush the whole run; very long runs may benefit from a mid-line purge as well. The valve itself should be accessible: bring it up in a valve box or a riser to the surface, because a purge valve you cannot reach without digging is a purge valve that never gets opened.
Valve types and sizing
The purge valve needs to pass the full flushing flow of the lateral without choking it. Size it to the lateral pipe, not smaller, since any restriction at the purge point limits the scouring velocity upstream. Simple manual ball valves are the reliable choice: they open fully, they tolerate dirty water, and there is nothing to fail. Automatic flush valves exist that open at low pressure during startup and shut as the system pressurizes, giving a mini-purge every cycle without human intervention. They are a nice supplement but not a replacement for a manual valve, because the automatic units pass limited flow and cannot substitute for a deliberate high-velocity flush. Whatever the type, protect the valve from root intrusion and soil entry with a proper box and gravel sump, and orient it so it drains rather than holding water between purges.
The purging procedure
Purge with the system running at normal operating pressure and the purge valve opened fully, one lateral at a time. Let it run until the discharge runs clear, which usually takes a few minutes per lateral; the first flush on a neglected system can run impressively dirty. Watch the flow: a lateral that barely trickles from its purge valve has a blockage upstream or a supply problem, and that is diagnostic information worth chasing. Purge on a schedule, not on symptoms: a few times per growing season for most systems, more often with silty water or heavy biological growth. Keep a simple log of purge dates and what the discharge looked like. A lateral whose flush water keeps getting dirtier is telling you the filtration needs attention upstream.
Filtration: the other half of the system
Purge valves manage what gets past the filter, which makes the filter the first line of defense. Size filtration to the emitter's requirements, typically around one hundred twenty mesh for standard drip emitters, and maintain it on the same schedule as the purges. A filter that is never cleaned becomes the blockage, starving the whole zone. Consider the water source honestly: well water with fine silt, surface water with algae, and reclaimed water with biological load each demand their filtration and purge discipline. The purge valve and the filter are a team. Either one neglected makes the other's job impossible.
Winterization and line protection
In freezing climates, purge valves double as drain points for winterization. Open them with the system blown out or gravity-drained so no water sits in the low laterals to freeze and split the pipe. Even in mild climates, a purge valve left weeping through winter wastes water and erodes the soil around the box. After purging, close the valves firmly but without gorilla force; a cracked valve body from overtightening is a leak that runs all season. Cap or cover risers that stand above grade to keep mowers and feet away. The purge setup protects the system only as long as it survives the off-season intact.
Sub-surface drip lives or dies on maintenance access, and the purge valve is that access. Put one at the low end of every lateral, bring it up where you can reach it, size it to flush at full velocity, and open it on a schedule. A few minutes of muddy water a few times a season is the price of emitters that keep flowing year after year.
Related Guides
- Friction Head Loss in Drip Line Lateral Runs: A drip irrigation lateral that starts strong and dribbles at the far end is showing friction head loss: the pressure the water spends fighting the
- Solenoid Valve Air Bleed Procedures on Drip Systems: You start a drip zone and instead of a quiet, even seep you get sputtering, hammering, and half the emitters barely dripping. Trapped air is the
- Mainline Pressure Regulators for Zone Drip Lines: Drip emitters are designed for low pressure, and house water pressure is not low pressure. Hook drip zones straight to the main and you get misting
- Backflow Prevention Check Valve Sizing on Slope Zones: Irrigation zones on a slope have a drainage problem that flat zones do not. When the zone shuts off, the water in the downhill lateral lines keeps