
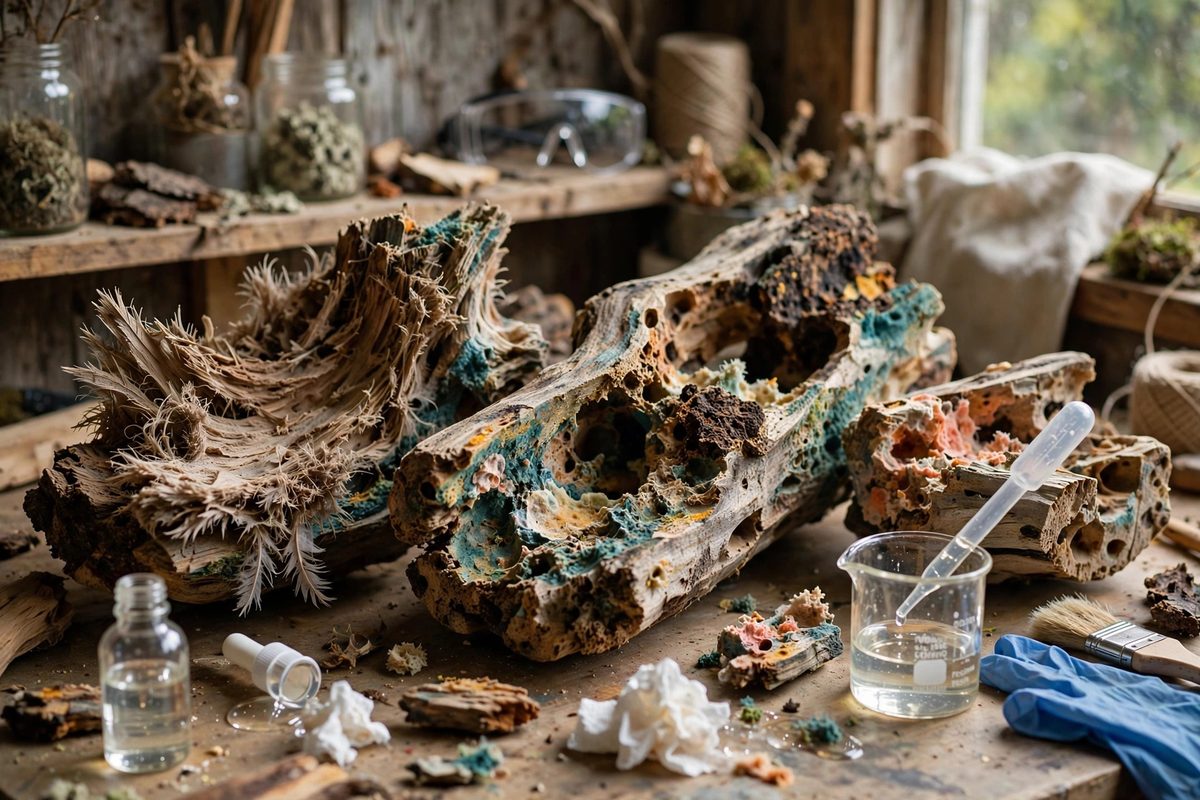
Punky wood, the soft, spongy, partially decayed wood found in driftwood and old logs, has extraordinary character: feathered grain, hollows, colors that sound wood never shows. It is also too weak to carve, sand, or finish without crumbling. Stabilizing it with low-viscosity resin turns that fragile beauty into workable material by filling the decayed cell structure with hardened plastic. Here is how the process works and how to do it well.
What punky wood needs
Sound wood is a bundle of intact cellulose tubes; punky wood is those same tubes with their walls partially eaten away, leaving a fragile honeycomb. Low-viscosity resin works because it flows into those voids by capillary action, surrounding and supporting the remaining fibers. Once cured, the resin-wood composite machines, sands, and polishes like a much denser material while keeping the punky wood's wild figure. The key word is low-viscosity: thick resin bridges over the surface instead of penetrating, leaving a hard shell over a crumbly core that collapses at the first cut.
Choosing the resin
Thin penetrating epoxy formulations and purpose-made wood stabilizing resins are the standard choices; both are designed to wick deep into porous material. Avoid fast-cure resins for stabilization: the exothermic reaction in a large punky piece can overheat, and short working times do not allow full penetration. A slow cure, several hours of working time, lets the resin travel. For pieces that will be turned on a lathe, confirm the cured resin is rated for the speeds and the dust is manageable; stabilized punky wood turns beautifully but the dust is a resin-wood mix that demands good respiration protection.
Drying before stabilizing
Resin and water do not mix, and punky wood, especially driftwood, holds surprising amounts of moisture deep inside. Dry the piece thoroughly before stabilizing: air dry for weeks, or oven-dry gently at low temperature (under 200°F) until the weight stops dropping. Rushing this step is the most common failure: residual moisture blocks resin penetration and can cause curing problems, leaving soft, uncured pockets inside the piece. Weigh the piece before and after drying; stable weight means dry wood.
The stabilization process
Submerge the dry piece in resin in a container it fits comfortably. For deep penetration, a vacuum chamber is the professional method: vacuum pulls air out of the wood's voids, and releasing the vacuum drives resin in. Without vacuum, long soaking still works for moderately punky pieces: submerge for 24 to 48 hours, weighing the piece down so it stays under. Warm resin flows better than cold, so work in a warm shop. After soaking, remove the piece, let excess resin drain and drip off, and cure it fully according to the resin's schedule, supporting the piece so it does not cure stuck to the bench.
Safety and finishing
Work with resin in ventilation, wear gloves and eye protection, and treat uncured resin as the skin sensitizer it is; sensitization is cumulative and permanent. The vacuum chamber, if used, must be rated for full vacuum; improvised chambers can implode. Once cured, the stabilized wood works like dense hardwood: carve, sand through the grits, and finish normally. The punky figure that made the piece irresistible is now locked in resin, ready for a lifetime of handling.
Dry it completely, soak it in thin resin until it will take no more, cure it fully, and respect the chemistry while you work. Punky wood's second life is worth the patience.
Related Guides
- Stabilizing Punky Root Wood With Deep Vacuum Resins: Root wood and burls have the wildest grain in the forest, and they are often punky: partially decayed, soft, crumbly, beautiful, and structurally
- Desalination Soaking Baths for Driftwood Sculpture: Driftwood arrives at the beach carrying the ocean inside it. Years of soaking in salt water load the wood's pores with salt crystals, and that salt
- Acetone Dehydration Baths for Weathered Root Woodwork: Weathered root wood, the gnarled, sculptural pieces pulled from riverbanks and old stumps, arrives saturated with water and full of hidden decay
- Vacuum Pressure Infusion of Resin Into Dry Driftwood: Driftwood is beautiful and fragile. Years of water and weather leave it riddled with checks, soft pockets, and hidden voids that crumble under a