
Toned paper, with its middle-value gray or tan surface, lets the sketcher work both directions: dark charcoal or graphite for shadows, white chalk or pastel for highlights. Stumping and smudge blending, the techniques of softening marks by rubbing, are how those tones melt into the paper's middle value for smooth, luminous gradations. Done well, the result has a painterly depth that white paper struggles to match.
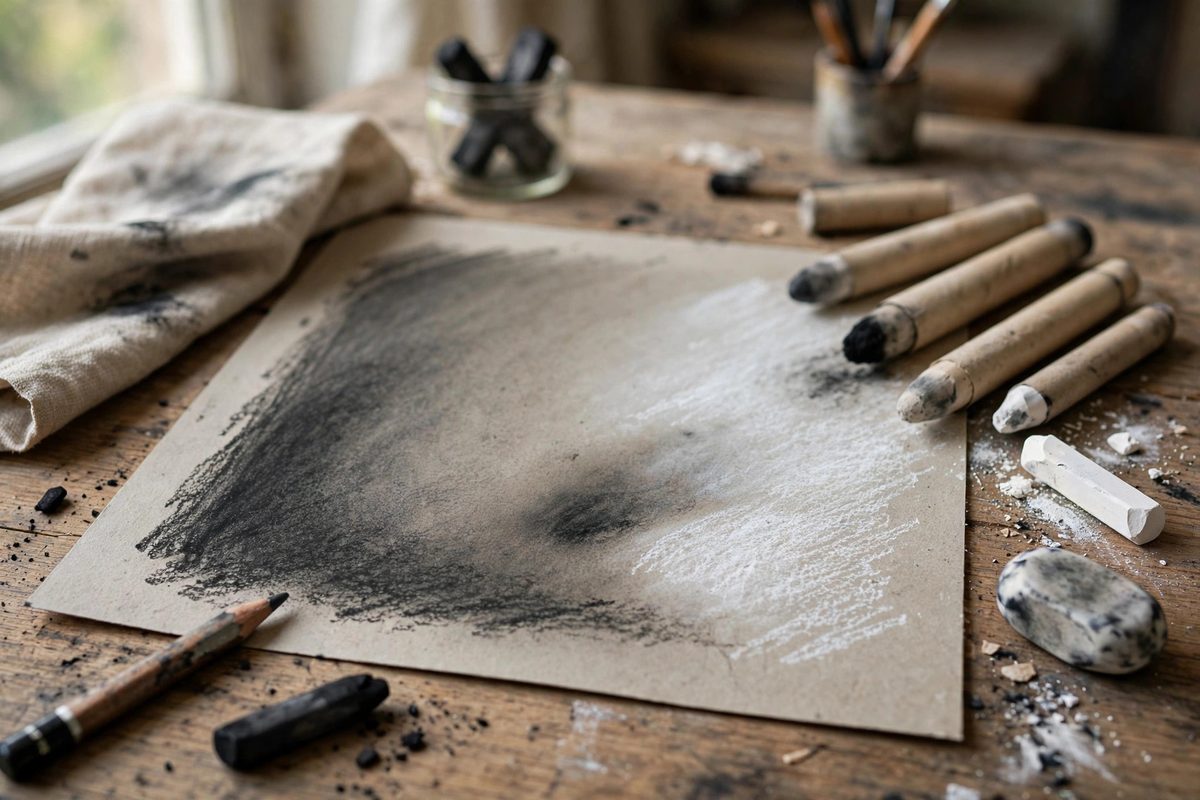
Why Toned Paper Suits Blending
On white paper, every blend moves toward gray; on toned paper, blending moves toward the paper's own middle tone, which is already a finished-looking value. This means less work to achieve convincing form: the paper does half the modeling for you. The darks go on with the drawing medium, the lights go on with white, and blending merges each into the paper tone seamlessly. The paper's tooth holds the medium well, giving the stump something to work with. Toned paper also forgives: a blend that goes too far simply becomes more paper tone, not a muddy mess. This forgiveness makes it an ideal surface for learning blending control.
Tools: Stumps, Tortillons, and Fingers
A paper stump is a tightly rolled cylinder of soft paper with points at both ends; a tortillon is similar but more loosely rolled and usually smaller. The stump's firm, smooth point blends with control and can also draw soft lines; the tortillon's softer texture blends more diffusely. Fingers blend fastest and warmest but deposit skin oils that can resist later layers and darken the paper over time; many artists reserve fingers for large areas and use stumps for detail. Chamois cloth blends broad areas softly, and kneaded erasers both lift and blend, pulling medium back out of the paper. Keep the stumps clean by rubbing them on scrap paper or sandpaper; a dirty stump deposits old dark into light areas, which is the most common blending accident.
Blending Technique
Lay down the medium first, then blend: the stump moves existing material, it does not add it. Use small circular or back-and-forth motions with light pressure, working from the dark area toward the light so the dark feathers out gradually. Build the blend in passes rather than scrubbing hard once; heavy pressure burnishes the paper's tooth, creating a shiny spot that will not take more medium. On toned paper, blend the darks into the paper tone and stop: over-blending past the paper's value muddies the middle tone you are relying on. For highlights, apply white chalk or pastel, then blend its edges into the paper the same way. The goal is always a smooth transition between three values: dark medium, paper tone, white highlight.
Controlling Edges
Blending softens everything it touches, so protect the edges you want to keep crisp. Work up to a sharp edge and stop, or mask it with a piece of paper while blending adjacent areas. Lost edges, where the form melts softly into the background, are beautiful and intentional; accidental softening of a edge that should be sharp just looks unfocused. Decide edge by edge. A useful discipline is to establish all the sharp edges first with direct drawing, then blend the interior modeling without touching the edges. The kneaded eraser is the precision tool here: it can sharpen a softened edge back up by lifting the blend selectively. Think of blending and the eraser as a pair: one softens, the other redefines.
Fixing and Preserving
Blended charcoal and chalk on toned paper smudge if breathed on, so fix the finished sketch with workable fixative in light coats; heavy fixative darkens the tones and kills the paper's luminosity. Spray from the recommended distance in a ventilated area, let each coat dry, and check that the values still read correctly. Store finished sketches interleaved with glassine to prevent transfer. And remember that the paper tone is part of the artwork: choose it deliberately for the subject, since a warm tan and a cool gray produce entirely different moods from the same drawing. The blend is the technique; the paper is the partner.
On toned paper, stumping blends darks and lights into the paper's own middle value: lay medium first, blend in light passes with clean tools, protect the sharp edges, and fix lightly. The paper does half the work; blending does the rest.
Related Guides
- Learn One-Point Perspective Drawing: Draw Realistic 3D Scenes on Flat Paper Ever wondered how artists make drawings look three-dimensional? The secret is perspective - the technique of
- Cross Hatching Line Density for Midtone Shading: Midtones are the hardest value range in pen drawing. Shadows are easy: pack lines densely and go dark. Highlights are easy: leave the paper alone
- Graphite Grade Stacking for High Contrast Tones: High contrast drawing, the kind with deep, velvety blacks against luminous paper white, is not achieved by pressing harder with one pencil. It is
- Graphite Grade Stacking for Seamless Value Gradients: A seamless value gradient in graphite does not come from pressing harder with one pencil. It comes from stacking grades: laying each hardness in its