
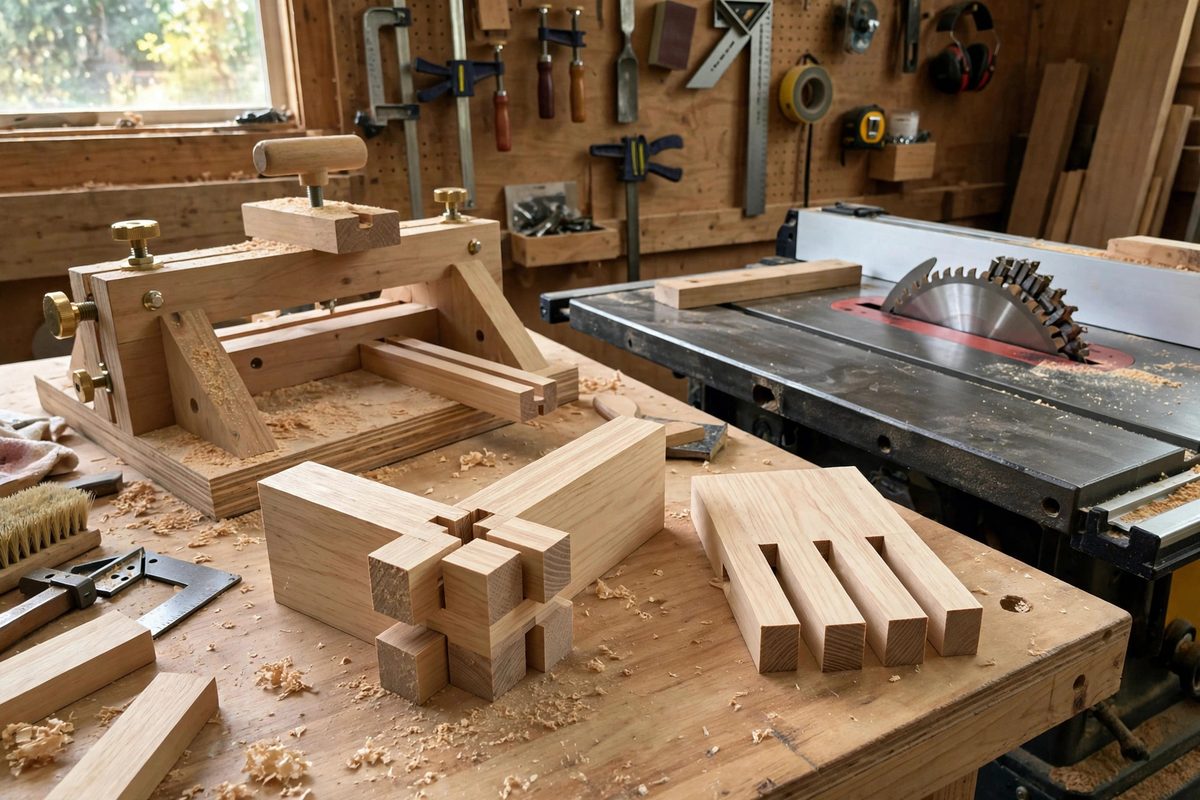
Box joints, the square-fingered cousins of dovetails, are cut on the table saw with a jig and a dado stack, and their quality lives entirely in the spacing. Each finger must match its mating slot with a fit that slides together with hand pressure and holds with glue: too tight and the joint will not assemble or splits trying; too loose and it is a sloppy box held together by hope. Tuning the finger spacing is a calibration exercise, and the table saw jig is the instrument.
How the Jig Sets the Spacing
The standard box joint jig is a sled with a key, a pin exactly the width of one finger, that indexes the workpiece for each cut. Cut a slot, move the work so the slot drops over the key, cut the next slot, and the spacing between slots equals the key width plus the dado width. The finger width is set by the dado stack; the spacing rhythm is set by the key. When the dado width and the key width match exactly, the fingers and slots are uniform and complementary.
The critical relationship is between the key and the dado cut. If the key is even slightly wider or narrower than the actual slot the dado stack cuts, the error compounds with every index: each successive slot lands a little off, and by the far end of a wide board the fingers visibly drift. The jig must be tuned to the actual cut, not to the nominal dado width.
Calibrating Key to Dado
Cut a test slot in scrap with the dado stack at its working height, then measure the actual slot width with calipers. Make the key to that measurement, not to the number on the dado shims. Wood moves and dado stacks cut slightly differently under load than their arithmetic suggests; the caliper reading of a real cut is the truth.
Test the calibration by cutting a short comb, four or five fingers, in scrap, then cutting its mate and dry-fitting. The fit should require firm hand pressure, not mallet force. If the test comb fits at four fingers but binds at eight, the key is microscopically off and the error is accumulating; adjust the key and retest. Small errors announce themselves over distance.
Accounting for Glue and Wood Movement
The dry fit should be snug but not tight, because glue adds thickness. A joint that needs a mallet dry will be impossible once glue swells the fibers; a joint that slides together with firm hand pressure dry will close perfectly with glue. Aim for the fit that feels just right dry, knowing the glue will take up the last bit of clearance.
- Cut all of one board's fingers before cutting its mate; setup drift between the two ruins the match.
- Keep test pieces from the same stock; different boards cut slightly differently.
- Mark the jig's fence position and do not move it mid-batch; even a bump changes everything.
- Cut fingers slightly proud in length and trim flush after glue-up; perfect length at the saw is unnecessary precision.
Dealing With Tearout
Box joint fingers tear out at the back of the cut where the dado stack exits, especially in brittle woods or plywood. A sacrificial backer board on the jig, replaced as it wears, supports the fibers and keeps the finger ends clean. Climb-cutting the last whisker is a temptation to avoid; it is dangerous on a table saw and unnecessary with a backer.
Sharp dado teeth matter enormously. A dado stack that has cut miles of sheet goods will leave fuzzy finger walls that fit poorly and glue weakly. The fingers' glue surfaces are end grain and long grain mixed; clean cuts give the glue something to hold, and fuzzy cuts give it fluff.
Scaling Up: Wide Boards and Fine Fingers
Wide boards amplify every error, so tune on a test piece as wide as the real work. Fine fingers, quarter inch and below, demand tighter calibration because there is less clearance to absorb error; they also benefit from slower feed rates and impeccable backer support. Coarse fingers are forgiving of small errors but show gaps more visibly, so the aesthetic standard rises even as the mechanical tolerance loosens.
Once the jig is tuned for a given finger size and stock, record the setup: dado shim arrangement, key measurement, fence position, blade height. The next box joint session starts from the record, not from scratch, and tuning becomes verification rather than discovery.
Match the key to the real cut, test on scrap as wide as the work, fit for glue, and back the cut against tearout. Box joints are pure calibration: when the spacing is right, the joint practically assembles itself, and that satisfying slide-together is the sound of a tuned jig.
Related Guides
- Build a Table Saw Crosscut Sled: Why Every Woodworker Needs a Crosscut Sled A crosscut sled is one of the most valuable jigs you can build for your table saw. Think of it as a
- Maintaining Traditional Wooden Bench Clamps: The wooden bench clamp, whether a leg vise with its massive wooden screw, a shoulder vise, or a traditional hand screw, is one of the oldest
- Scraping and Truing Traditional Wooden Hand Screws: The wooden hand screw, the classic parallel-jaw clamp with two wooden screws, is one of the most useful clamps ever designed, and vintage ones often
- Dado Blade Wobble Elimination With Ground Shims: A dado stack that wobbles cuts a dado wider than intended, with ragged shoulders and a bottom that is not flat. The wobble often comes not from a bad