
Amigurumi, the Japanese art of crocheted stuffed toys, demands a fabric with no visible holes: the stuffing must stay invisible no matter how the toy is squeezed. The standard single crochet stitch, worked the usual way, often leaves tiny gaps between stitches that open into stuffing-showing pinholes under tension. The yarn-under variation of the single crochet solves this by changing how the yarn is wrapped during the stitch, producing a tighter, denser, more uniform fabric with the same hook and yarn. It is a small technique change with an outsized effect on toy quality.
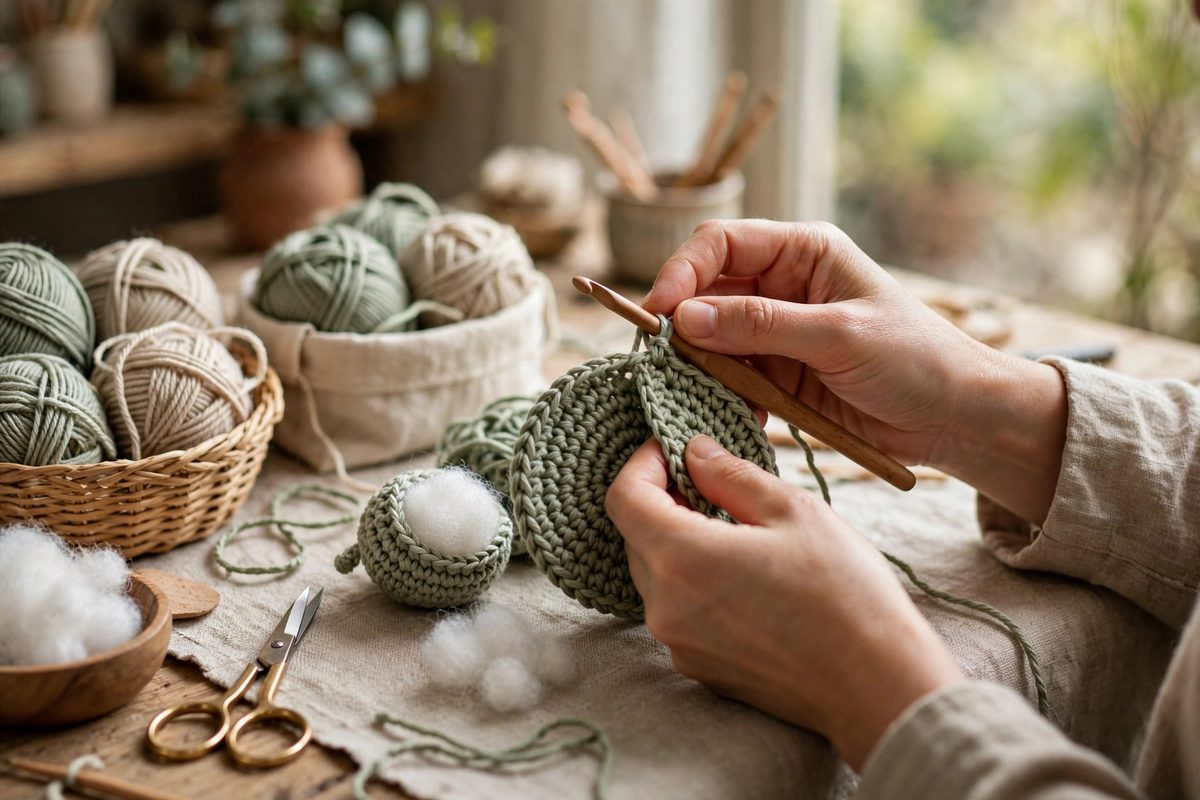
Yarn over versus yarn under
In a standard single crochet, you yarn over: the yarn passes over the top of the hook before being drawn through. In the yarn-under variation, the yarn passes under the hook instead. This single change alters the stitch's geometry. The yarn-under stitch twists the loops differently, seating them tighter against each other and producing a stitch that is slightly shorter, denser, and more vertical, with the characteristic V of the stitch sitting straighter. The resulting fabric has less space between stitches, which is exactly what amigurumi needs. The difference is visible in a side-by-side swatch: the yarn-over fabric looks slightly open and slanted, while the yarn-under fabric looks like a tight, even grid.
Why tightness matters in toys
A stuffed toy is a pressure vessel in miniature. Every squeeze pushes the stuffing outward against the crocheted shell, and the shell's integrity depends on the gaps between stitches staying smaller than the stuffing fibers. Standard single crochet under stuffing pressure opens its characteristic tiny holes, and white or light stuffing shows through dark yarn as unmistakable dots. The yarn-under stitch's denser structure resists this opening; the stitches lock against each other and the fabric behaves more like a woven textile than a net. This matters most in the high-stress areas: the increases and decreases of shaping, where stitch geometry is already distorted, and the seams where parts join. A toy that looks perfect unstuffed can reveal its holes the moment it is filled, so the stitch choice must anticipate the stuffing.
Learning the yarn-under motion
The motion feels wrong at first to anyone trained on yarn over, which is why deliberate practice matters. Insert the hook, then instead of wrapping the yarn over the top, bring the yarn under the hook from front to back before drawing through. The pull-through requires a slightly different wrist angle, and the stitch completes with the loops seated in their tighter configuration. Practice on a flat swatch before committing to a toy, working enough rows to retrain the muscle memory; the first few rows will be slow and uneven, which is normal. Pay attention to tension: yarn under naturally produces a tighter stitch, so consciously relax the yarn hand slightly to avoid strangling the stitches, which makes the fabric stiff and the hook work exhausting. The goal is dense, not death-grip.
Tension and hook size adjustments
Because yarn under tightens the fabric, you may need to adjust the hook size up slightly compared with what a pattern specifies for yarn over, particularly if you crochet tightly to begin with. The test is the fabric, not the hook label: work a swatch, stuff a small sample pouch, squeeze it, and check for show-through. If the fabric is bulletproof but board-stiff, go up a hook size; the yarn-under technique preserves density even with a slightly larger hook. Conversely, loose crocheters sometimes find yarn under alone insufficient and still need to drop a hook size. Let the stuffed swatch be the judge. Patterns written specifically for amigurumi increasingly assume yarn under, so check the pattern's notes before adjusting.
Shaping with yarn under
Increases and decreases behave slightly differently in yarn-under fabric, and clean shaping is what separates professional-looking toys from lumpy ones. Work invisible decreases, drawing through front loops only, to avoid the bulk and gaps of standard decreases; in the dense yarn-under fabric, a standard decrease creates a noticeable bump. Distribute increases evenly and keep them aligned or staggered deliberately depending on whether you want visible shaping lines. The tighter stitch shows every irregularity, which is both the technique's strength and its demand: consistent tension matters more here than in looser crochet, because there is no openwork to hide behind. Count stitches religiously through shaping sections; in dense fabric, a missed stitch is hard to spot and harder to fix later.
Finishing for a flawless toy
Stuff firmly and evenly, using small pieces of stuffing worked into the extremities first; lumpy stuffing shows through even the tightest crochet. Close openings with a yarn needle, weaving through the front loops and cinching, then bury the tail inside the toy. The yarn-under fabric's density makes tails harder to hide, so plan the tail path before cinching. Step back and inspect the finished toy under good light, squeezing gently to check for show-through at the stress points. The reward for the technique's demands is a toy with a smooth, professional surface that looks machine-tight and survives years of loving abuse.
Yarn under transforms the single crochet from an open stitch into a toy-grade fabric: same hook, same yarn, tighter result. Retrain the hand on swatches, calibrate hook size against a stuffed sample, shape invisibly, and stuff firmly. The stuffing stays where it belongs, invisible, and the toy looks as good as the pattern promised.
Related Guides
- Yarn Over vs Yarn Under Tension in Miniature Toys: Amigurumi, the Japanese art of crocheting miniature toys, lives or dies on stitch tension. The difference between a toy with a smooth, firm surface
- Invisible Decrease Tension in Dense Amigurumi: Amigurumi, the Japanese art of crocheted stuffed creatures, lives or dies on its fabric density: the stitches must be tight enough that stuffing
- Seamless Color Changes in Continuous Spiral Crochets: Amigurumi and other spiral-crocheted pieces grow in a continuous helix with no joining seam, which is wonderful until you need to change color: the
- Preventing Stitch Distortion in Spiral Amigurumi Tubes: Amigurumi worked in a spiral has no seam, which is its charm and its trap. Without a joining round to reset the alignment, stitches drift: the spiral