
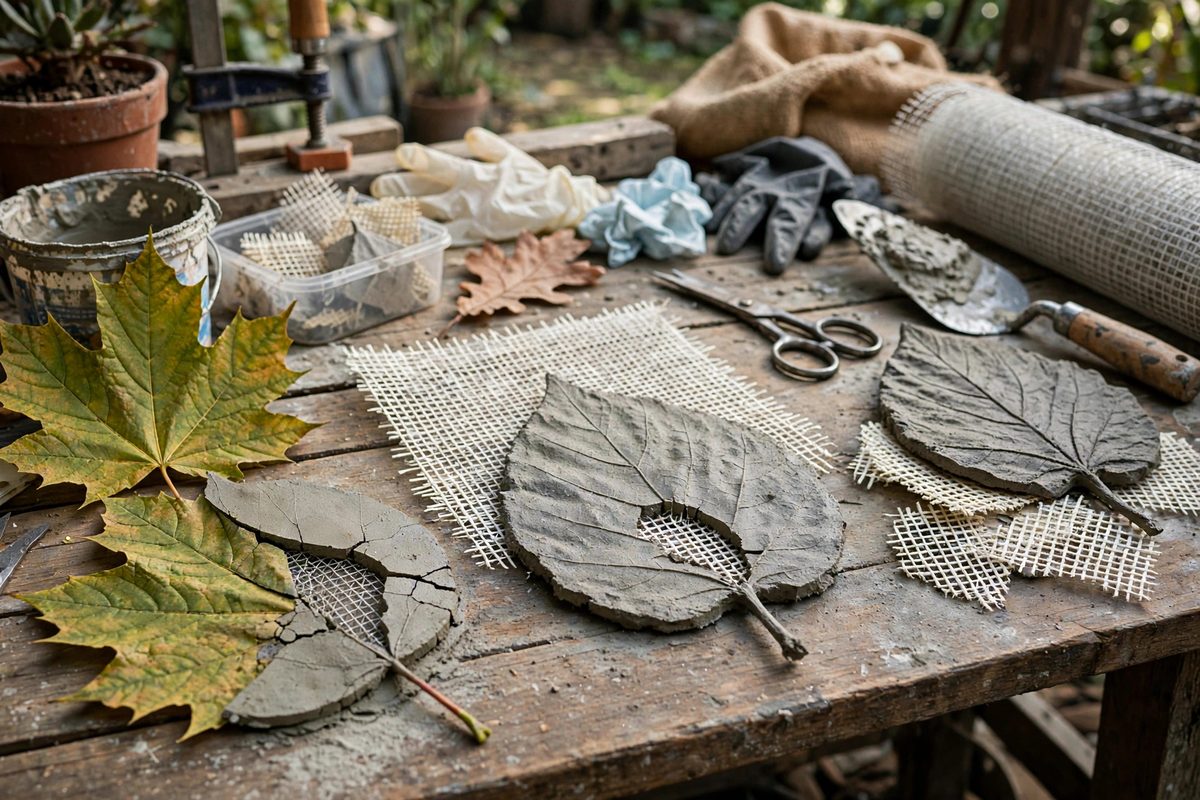
Cement leaf castings, made by pressing real leaves into a cement mold or casting cement over them, are garden art with a structural problem: thin cement sections crack. Alkali-resistant fiber mesh, embedded in the casting, gives the thin leaf its tensile strength. Laying the mesh correctly is what makes the leaf survive frost, handling, and time.
Why cement leaves need reinforcement
Cement is strong in compression and weak in tension. A leaf casting, thin with complex curves, experiences tension whenever it is lifted, knocked, or frozen; without reinforcement, the first hard frost or careless handling cracks it. Fiber mesh embedded in the cement carries the tensile loads the cement cannot, distributing stress across the leaf. The mesh does not make the leaf indestructible, but it moves the failure point far beyond normal garden life.
Why alkali-resistant specifically
Fresh cement is highly alkaline, and ordinary glass fiber degrades in that environment, losing strength over months. Alkali-resistant glass fiber is formulated with zirconia to survive the alkalinity, maintaining its reinforcement for the life of the casting. This is not a minor specification: standard fiberglass mesh in a cement leaf is a time bomb, strong at first and crumbling within a year or two. Buy mesh specified for cement use, and verify the specification; the price difference is small and the lifespan difference is enormous.
Mesh layout in the leaf
The mesh should sit in the middle of the leaf's thickness, not at the surface or the back. Centered mesh reinforces against bending in both directions; mesh at the surface shows through and mesh at the back leaves the face unreinforced. Cut the mesh to follow the leaf's shape, slightly smaller than the casting, so no mesh pokes out at the edges. For large leaves, overlap mesh pieces generously; the overlap transfers load between sheets. Press the mesh into the first cement layer, then cover it with the second, sandwiching it at mid-thickness.
Layering the casting
Build the leaf in layers: a face layer pressed into the mold for detail, the mesh layer, and a back layer for thickness and strength. Each layer should be placed before the previous one sets, so the layers bond chemically into one piece; cold joints between layers are weak planes. Work the cement into the mesh to eliminate air pockets, which become voids that weaken the casting. The layering is quick work once the materials are ready; have everything cut and mixed before starting, because cement waits for no one.
Vein detail and mesh interaction
The leaf's vein detail comes from the mold, usually a real leaf, and the mesh must not interfere with it. Keep the mesh back from the face layer so the fine vein impressions stay crisp; the mesh is structure, not surface. In deeply veined leaves, the cement is thinnest at the vein bottoms, which is exactly where cracks start; ensure the mesh covers these areas. The art and the engineering meet at the veins: beautiful detail backed by real strength.
Curing for strength
Cement gains strength through proper curing, not just drying. Keep the casting damp for several days after making it: cover with plastic, mist regularly, and keep it out of direct sun and wind. Rushed drying produces weak, crack-prone cement no matter how good the mesh layout. After curing, the leaf can be sealed for weather resistance, though a well-made leaf survives outdoors unsealed. Patience in curing is the final ingredient in a leaf that lasts decades.
Use true alkali-resistant mesh, center it in the casting, layer wet-on-wet, keep it clear of the vein detail, and cure damp and slow. The cement leaf will hold its shape and its strength through seasons of garden life.
Related Guides
- Polymer-Fortified Cement Slurries for Leaf Impressions: Pressing a leaf into wet cement captures every vein and serration in stone, making garden art that outlasts the plant by decades. But plain cement is
- Reinforced Concrete Slurry Mixes for Leaf Castings: A leaf casting captures a leaf's veining in concrete with a fidelity no carving can match: you press a real leaf into sand, pour concrete over it
- Vibrating Mortar Slurry to Stop Air Pockets in Casts: Leaf casting, pressing real leaves into mortar to capture their veining in concrete, lives or dies on surface quality: the leaf's delicate detail
- High Strength Aggregate Mixes for Detailed Leaf Casts: A leaf cast lives or dies on the mix. The plaster or cement has to capture vein detail fine enough to read, then survive being handled, hung, and