
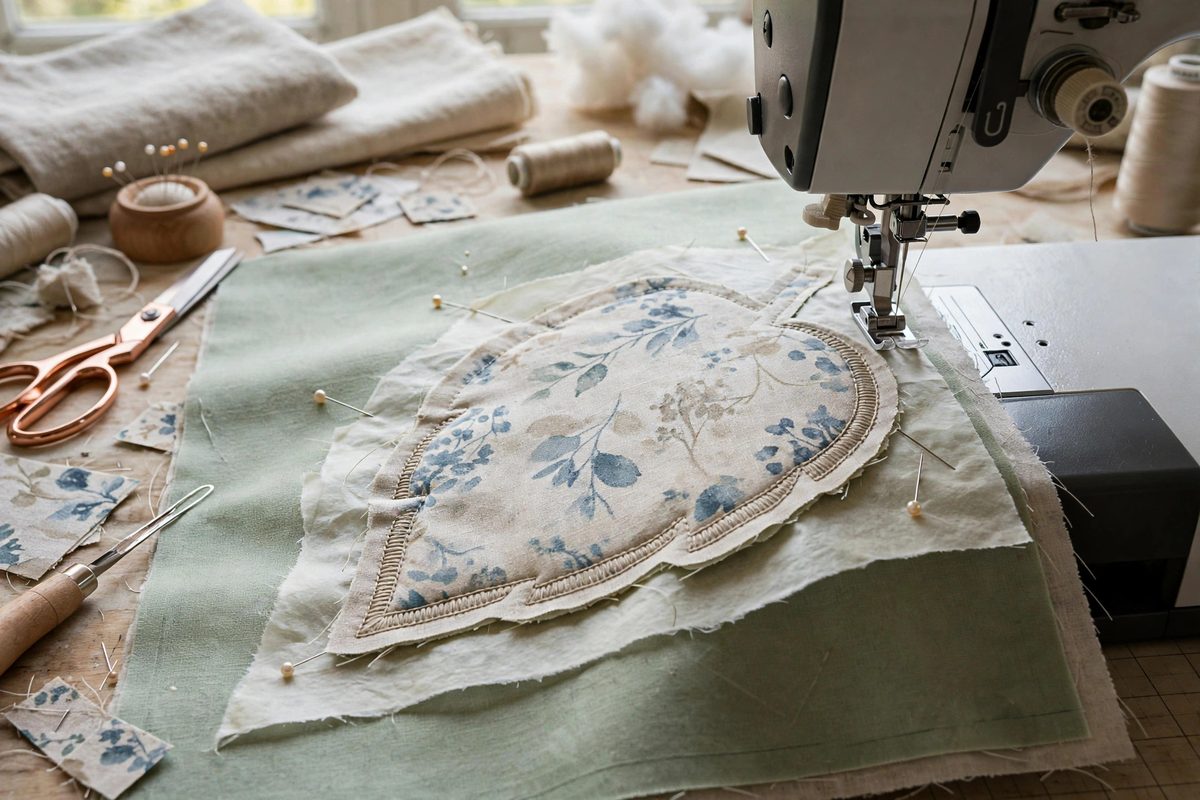
Machine applique lives or dies at the edges: the satin stitch or blanket stitch that binds the applique piece to the background must land precisely on the boundary, covering the raw edge completely without wandering onto the applique or gapping off it. On slippery fabrics, stretchy knits, or intricate shapes with tight curves, the applique piece shifts under the presser foot and the boundary moves mid-stitch. Basting a tissue underlay beneath the applique stabilizes the whole assembly: the tissue grips the layers, tears away cleanly afterward, and the stitching lands where it was aimed. It is a humble material doing a critical job.
Why applique edges wander
Several forces conspire against edge accuracy. The feed dogs advance the bottom layer while the presser foot restrains the top, and any difference in friction between the layers makes them creep relative to each other. Dense satin stitching itself distorts the fabric, pulling it toward the stitching line with each pass; on unstabilized fabric this tunneling effect drags the applique edge out from under the stitches. Intricate shapes compound the problem: tight inside curves require pivoting the work, and each pivot is an opportunity for the layers to shift. The result is the familiar set of applique flaws: raw edge peeking from under the satin stitch, stitching wandering onto the applique face, and puckered boundaries. Stabilization addresses the root cause, which is layer movement, rather than the symptoms.
How tissue underlay stabilizes
A sheet of lightweight tissue basted beneath the background fabric changes the friction equation. The tissue's fibrous surface grips both the background fabric and the machine bed, resisting the differential creep that shifts layers; it effectively couples the layers into a single unit that feeds as one. The tissue also distributes the presser foot's pressure more evenly and gives the dense edge stitching a stable foundation, reducing the tunneling distortion. Unlike fusible stabilizers, tissue adds no permanent stiffness or residue, which matters for applique on quilts and garments where the finished hand must stay soft. And unlike wash-away stabilizers, it needs no water: it tears away mechanically when the stitching is done. For the specific problem of edge accuracy during stitching, tissue is the minimal, targeted intervention.
Choosing and preparing the tissue
Use plain, unprinted lightweight tissue, the kind sold for pattern making or gift wrapping without inks or coatings; printed tissues can transfer ink under the iron or the needle's heat, and coated tissues tear poorly. Cut the tissue generously larger than the applique area, since its stabilizing effect extends a little beyond its edges and skimping leaves the boundary's surroundings unsupported. For large applique fields, overlap multiple sheets slightly; the overlap zones stabilize fine. Avoid tissue with a strong grain direction difference that might bias the feeding; in practice, plain tissue is isotropic enough for this use. Keep the tissue dry and flat in storage, since damp or crumpled tissue stabilizes unevenly.
Basting method and stitching sequence
Layer the assembly as tissue on the bottom, background fabric above it, applique piece on top, positioned exactly. Baste the layers together with long hand stitches or a water-soluble basting method, keeping the basting outside the final stitching lines where possible so the basting itself does not interfere with the edge. The basting's job is to prevent gross shifting; the tissue's job is to prevent micro-creep during stitching. They work as a team. Stitch the applique edge with the assembly supported: avoid letting the work's weight drag from the machine bed, which pulls the layers. After the edge stitching is complete and inspected, tear the tissue away gently from the back, supporting the stitching with the other hand; it should release in clean pieces along the perforations the needle made. Remove every scrap, since leftover tissue shows through light fabrics and crinkles in the wash.
Handling curves and points
Tissue underlay shines brightest on the shapes that otherwise defeat accuracy. On tight outside curves, the stabilization lets you pivot the work without the applique piece rotating independently; reduce speed and pivot with the needle down. On inside curves and sharp points, where the fabric wants to bunch, the tissue keeps the layers flat and registered; clip the applique's seam allowance at the curves before stitching so the edge can spread without distorting. For points, stitch to the tip, pivot precisely, and let the tissue hold everything while you reorient. The combination of tissue stability and careful pivoting produces points and curves that look drafted rather than wrestled.
When tissue is not enough
Tissue handles layer creep, but some applique challenges need more. Very stretchy backgrounds may want a light fusible knit stabilizer in addition to the tissue, trading a little permanent body for essential stability. Heavily dimensional applique, with batting or trapunto layers, needs the full quilt-sandwich basting treatment, since tissue alone cannot manage thick shifting layers. And no stabilizer compensates for a dull needle, wrong thread tension, or stitching too fast for the shape; the tissue is a foundation, not a substitute for machine setup and technique. Diagnose honestly: if the edges wander with tissue and good basting, the problem is elsewhere in the setup.
Baste tissue underlay beneath machine applique to lock the layers against creep: plain lightweight tissue, layered under the background, basted as a unit, stitched with support, torn away cleanly after. Edges land where aimed, curves stay true, and the finished applique keeps its soft hand. Small material, decisive difference.
Related Guides
- Fusible Web Weight Selection for Raw Edge Appliqué: Raw edge appliqué bonds fabric shapes to a background with fusible web, then secures the edges with stitching, leaving the cut edges exposed as a
- Stiletto Piercing Precision for Turned Needle Appliqué: Needle-turn appliqué asks you to fold a raw fabric edge under itself, a sixteenth of an inch at a time, and stitch it down invisibly while the shape
- Freezer Paper Stabilizing for Micro Needle Turn Curves: Needle-turn applique on tiny curves, the petals of a miniature flower, the tight arcs of a small motif, asks the fabric to do something it resists
- Paper Backed Fusible Web Sizing for Clean Appliqué: Fusible web is the applique artist's shortcut: an adhesive film that bonds fabric shapes to a background with heat, no pinning, no basting, no