
Needle-turn applique on tiny curves, the petals of a miniature flower, the tight arcs of a small motif, asks the fabric to do something it resists: turn a smooth, tiny hem on a curve. Freezer paper, ironed to the back of the shape, gives the fabric a temporary skeleton that makes those micro curves crisp and controllable.
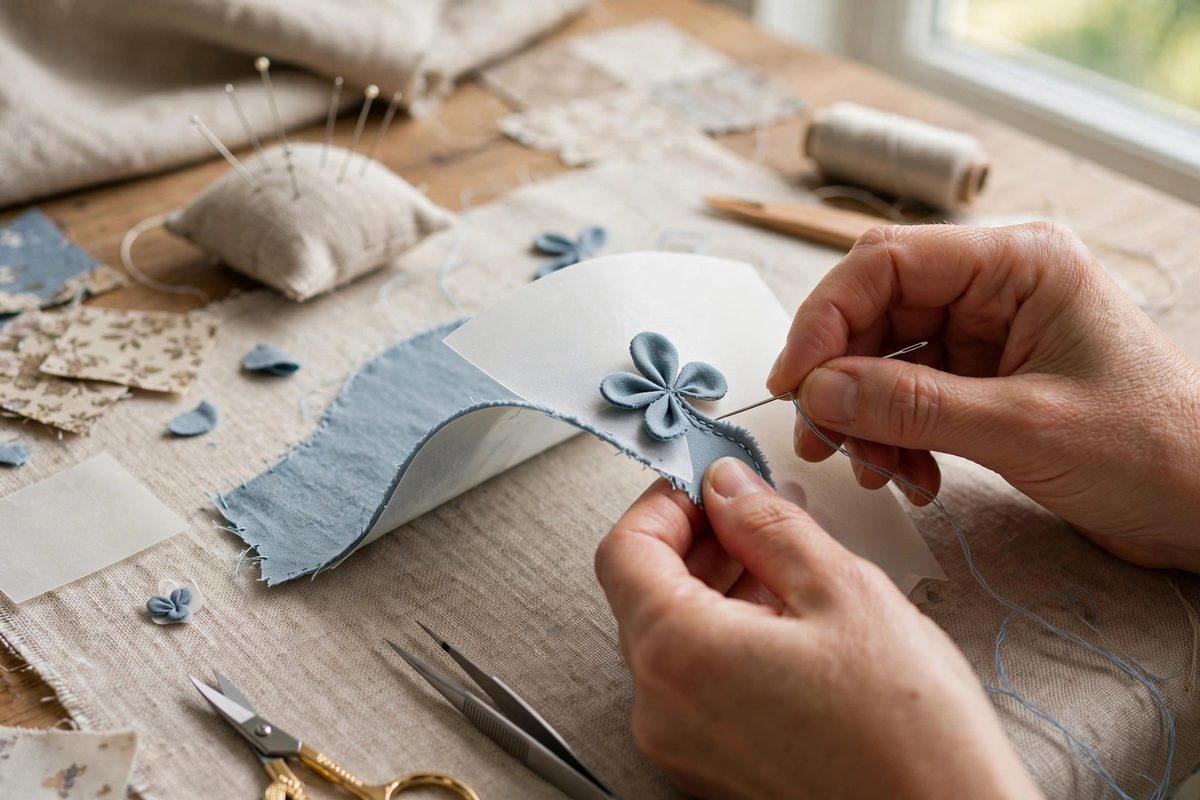
How freezer paper stabilizes
Freezer paper has a plastic coating on one side that bonds to fabric with a hot iron and releases cleanly when pulled away. Cut to the exact shape of the applique piece, ironed on, it stiffens the fabric so the seam allowance can be turned over its edge precisely. The paper's edge becomes the turning guide: fold the fabric over it, press or baste, and the curve comes out smooth. For micro curves, where fingers alone cannot control the turn, that guide is the difference between a clean arc and a lumpy one.
Cutting the paper templates
Cut the freezer paper to the finished size of the applique shape, without seam allowance; the seam allowance is the fabric that extends beyond the paper and gets turned under. Cut accurately, because the paper edge is the edge the viewer will see. For micro shapes, cut with small sharp scissors or a craft knife, and cut on the plastic-coated side's reverse so your markings do not transfer. Make a few extras; tiny paper templates are easy to lose and quick to cut.
Ironing and turning
Iron the paper to the wrong side of the fabric with a dry iron, plastic side down, pressing firmly enough to bond but not so hot the plastic melts through. Trim the fabric to leave a scant seam allowance around the paper, then turn the allowance over the paper's edge, using the iron or a stiletto to coax it around tight curves. For the tightest curves, clip the seam allowance almost to the paper so the fabric can spread around the arc without bunching. Baste the turned edge in place if the shape will be handled before stitching.
Stitching the stabilized shape
With the paper still in place, position the shape on the background and applique it with a fine needle-turn stitch, slipping the needle under the turned edge. The paper keeps the shape from distorting as you stitch, which is its great virtue on micro curves: unstabilized tiny shapes stretch and skew under the needle. Use a small stitch and a single thread; the delicacy of the shape calls for delicacy in the stitching. The paper stays in through the stitching and comes out after.
Removing the paper
Once the shape is stitched down, remove the freezer paper by gently pulling it from behind, through a small opening left in the stitching or by slitting the background fabric behind the applique. Pull slowly; yanking can distort the fresh stitching. Any plastic residue releases with a touch of heat. The fabric, now free of its skeleton, holds the turned shape because the stitching and pressing set it. The curve stays crisp because it was formed crisp.
When not to use it
Freezer paper is a tool, not a religion. Large, gentle curves turn fine without it, and very stretchy fabrics may not bond well. Some quilters prefer the method for all their applique; others reserve it for the curves that defeat them. Use it where it helps, which is exactly the micro curves this technique addresses, and skip it where fingers and pressing do the job. The goal is the curve, not the method.
Cut the paper to the finished shape, iron it on, turn the allowance over its edge, stitch with the skeleton in place, and remove it cleanly. The micro curves will turn as smoothly as the design imagined them.
Related Guides
- Stiletto Piercing Precision for Turned Needle Appliqué: Needle-turn appliqué asks you to fold a raw fabric edge under itself, a sixteenth of an inch at a time, and stitch it down invisibly while the shape
- Paper Backed Fusible Web Sizing for Clean Appliqué: Fusible web is the applique artist's shortcut: an adhesive film that bonds fabric shapes to a background with heat, no pinning, no basting, no
- Fusible Web Weight Selection for Raw Edge Appliqué: Raw edge appliqué bonds fabric shapes to a background with fusible web, then secures the edges with stitching, leaving the cut edges exposed as a
- Basting Tissue Underlay for Machine Applique Bounds: Machine applique lives or dies at the edges: the satin stitch or blanket stitch that binds the applique piece to the background must land precisely