
Needle-turn appliqué asks you to fold a raw fabric edge under itself, a sixteenth of an inch at a time, and stitch it down invisibly while the shape holds its drawn line. The tool that makes this possible is the stiletto: a sharp, tapered point used to pierce, nudge, and crease the seam allowance exactly where you need it. Used well, it gives you surgical control over curves and points; used carelessly, it chews the fabric. Precision with the stiletto is a learnable skill.
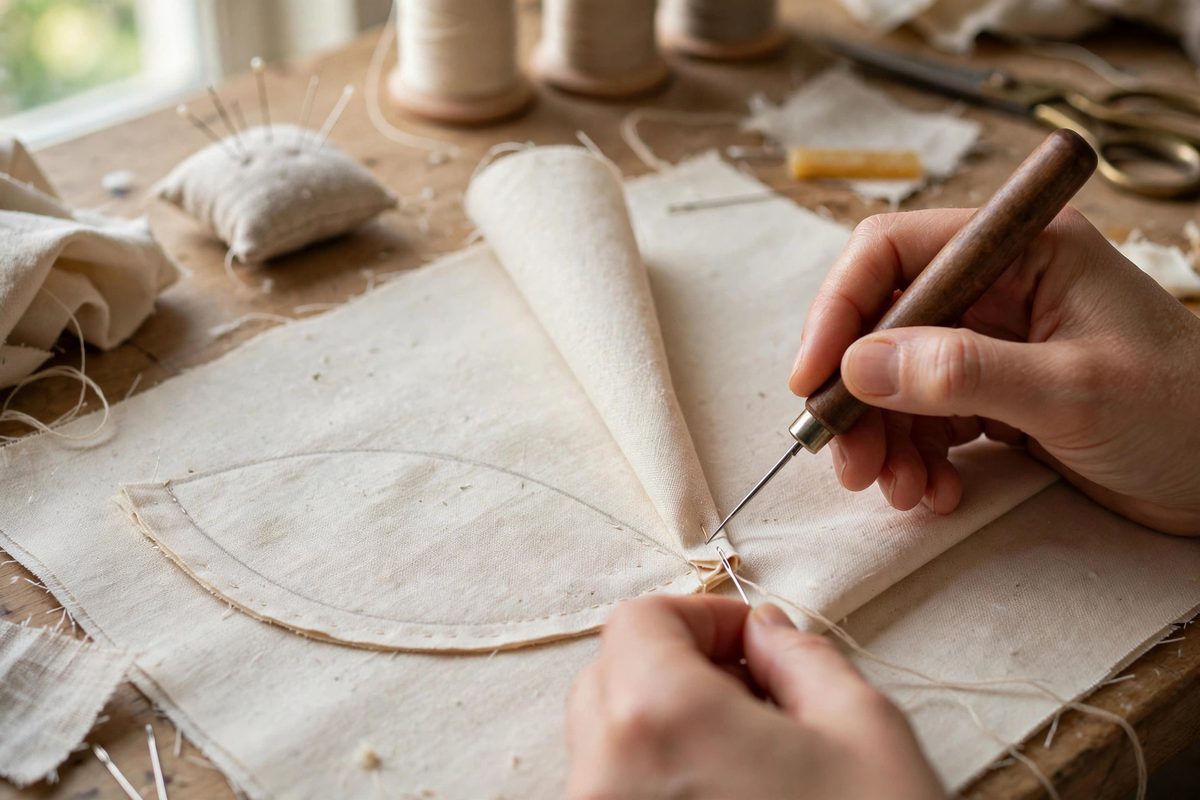
What the stiletto actually does
The stiletto serves three functions in one tool. First, it pierces the seam allowance to anchor it: a tiny poke through the allowance (not the background) lets you drag the fabric into position without your fingers in the way. Second, it creases: pressing the tapered shaft along the fold line sets a crisp turn before the needle arrives. Third, it nudges: the point slips under the folded edge to adjust it by a thread or two, the fine correction that keeps a curve smooth. Your needle stitches; your stiletto positions. Keeping those roles separate is the core discipline.
Grip and angle
Hold the stiletto like a pencil, with the point doing delicate work and the shaft available for creasing. Pierce at a shallow angle, nearly parallel to the fabric, so the point slides between fabric layers rather than stabbing straight down through to the background. A vertical stab risks piercing the background fabric, which shows as a tiny hole, and it gives you no leverage for dragging the allowance sideways. Shallow angle, light pressure, and small movements: the stiletto should feel like an extension of your fingertip, not a weapon.
Turning curves
On outside curves, the seam allowance needs to ease, spreading slightly as it turns under. Pierce the allowance just ahead of your stitching point and use the stiletto to sweep tiny tucks of fullness under the fold, distributing them evenly so no single pleat shows. On inside curves, the allowance must compress; clip the seam allowance almost to the fold line first (leaving about an eighth of an inch), then use the point to coax the clipped edge under in small bites. Rushing an inside curve is the classic failure: the allowance bunches, the fold line wobbles, and the curve looks handmade in the bad way.
Points and valleys
Sharp points need the allowance trimmed to almost nothing at the very tip, a scant sixteenth of an inch, so there is no bulk to fight. Stitch to the tip, then use the stiletto point to fold one side's allowance neatly under and crease it before stitching down the other side. Valleys, the inside points, get a straight clip right into the valley, stopping a thread or two short of the fold line; the stiletto then turns each side under independently. In both cases, the tool's job is to place fabric the needle cannot reach without distortion.
Tool care and fabric safety
Keep the stiletto point sharp but not needle-sharp; a point that is too aggressive pierces when you meant to nudge. A fine awl, a wooden chopstick whittled to a point, or a dedicated appliqué stiletto all work; the material matters less than the taper. Never force the point through multiple layers, and never use it to pick out stitches, which dulls and bends it. If you find yourself stabbing harder and harder, stop: the problem is usually a seam allowance that needs trimming, not a tool that needs more force.
The stiletto does not do the appliqué for you. It gives your intentions a precise instrument, and precision, practiced one nudge at a time, is what makes needle-turned edges disappear.
Related Guides
- Paper Backed Fusible Web Sizing for Clean Appliqué: Fusible web is the applique artist's shortcut: an adhesive film that bonds fabric shapes to a background with heat, no pinning, no basting, no
- Fusible Web Weight Selection for Raw Edge Appliqué: Raw edge appliqué bonds fabric shapes to a background with fusible web, then secures the edges with stitching, leaving the cut edges exposed as a
- Freezer Paper Stabilizing for Micro Needle Turn Curves: Needle-turn applique on tiny curves, the petals of a miniature flower, the tight arcs of a small motif, asks the fabric to do something it resists
- Basting Tissue Underlay for Machine Applique Bounds: Machine applique lives or dies at the edges: the satin stitch or blanket stitch that binds the applique piece to the background must land precisely