
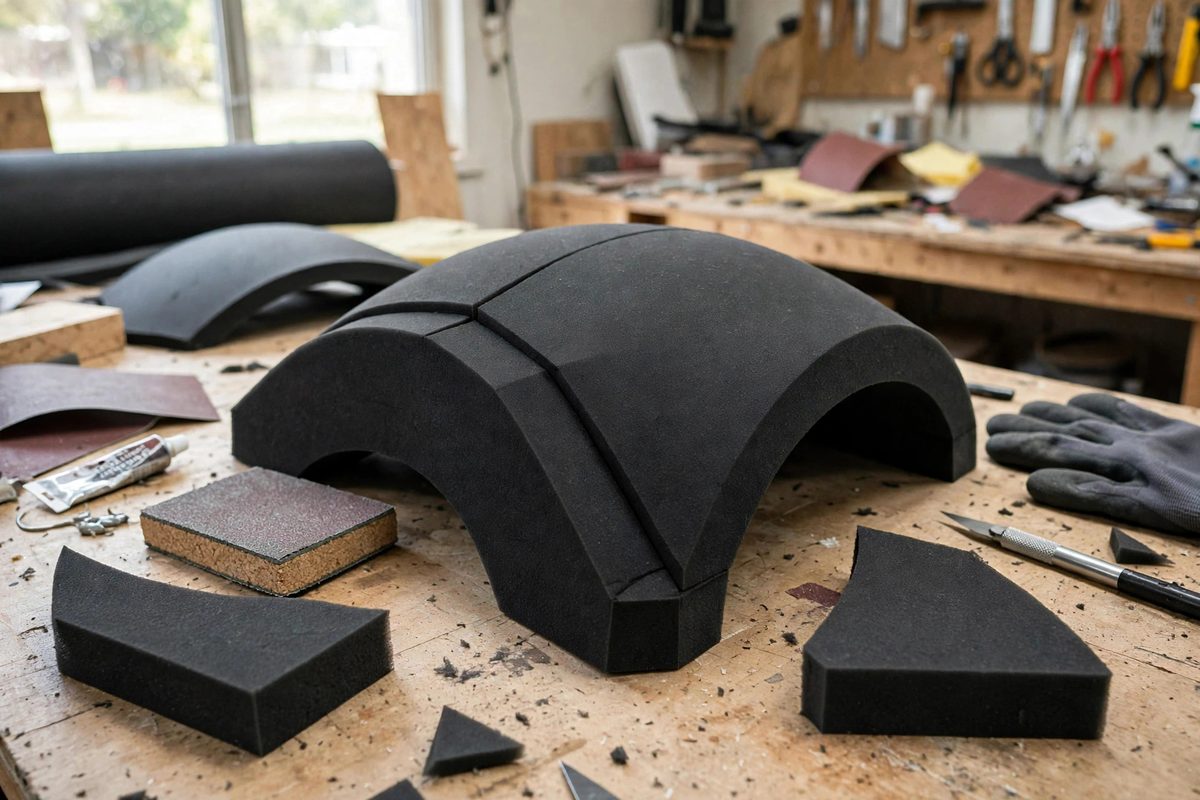
Cosplay armor built from high-density EVA foam gets its crisp edges and smooth curves from beveled seams: two foam edges cut at complementary angles and glued together form joints that disappear under paint. A butt joint between square-cut edges leaves a visible seam line and a weak bond; a beveled joint doubles the glue surface and lets the pieces meet flush. The bevel angle is the whole technique.
Why bevels beat butt joints
Foam-to-foam glue joints are only as strong as their surface area, and a square edge offers just the foam's thickness. Cutting each edge at 45 degrees doubles the mating surface, and the angled joint also resists peeling better, since the load spreads along the bevel instead of concentrating at a square corner. Visually, the bevel lets two pieces meet in the same plane without a step: the seam closes flush, filler has less to hide, and the primed surface reads as one continuous piece. For armor that must look like molded plate, bevels are non-negotiable.
Choosing the bevel angle
The classic bevel is 45 degrees on each piece, meeting at a 90-degree corner or a flat seam. But armor rarely meets at 90 degrees: a pauldron's curve might need the pieces to join at 120 degrees, which means cutting each edge at 30 degrees from the face (60 degrees included between the pieces... the bevel angle on each piece is half the supplement of the joint angle). The practical method: mock up the joint with scrap, adjust the bevel until the pieces meet flush at the desired angle, then transfer that angle to the real pieces. A simple bevel gauge or a printed angle guide keeps the cuts consistent across a multi-piece build.
Cutting clean bevels
Use a fresh, sharp blade; foam tears rather than cuts when the blade dulls, and a torn bevel glues poorly. Cut with the foam on a cutting mat, guiding the blade along a straightedge tilted to the bevel angle, or use a purpose-made bevel cutter for production work. Cut in one smooth pass rather than sawing; multiple passes create a stepped bevel that leaves gaps. For curved seams, cut the bevel in short straight segments following the curve, or use a rotary tool with a steady hand; the segments blend under filler. Keep the blade angle constant through the whole cut, since a wandering angle makes a wavy seam.
Gluing beveled seams
Contact cement is the standard: apply to both bevel faces, let it tack up, then press together firmly. The beveled joint self-aligns if the angles are right; if the pieces fight each other, the angles are wrong and no amount of pressure fixes it. Hold or clamp until the bond sets, and check the seam from the face side for flushness before the glue fully cures. Fill any remaining hairline with flexible filler, sand smooth, and the seam vanishes under primer.
Heat forming and bevels together
Beveled pieces are often heat-formed to curves before gluing. Form first, then cut the bevels to the formed shape, since forming changes the meeting angles. Alternatively, cut bevels on flat stock, form gently, and check the joint angle after forming; minor adjustments with the blade true it up. Do not overheat foam near a fresh bevel; the thin edge scorches and shrinks faster than the full thickness, ruining the fit.
Match the bevel to the joint angle, cut it clean in one pass, glue with contact cement, and form before final fitting. The armor will look cast, not crafted.
Related Guides
- Compound Curve Scoring Angles for High Density Foam: High-density EVA foam bends beautifully over simple curves but fights compound curves, the kind that bend in two directions at once like a shoulder
- High-Density EVA Foam Heat Contouring for Armor: EVA foam is the cosplay armor builder's miracle material: light, cheap, carvable with a knife, and thermoformable with nothing more than a heat gun
- Bevel Edge Angle Consistency for Curved Foam Plates: Foam armor reads as metal, leather, or stone only if its edges look intentional. A beveled edge on a curved foam plate catches light like a forged
- Contact Adhesive Drying Thresholds for Plasti-Dip Armor: Plasti-Dip coated foam armor holds together only as well as the glue underneath it, and contact adhesive is the standard bond for EVA foam builds