
Plasti-Dip coated foam armor holds together only as well as the glue underneath it, and contact adhesive is the standard bond for EVA foam builds. The catch is that contact cement bonds by contact, not by wetness: both surfaces must dry to the right tacky stage before you press them together. Miss that window and the joint either slides apart or never reaches full strength. Understanding the drying thresholds turns a frustrating glue job into a reliable one.
How Contact Adhesive Actually Cures
Contact adhesive is a rubber compound dissolved in solvents. When you brush it onto foam, the solvent flashes off and leaves a thin rubber film. Pressing two filmed surfaces together causes the rubber chains to entangle, and that entanglement is the bond. The key insight is that the bond strength comes from the film being dry to the touch but still chemically active, not from liquid glue squeezing together. If you join the pieces while the surface is still wet, the trapped solvent keeps the film soft and the bond weak. If you wait too long, the film fully cures and the chains no longer entangle, so you get a weak surface bond instead of a weld. The working window between those two states is the whole game.
Reading the Tack Threshold by Touch
The reliable test is the knuckle test: press a knuckle firmly onto the adhesive film and pull away. At the right stage, the surface feels dry and tacky, with a slight tug but no strings and no transfer of glue to your skin. If it feels wet or cool, the solvent is still flashing off, so wait. If it feels completely dry with no tug at all, you have waited too long and should apply a fresh thin coat to reactivate the surface. In a typical indoor shop, the window opens roughly ten to twenty minutes after application, but humidity, temperature, and coat thickness all move it. A thick coat in a humid room can take twice as long; a thin coat in dry warm air can be ready in under ten minutes. Trust the touch test over the clock.
Coat Strategy for Foam Armor
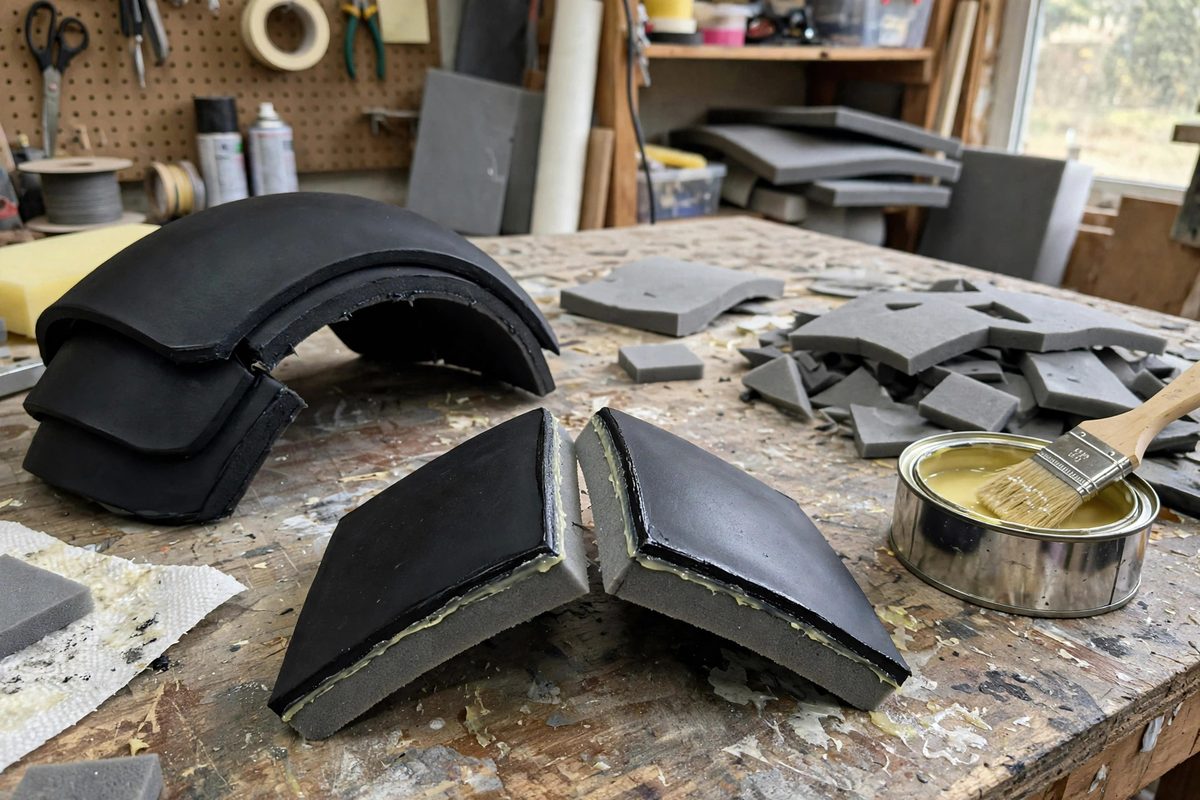
Two thin coats beat one thick coat every time. The first coat seals the porous foam surface, and the second builds the bonding film. Apply with a disposable brush or spreader, keeping the layer even and avoiding puddles in corners or along edges. Foam armor pieces often have long seams, like the edge of a pauldron or a chest plate, and puddles along those seams are where failures start because trapped solvent stays wet long after the rest of the joint is ready. Let each coat reach the tack stage before adding the next. When both surfaces are at tack, align them carefully, because contact cement grabs instantly and repositioning is effectively impossible. Press firmly from the center outward to chase out air bubbles, then clamp or weight the joint while it cures.
Temperature, Humidity, and Cure Time
Contact adhesive is sensitive to shop conditions. Solvent evaporation slows dramatically below about 60 degrees Fahrenheit, and high humidity can leave the film feeling perpetually tacky without ever truly drying. A joint assembled in a cold garage may feel solid the next day but fail under the flex of wearing the armor. Full bond strength develops over roughly 24 to 72 hours as the last solvent leaves and the rubber crosslinks, so handle the piece gently for the first day and avoid flexing seams. If you must glue in a cool space, warm the pieces and the adhesive to room temperature first, and give the joint extra cure time before stressing it. Heat guns can speed flash-off, but keep the heat moving and gentle; scorching the foam or blistering the adhesive film ruins the bond.
Compatibility With Plasti-Dip Coating
Plasti-Dip is a rubberized coating that flexes with the foam, which is why it pairs well with contact-glued armor, but the coating and the glue have a relationship to manage. Coat the foam with Plasti-Dip after the structural seams are glued and fully cured, not before, because Plasti-Dip's own solvents can soften contact adhesive and because paint over a seam hides the joint. Conversely, never apply Plasti-Dip to a seam that is still off-gassing solvent; the trapped vapor will blister the coating. A good practice is to glue the piece, wait at least a full day, then seal and coat. If you need to glue a seam after coating, scuff the Plasti-Dip off the bonding areas first, since contact adhesive bonds poorly to the coated surface. Work with ventilation whenever solvents are involved, and keep the adhesive away from open flame.
Contact adhesive rewards patience and punishes rushing. Two thin coats, the knuckle test, alignment before contact, and a full day of cure give you seams that survive a convention floor. The drying threshold is the skill; once you can feel it, the glue stops being the unreliable part of the build.
Related Guides
- High-Density EVA Foam Heat Contouring for Armor: EVA foam is the cosplay armor builder's miracle material: light, cheap, carvable with a knife, and thermoformable with nothing more than a heat gun
- Bevel Cutting Angles for High Density Foam Seams: Cosplay armor built from high-density EVA foam gets its crisp edges and smooth curves from beveled seams: two foam edges cut at complementary angles
- Compound Curve Scoring Angles for High Density Foam: High-density EVA foam bends beautifully over simple curves but fights compound curves, the kind that bend in two directions at once like a shoulder
- Bevel Edge Angle Consistency for Curved Foam Plates: Foam armor reads as metal, leather, or stone only if its edges look intentional. A beveled edge on a curved foam plate catches light like a forged