
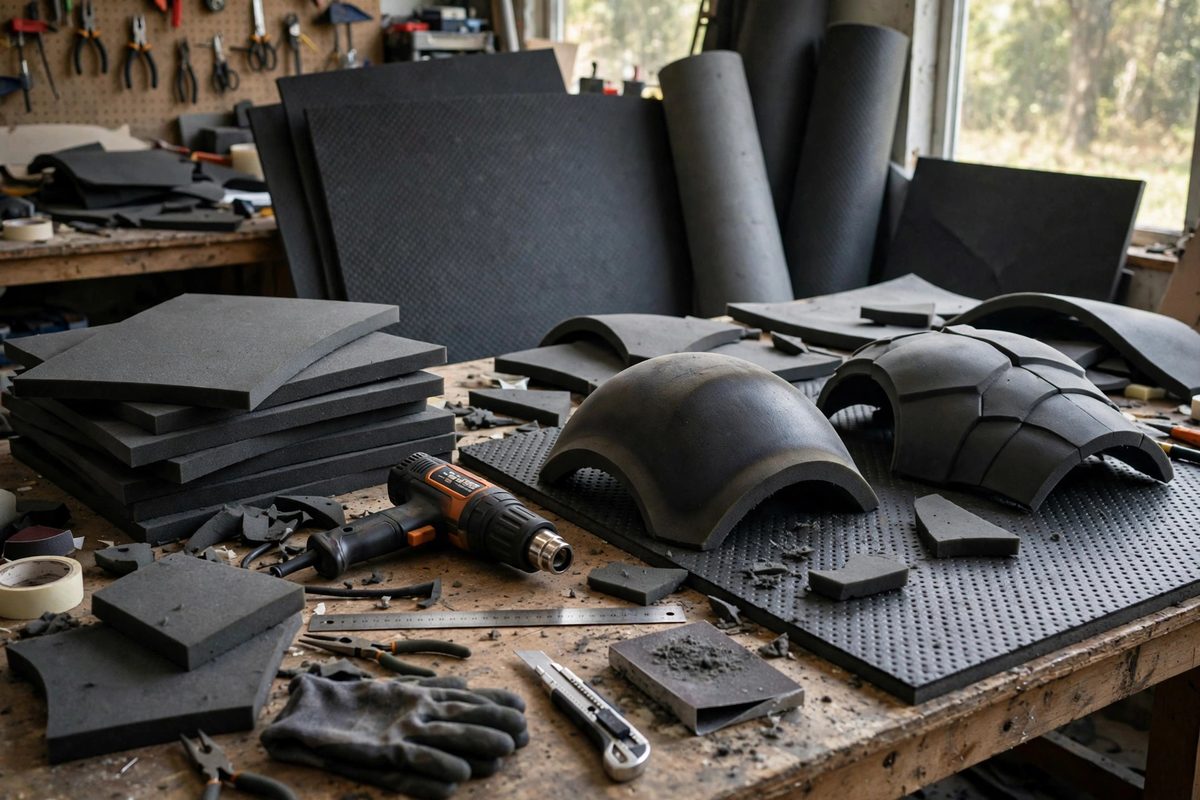
EVA foam is the cosplay armor builder's miracle material: light, cheap, carvable with a knife, and thermoformable with nothing more than a heat gun. High-density EVA, the firm floor-mat and craft foam in the higher durometers, holds crisp detail and resists denting, which makes it the right choice for armor plates that need to look like metal or molded plastic. Heat contouring, shaping the foam with heat over forms, is the core technique that turns flat sheets into curved pauldrons, breastplates, and greaves. The technique is simple; the control is everything.
Why heat shapes EVA
EVA is a thermoplastic: its polymer chains are not cross-linked into a permanent network, so heat lets them slide past each other and the material softens. Remove the heat and the chains lock again, holding the new shape. This is the same principle behind vacuum forming plastic, just done by hand. High-density EVA needs more heat than the soft craft foam to reach its forming temperature, but it rewards the extra effort by holding sharper detail and springing back less. The forming window is generous but not infinite: too little heat and the foam resists shaping and springs back; too much and the surface blisters, shrinks, or melts. Learning to read the foam's readiness, it becomes pliable and slightly glossy, is the fundamental skill.
Heat gun technique
Work with a standard heat gun on a medium setting, keeping it moving constantly in slow, overlapping passes a few inches from the foam surface. Heat both sides of the piece for thick foam, since heating only one side curls it as the hot side expands. The foam is ready when it drapes softly under its own weight or yields easily to gentle finger pressure; if you have to force it, it needs more heat. Shape it immediately over your form: a dress form, a bowl, a PVC pipe, a sandbag, whatever matches the curve you need. Hold it in place until it cools, which takes under a minute for thin foam and a few minutes for thick stock. For compound curves, work in stages, heating and forming one curve, letting it set, then heating and forming the next. Rushing a compound curve in one heating usually distorts the first curve while you work the second.
Forms, molds, and shaping aids
The form determines the final shape more than your hands do, so build forms carefully. For symmetrical armor pieces like pauldrons, make one good form and shape both sides on it. Cover forms in aluminum foil or a release layer if you plan to heat the foam while it sits on the form, since hot foam can stick to or pick up texture from the form surface. A common pro technique is to heat the foam, drape it over the form, and then press it down with a soft cloth or a second shaped piece, sandwiching it into the curve for a crisp result. For sharp bends and edges, score the inside of the bend lightly with a knife before heating; the score lets the foam fold cleanly instead of wrinkling. Test every technique on scrap first, because foam is cheap and armor pieces represent hours of patterning.
Sealing and finishing heat-shaped foam
Heat shaping leaves the foam's surface slightly open and textured, which drinks paint unevenly. Seal before painting: a pass with the heat gun over the finished shape, lightly and quickly, closes the surface cells and gives a smoother skin, a technique builders call heat sealing. Follow with a flexible primer or a few thin coats of a sealant like thinned contact cement, flexible acrylic medium, or a purpose-made foam sealer, building up thin layers rather than one thick one. Sand lightly between coats with fine grit for a truly smooth finish. Then paint with flexible acrylics; rigid paints crack when the armor flexes at a convention. The sealing step is what separates armor that looks like foam from armor that reads as molded material, and it is worth every minute.
Safety with heat and fumes
A heat gun at forming temperatures will burn skin instantly, so wear heat-resistant gloves and keep a clear workspace; the natural motion of shaping brings hands close to the hot air stream. Work in ventilated air: heating EVA produces fumes that are unpleasant and should not be breathed steadily, and contact cement, the standard EVA adhesive, has strong solvent fumes that demand real ventilation or a respirator. Never heat foam that is glued with unknown adhesives, and keep the heat gun away from the foam's ignition point; foam that is scorched or smoking is too hot. These are workshop basics, but the casual, crafty feel of foam work tempts builders to skip them. Do not.
Heat until pliable, shape over a good form, hold until cool, seal before painting. High-density EVA shaped this way becomes armor that is light enough to wear all day and crisp enough to photograph like the real thing.
Related Guides
- Bevel Cutting Angles for High Density Foam Seams: Cosplay armor built from high-density EVA foam gets its crisp edges and smooth curves from beveled seams: two foam edges cut at complementary angles
- Compound Curve Scoring Angles for High Density Foam: High-density EVA foam bends beautifully over simple curves but fights compound curves, the kind that bend in two directions at once like a shoulder
- Contact Adhesive Drying Thresholds for Plasti-Dip Armor: Plasti-Dip coated foam armor holds together only as well as the glue underneath it, and contact adhesive is the standard bond for EVA foam builds
- Bevel Edge Angle Consistency for Curved Foam Plates: Foam armor reads as metal, leather, or stone only if its edges look intentional. A beveled edge on a curved foam plate catches light like a forged