
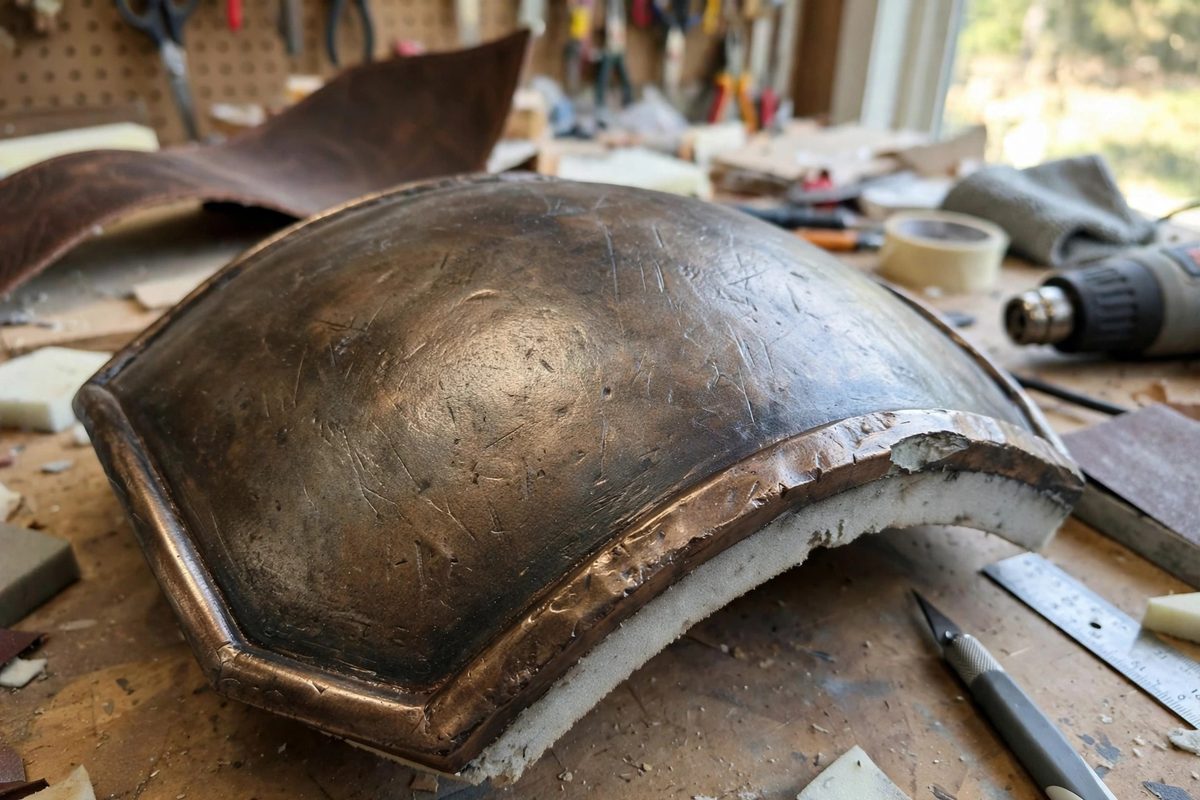
Foam armor reads as metal, leather, or stone only if its edges look intentional. A beveled edge on a curved foam plate catches light like a forged rim; an inconsistent bevel, wandering between 30 and 60 degrees along the same curve, reads as handmade in the wrong way. Keeping the bevel angle consistent around curves is a technique problem, and it is solvable with the right cutting setup and a steady method.
Why Consistency Matters Visually
The human eye is ruthless about edges. A bevel that holds a steady 45 degrees reflects light in a continuous band along the curve; a bevel that wavers breaks that band into segments, and each segment boundary looks like a mistake. On camera and at convention distance, edge quality is what separates armor that photographs like the reference from armor that photographs like craft foam. The plates themselves can be simple; the edges must be disciplined.
Choosing the Bevel Angle
A 45-degree bevel is the default for most armor edges: it is easy to cut, easy to keep consistent, and it reads well under paint. Steeper bevels (around 30 degrees from the face) create a sharper, more aggressive edge suited to bladed or angular designs; shallower bevels (60 degrees) give a softer, rolled look for organic or cloth-like armor. Pick one angle per armor set and hold it everywhere, because mixed angles on adjacent plates look like different makers built them. Mark the chosen angle on your cutting templates so every plate starts from the same spec.
Cutting Bevels on Curves
Straight bevels are easy with a guided blade; curves demand a different approach. The reliable method is to cut the plate's outline first with a square edge, then bevel in short, overlapping strokes with a sharp blade, rotating the workpiece (not your hand) as you go. Keep the blade at the chosen angle by feel and by frequent visual checks against a small angle gauge cut from cardboard. Work in passes: a rough pass to remove the bulk, then a finishing pass that sets the final angle. Trying to hit the angle in one aggressive cut is what produces the waver.
Jigs for Repeatable Angles
For long curved edges, a simple bevel jig pays for itself. A block of wood with a channel cut at your target angle guides the blade along the foam edge like a miniature plane, keeping the angle honest over the whole curve. Hot wire cutters with an angled guide shoe do the same job faster on thick foam, melting a clean bevel in one pass. Either way, the jig removes the human variable from the angle, leaving you to control only the feed rate. Test the jig on scrap until the bevel measures true along a curve before committing to a finished plate.
Heat Forming and Bevel Interaction
Bevel before heat shaping, not after. Heating foam to form a curve softens the material, and a beveled edge reshaped after cutting will distort as the foam stretches and compresses around the curve. Cut the bevel on the flat plate, then form the curve gently; the bevel angle will shift slightly through the forming, but it shifts uniformly, which preserves consistency. If a section needs rework after forming, re-cut the bevel locally and blend it into the surrounding edge with light sanding rather than re-heating the whole plate.
Sealing and Sanding the Bevel
A cut bevel has open cells that drink paint unevenly, so seal the edges before finishing. Heat-sealing with a heat gun (quick passes, keep it moving) closes the surface cells and slightly rounds the bevel's arris, which actually improves the look under metallic paint. Follow with fine sanding to remove any steps between cutting passes, then seal with your preferred flexible sealer. The goal is an edge that is smooth to the touch and uniform in sheen; any remaining roughness will telegraph through every subsequent layer of paint.
Consistent bevels are a craft skill, not a talent: pick one angle, cut it with a jig or a disciplined hand, bevel before forming, and seal the edge. Do that on every plate and the armor will look like it came from one maker with one vision, which is exactly the point.
Related Guides
- Bevel Cutting Angles for High Density Foam Seams: Cosplay armor built from high-density EVA foam gets its crisp edges and smooth curves from beveled seams: two foam edges cut at complementary angles
- Compound Curve Scoring Angles for High Density Foam: High-density EVA foam bends beautifully over simple curves but fights compound curves, the kind that bend in two directions at once like a shoulder
- High-Density EVA Foam Heat Contouring for Armor: EVA foam is the cosplay armor builder's miracle material: light, cheap, carvable with a knife, and thermoformable with nothing more than a heat gun
- Contact Adhesive Drying Thresholds for Plasti-Dip Armor: Plasti-Dip coated foam armor holds together only as well as the glue underneath it, and contact adhesive is the standard bond for EVA foam builds