
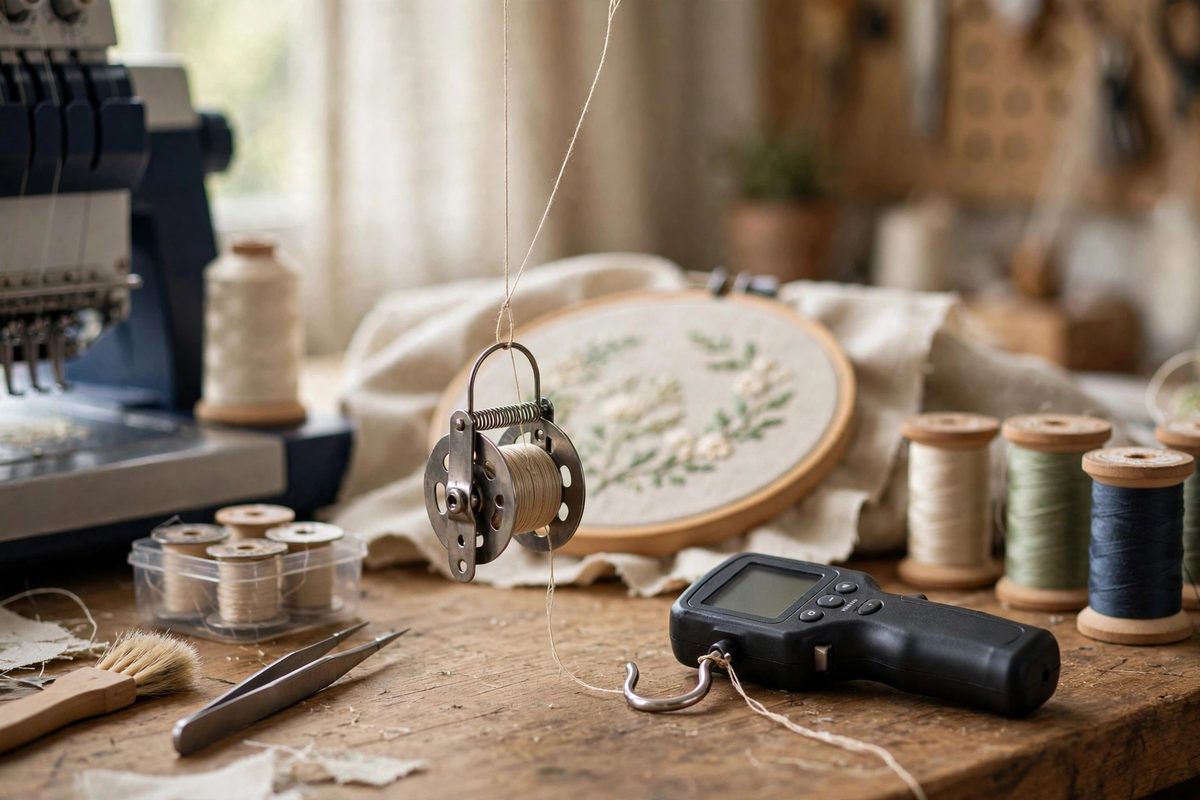
Machine embroidery quality hinges on the balance between top thread tension and bobbin tension, and the bobbin side is the one most operators neglect. The traditional calibration method, dangling the bobbin case by the thread and judging the drop, works but is subjective and hard to repeat. Electronic tension gauges bring measurement to the process: a number instead of a feeling, repeatable across machines, operators, and days.
Why Bobbin Tension Matters So Much
The stitch forms when the top thread and bobbin thread interlock in the middle of the fabric layers. If bobbin tension is too tight relative to the top, the bobbin thread pulls the knot to the underside and top thread shows on the bottom; too loose and the bobbin thread loops on top or the knot sits on the surface. Either way, the embroidery looks wrong and wears poorly: unbalanced stitches are weaker and more prone to snagging. Because the top tension gets adjusted constantly for different threads and designs, the bobbin tension needs to be a known, stable reference: calibrate it once to a standard value, and all your top-tension adjustments become meaningful rather than compensations for a drifting baseline.
How Electronic Gauges Work
An electronic bobbin tension gauge measures the force required to pull thread from the bobbin case at a steady rate. You thread the bobbin case normally, attach the thread to the gauge, and pull: the gauge displays the tension as a force reading. Unlike the dangle test, which depends on how you bounce the case and what "slow drop" means to you, the gauge gives an objective number you can write down, compare, and reproduce. Some gauges are dedicated devices; others are functions of broader tension-meter tools. Either way, the principle is the same: measure the pull force, adjust the bobbin case screw, measure again.
The Calibration Procedure
Start with a clean bobbin case: lint under the tension spring is the most common cause of erratic readings, so brush it out and check that the spring sits flat. Wind a bobbin with the thread you will measure, insert it correctly, and pull thread through the tension spring as in normal use. Attach the gauge and take several readings, pulling smoothly and steadily: discard the first reading, which often reflects static seating, and average the rest. Adjust the bobbin case tension screw in small increments, a fraction of a turn, re-measuring after each adjustment. The screw is sensitive: tiny movements produce meaningful tension changes, which is exactly why the gauge beats guesswork. Record the final reading and the thread type: different threads legitimately need different bobbin tensions.
Establishing Your Standard Values
The point of the gauge is repeatability, so build a small reference table: thread type and weight, bobbin type, and the gauge reading that produces balanced stitches on your standard test fabric. When you switch threads, look up the value instead of re-guessing. When stitches go wrong, check the bobbin tension against the reference before touching anything else: if it matches, the problem is elsewhere (top tension, needle, stabilizer); if it has drifted, recalibrate. This diagnostic discipline saves enormous time, because bobbin tension drift masquerades as many other problems. Note that published "standard" tension values are starting points, not gospel: your machine, your gauge, and your materials define your standards.
Common Calibration Pitfalls
Several things corrupt gauge readings. Measuring with a nearly empty bobbin gives different tension than a full one, because the thread leaves the bobbin at a different angle and the bobbin spins differently; calibrate with a reasonably full bobbin. Pulling at an angle or with jerky motion spikes the reading; pull straight and smooth. A damaged bobbin case, with a bent tension spring or a nicked thread path, will never calibrate consistently: inspect the hardware before blaming the technique. And remember that temperature and humidity affect thread behavior subtly; if your shop conditions swing wildly, recheck calibration when they change.
Integrating Gauges Into Your Workflow
The gauge earns its keep when checking bobbin tension becomes habit, not crisis response. Check at the start of each project, when changing thread types, and whenever stitch quality degrades. Keep the gauge with the machine, not in a drawer across the room: tools that are inconvenient do not get used. Train every operator on the procedure, because a calibration standard only works if everyone measures the same way. Over time, the log of readings becomes a diagnostic history: patterns in the data, like tension drifting after a certain number of hours, reveal maintenance needs before they become quality problems.
Electronic bobbin tension gauges replace feel with measurement, and measurement is what makes embroidery repeatable. Clean the case, measure, adjust in small steps, record the value, and check it routinely. Balanced stitches start with a known bobbin tension, and now you can know it.
Related Guides
- Bobbin Thread Tension Calibration With Gauge Meters: Machine embroidery quality lives or dies on thread tension balance, and the bobbin side is the foundation everything else references. If bobbin
- Stabilizer Density Pairing for Dense Knit Stitches: Machine embroidery on knit fabric is a structural negotiation: dense stitch fields pull and distort stretchy fabric, and the stabilizer is what holds
- Needle Penetration Angles on High Thread Density Caps: Embroidering caps on a machine is already the hard mode of the craft: the curved surface, the thick center seam, and the stiff structured crown all
- Compensating Pull Compensation for High-Speed Satin Columns: Machine embroidery pulls. Every stitch draws the fabric slightly toward the stitching line, and satin columns, with their dense zigzag stitches, pull