
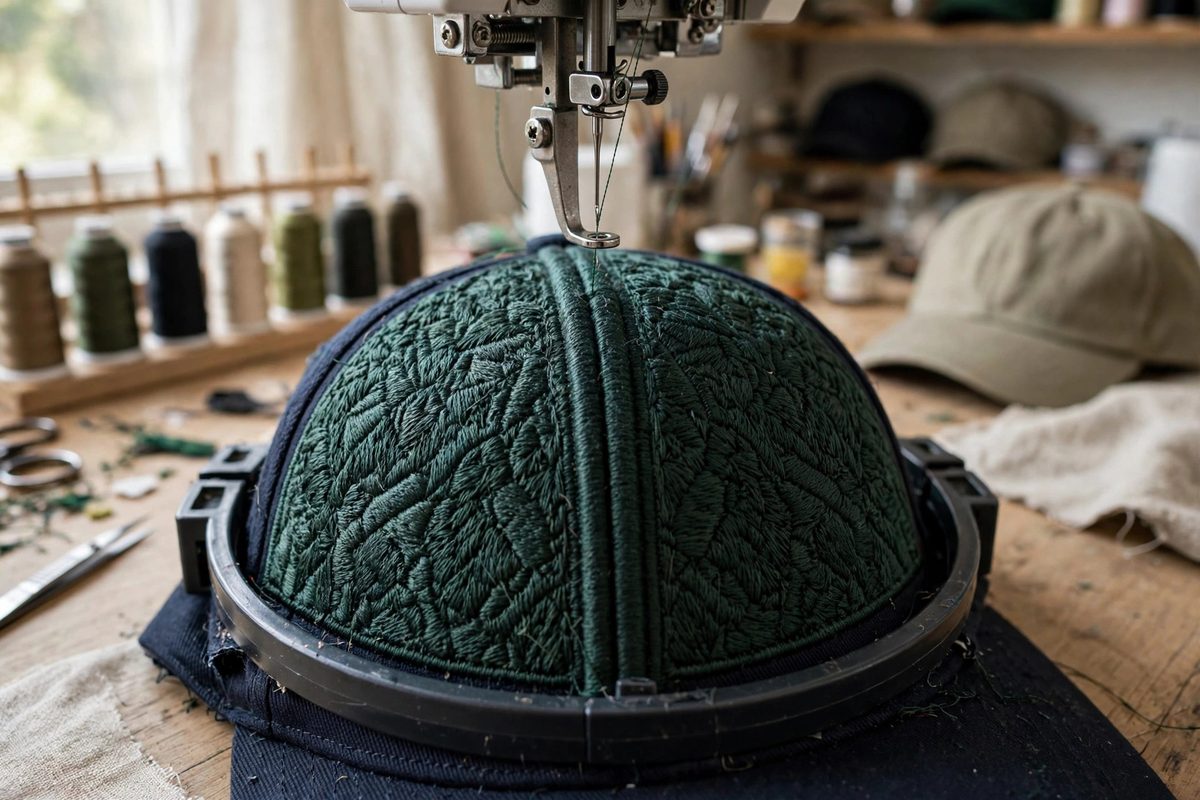
Embroidering caps on a machine is already the hard mode of the craft: the curved surface, the thick center seam, and the stiff structured crown all fight the needle. When the design also carries high thread density, thousands of stitches packed into a small area, a new problem appears. Needles deflect, penetrate at an angle, and chew the fabric instead of piercing it cleanly. Understanding penetration angles and how to control them is what separates crisp cap embroidery from a puckered, flagging mess.
Why needles deflect on caps
A needle penetrates cleanly only when it meets the fabric perpendicular to the surface. On a cap's crown, the surface curves away in every direction, so stitches near the edges of the design field meet the fabric at an oblique angle. Add density and the problem compounds: each stitch hole is a tiny wound, and thousands of close-packed holes weaken the ground fabric so subsequent needles push the whole layer sideways instead of piercing it. A deflected needle enters at an angle, drags the thread across the fabric surface, and leaves elongated holes, looped thread, and eventually broken needles.
Hooping and backing as angle control
The cap frame is your first angle correction. A properly tensioned cap frame holds the crown as close to the needle plate plane as possible, minimizing the curvature the needle must deal with. Backing matters enormously at high density: use a stiff cutaway stabilizer, and do not be shy about two layers on structured caps. The backing is what keeps the weakened, heavily perforated fabric from shifting under the needle, which is the main source of lateral deflection. Float a piece of water-soluble topping over the design area as well; it keeps stitches from sinking into textured cap fabric and gives the needle a cleaner entry.
Density management in the design
Not all density is necessary density. Before stitching, review the design's stitch count against the cap: designs built for flat garments routinely carry 20 to 40 percent more stitches than a cap can take gracefully. Reduce underlay in open areas, since underlay doubles the needle penetrations without adding visible coverage. Where two fills overlap, trim the overlap rather than letting the machine stitch through both layers. Pull compensation should be increased slightly over flat-goods settings, because dense stitching on a curved, shifting surface contracts more as it sews.
Needle selection and speed
Use a sharp point, not a ball point, on structured caps: the sharp point cuts a clean hole while a ball point pushes fabric aside and deflects. Size the needle to the thread, with 75/11 handling standard 40-weight thread on most caps; go up to 80/12 for heavy twill or multi-layer seams. Slow the machine down. High density at production speed is where deflection turns into breakage; dropping speed gives each needle penetration time to complete before the hoop moves to the next stitch point. The center seam deserves special attention: slow further and consider reducing density across it, because six layers of twill plus seam bulk deflect even a fresh needle.
Reading the warning signs
Flagging is the visible symptom: the fabric bounces up and down with the needle instead of staying flat, which guarantees angled penetration. If you see it, stop and re-tension the frame or add backing; stitching through flagging just makes holes bigger. Thread shredding at the needle eye, audible popping on penetration, and a design that gradually drifts out of registration are all deflection telling you the current setup has exceeded what the cap can take. Fix the mechanics before you blame the design.
Cap embroidery at high density is a negotiation between the design's ambition and the fabric's reality. Control the angle, back the ground, trim the density, and the needle will go where you tell it.
Related Guides
- Bobbin Thread Tension Calibration With Gauge Meters: Machine embroidery quality lives or dies on thread tension balance, and the bobbin side is the foundation everything else references. If bobbin
- Stabilizer Density Pairing for Dense Knit Stitches: Machine embroidery on knit fabric is a structural negotiation: dense stitch fields pull and distort stretchy fabric, and the stabilizer is what holds
- Compensating Pull Compensation for High-Speed Satin Columns: Machine embroidery pulls. Every stitch draws the fabric slightly toward the stitching line, and satin columns, with their dense zigzag stitches, pull
- Bobbin Tension Calibration With Electronic Gauges: Machine embroidery quality hinges on the balance between top thread tension and bobbin tension, and the bobbin side is the one most operators