
Machine embroidery on knit fabric is a structural negotiation: dense stitch fields pull and distort stretchy fabric, and the stabilizer is what holds the ground. Pair the wrong stabilizer density with a dense design and you get puckering, registration drift, and outlines that miss their fills. Pair it right and the knit behaves like a well-mannered woven. The pairing logic is straightforward once you think in terms of forces, and it is worth learning properly because knit embroidery mistakes are expensive.
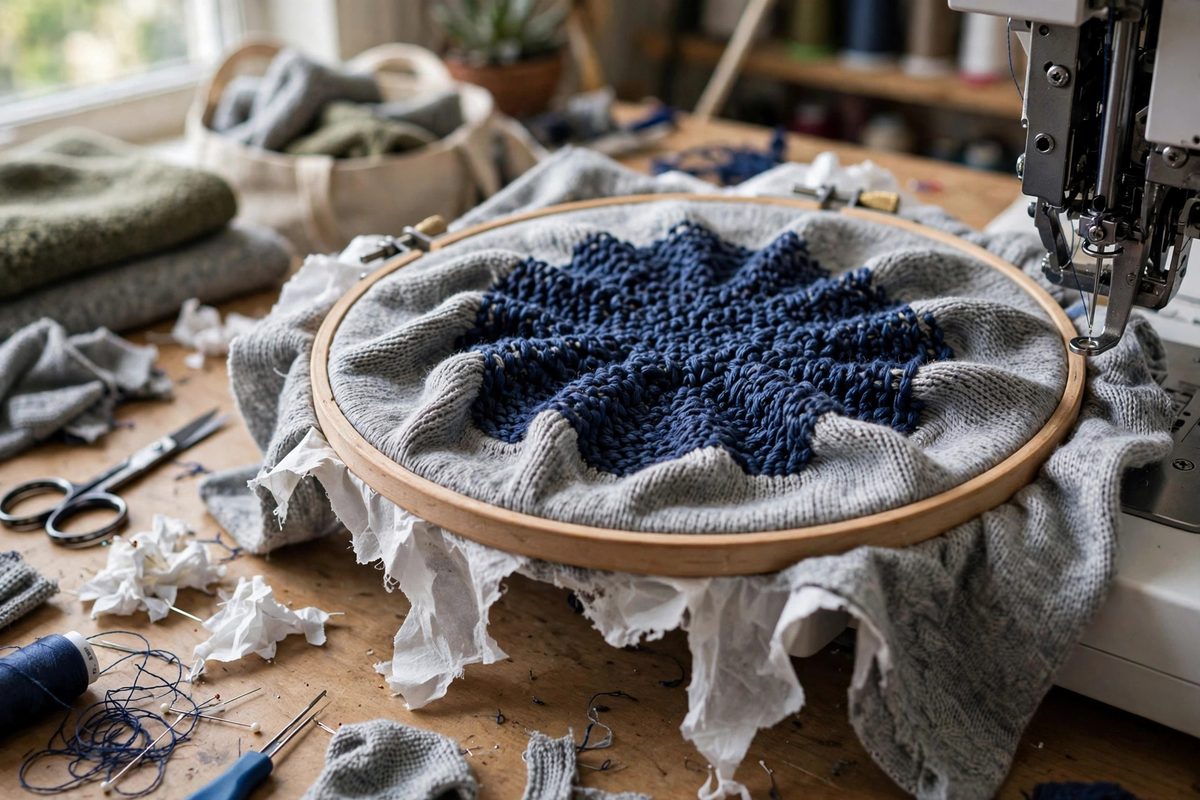
What dense stitching does to knit
Each stitch is a small act of gathering: the thread pulls the fabric slightly as it forms the stitch, and thousands of stitches in a dense fill accumulate that pull into visible distortion. Knit fabric, being stretchy by construction, surrenders to this pull far more readily than woven fabric. The design's stitch density, the number of stitches per unit area, determines the total distorting force; heavy fills and dense satin columns are the worst offenders.
The stabilizer's job is to be the fabric the stitches think they are sewing on: dimensionally stable, non-stretching, firmly bonded to the knit so the two move as one. Its density and stiffness must match the design's demands; a stabilizer adequate for a light logo fails under a dense jacket back.
Stabilizer types and their density range
Cut-away stabilizers, left permanently behind the embroidery, are the standard for knits because they provide lasting structural support through wearing and washing. They come in weights from light to heavy; denser designs need heavier cut-away, sometimes two layers. Tear-away stabilizers suit stable wovens but are generally wrong for knits: they remove the support the knit needs permanently, and dense stitching perforates them during sewing, destroying what little stability they offered.
No-show mesh (polymesh) cut-away offers stability with softness and low show-through, popular for lightweight knits and performance wear. Heavier cut-away, sometimes layered, handles dense designs on mid-weight knits. Fusible versions bond to the knit with heat, preventing the shifting between stabilizer and fabric that causes registration errors; for dense designs on slippery knits, fusible is worth the extra step.
The pairing logic
Match stabilizer to the combination of fabric stretch and design density, not to either alone. A light design on a stable knit needs only light cut-away; a dense design on a stretchy knit needs heavy cut-away, possibly two layers, fused for zero shift. When in doubt, go heavier: excess stabilizer's penalty is stiffness, while insufficient stabilizer's penalty is a ruined garment.
Consider the design's structure too. Designs with heavy underlay beneath dense fills concentrate force; designs with open, airy stitching need less. If you digitize or purchase designs, note their density; a design digitized for woven caps will punish a knit unless the stabilizer compensates.
Hooping and handling
Hoop the knit with the stabilizer without stretching the fabric. Stretched-then-hooped knit relaxes after unhooping and puckers around the embroidery; this is the single most common knit embroidery failure and no stabilizer fixes it. Hoop on a flat surface, smooth but unstretched, and consider adhesive or fusible stabilizers that hold the knit without hoop tension doing the work.
Support the garment's weight during stitching so it does not drag on the design area; a heavy sweatshirt pulling against the hoop distorts dense fills progressively through the run. Slow the machine slightly for dense designs on knits; the reduced speed cuts needle deflection and thread stress, both of which show as registration errors in dense work. Use a ballpoint needle suited to knits so the needle pushes between fibers instead of cutting them, which matters more as stitch density climbs.
Testing the pairing
Always test the exact combination, fabric, stabilizer, design, on a scrap of the actual garment fabric, including any fusible step. Wash the test piece once; stabilizer pairings that look fine fresh off the machine sometimes pucker in the wash as the knit relaxes. The wash test is the truth-teller for knit embroidery.
Keep records of successful pairings: fabric type, stabilizer weight and layers, design density notes, machine speed. Knit embroidery has enough variables that a proven recipe is worth its weight; the log turns each success into a repeatable process.
Stabilizer pairing is force matching: dense designs on stretchy knits demand heavy, preferably fusible, cut-away, hooped without stretch, tested through the wash. Get the pairing right and the machine embroidery sits on the knit like it grew there.
Related Guides
- Needle Penetration Angles on High Thread Density Caps: Embroidering caps on a machine is already the hard mode of the craft: the curved surface, the thick center seam, and the stiff structured crown all
- Compensating Pull Compensation for High-Speed Satin Columns: Machine embroidery pulls. Every stitch draws the fabric slightly toward the stitching line, and satin columns, with their dense zigzag stitches, pull
- Bobbin Thread Tension Calibration With Gauge Meters: Machine embroidery quality lives or dies on thread tension balance, and the bobbin side is the foundation everything else references. If bobbin
- Bobbin Tension Calibration With Electronic Gauges: Machine embroidery quality hinges on the balance between top thread tension and bobbin tension, and the bobbin side is the one most operators