
Concealed cup hinges, the European hinges that disappear inside the cabinet, need a precise large-diameter bore in the door: the cup hole. In plywood casework, that bore must land exactly on center, at the right depth, without blowing through the door face or delaminating the plies. The boring operation looks simple and punishes every shortcut.
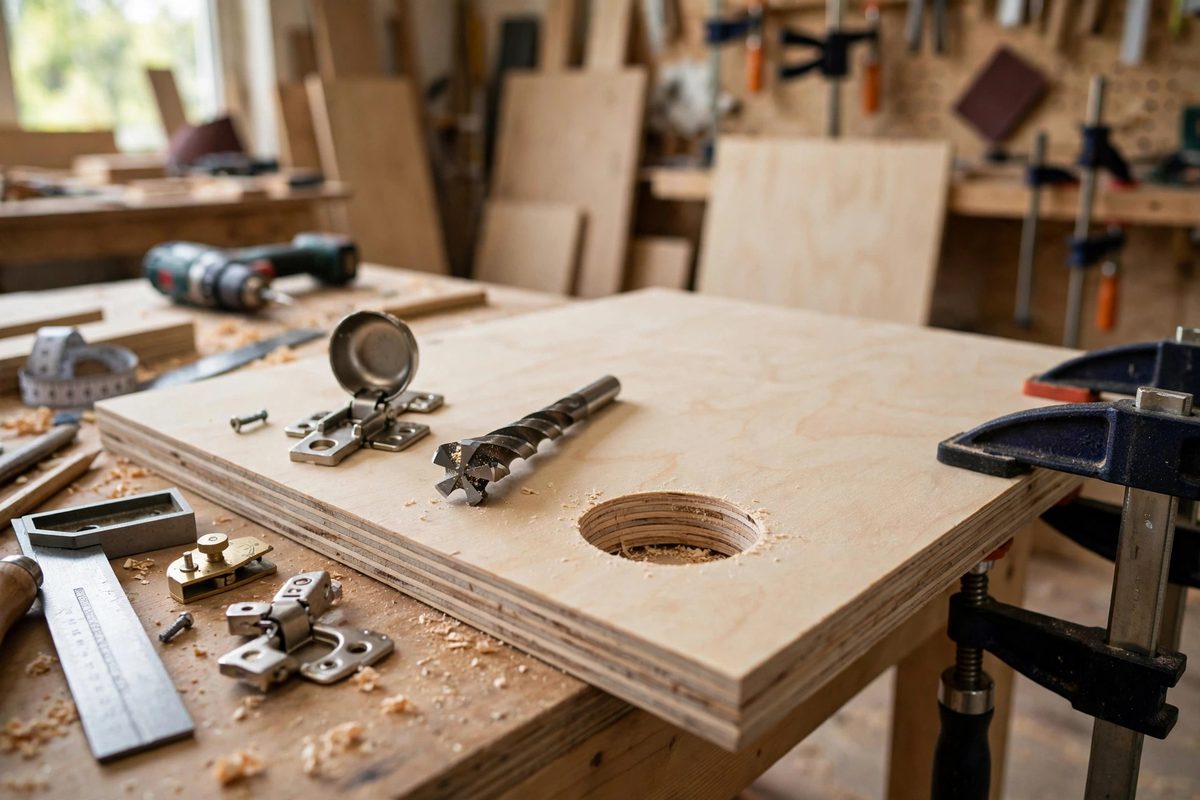
The Cup Hole Specification
The standard cup bore is 35 millimeters in diameter, positioned a set distance from the door's edge, commonly around 3 to 6 millimeters from edge to hole rim depending on the hinge and overlay. The depth must accommodate the cup without breaking through the door's face; for typical doors, the bore goes most of the way through, leaving a thin web of material. In plywood, that remaining web is only a few plies thick, so depth control is critical. Measure the hinge cup's actual depth and add a small clearance; the bore depth is set from the hinge, not from habit.
Choosing the Boring Tool
A 35mm Forstner bit is the standard tool, cutting a flat-bottomed hole with a clean rim. Use a sharp bit; a dull Forstner tears the plywood's face veneer and crushes the plies instead of cutting them. In a drill press, the depth stop controls the bore precisely; handheld drilling works but demands a steady hand and a depth collar you actually trust. For production runs, a dedicated hinge-boring jig or a line-boring setup repeats the position perfectly across dozens of doors. Whatever the setup, the bit must enter perpendicular to the door face; an angled bore seats the hinge crooked and the door will never adjust true.
Layout and Centering
Mark the cup center on each door with the hinge's edge distance, and verify the overlay math before drilling: the wrong edge distance means the door will not close correctly no matter how perfectly the hole is bored. For pairs of hinges on a door, position them at consistent distances from the top and bottom, far enough from the ends to support the door without flexing. Use a story stick or template for repeated doors so every cup lands identically; doors are interchangeable only if their hinge bores match. Double-check the first door's fit on the case before boring the rest.
Boring in Plywood
Plywood's layered structure wants to delaminate under the Forstner bit's rim cutters. Score the hole's circumference first with a sharp knife or the bit's light initial touch, which severs the face veneer cleanly before the full cut. Bore at a moderate speed with steady feed pressure; forcing the bit overheats and tears, while too-slow feed lets the bit rub and burn. Back the door with scrap underneath to prevent blowout as the bit's center spur nears the back face, though with proper depth control the bit should never reach the back. Clear chips frequently on deep bores so packed chips do not overheat the bit.
Mounting Plate Position on the Case
The cup bore is only half the hinge; the mounting plate screws to the case side at a position that must correspond exactly. Use the hinge manufacturer's drilling pattern for the plate screws, and keep the plate positions consistent relative to the cup positions. In plywood case sides, drill pilot holes for the plate screws to avoid splitting the plies, and consider the screw holding power in plywood's edge versus face grain when choosing plate positions. A perfectly bored cup paired with a sloppily placed mounting plate still produces a door that will not adjust.
Bore the 35mm cup at the right edge distance and depth, with a sharp Forstner bit entering square, in a drill press with a reliable stop. Match it with accurately placed mounting plates, and the concealed hinges will do their quiet magic: doors that open, close, and adjust invisibly.
Related Guides
- Face Frame Pocket Hole Spacing on Hardwoods: Pocket hole joinery gets face frames built fast, but the spacing of those screws in hardwood is a structural decision, not a convenience. Hardwood is
- Build a Table Saw Crosscut Sled: Why Every Woodworker Needs a Crosscut Sled A crosscut sled is one of the most valuable jigs you can build for your table saw. Think of it as a
- Bevel Edge Angle Consistency on Turned Bowls: The bevel on a turning gouge, the ground surface just behind the cutting edge, is the turner's autopilot: when the bevel rubs the wood, it steadies
- Maintaining Traditional Wooden Bench Clamps: The wooden bench clamp, whether a leg vise with its massive wooden screw, a shoulder vise, or a traditional hand screw, is one of the oldest
- Miter Box Spline Reinforcement for Picture Frames: A picture frame miter joint is a structural weak point wearing a pretty face: two 45-degree cuts glued end-grain to end-grain, which is the weakest