
Pocket hole joinery gets face frames built fast, but the spacing of those screws in hardwood is a structural decision, not a convenience. Hardwood is dense, strong, and prone to splitting when fasteners crowd together; it also moves with humidity, which means a face frame joint that is over-screwed in the wrong places will fight the wood's movement and lose. Spacing the pocket holes correctly gives you joints that are strong, flat, and stable for the life of the cabinet.
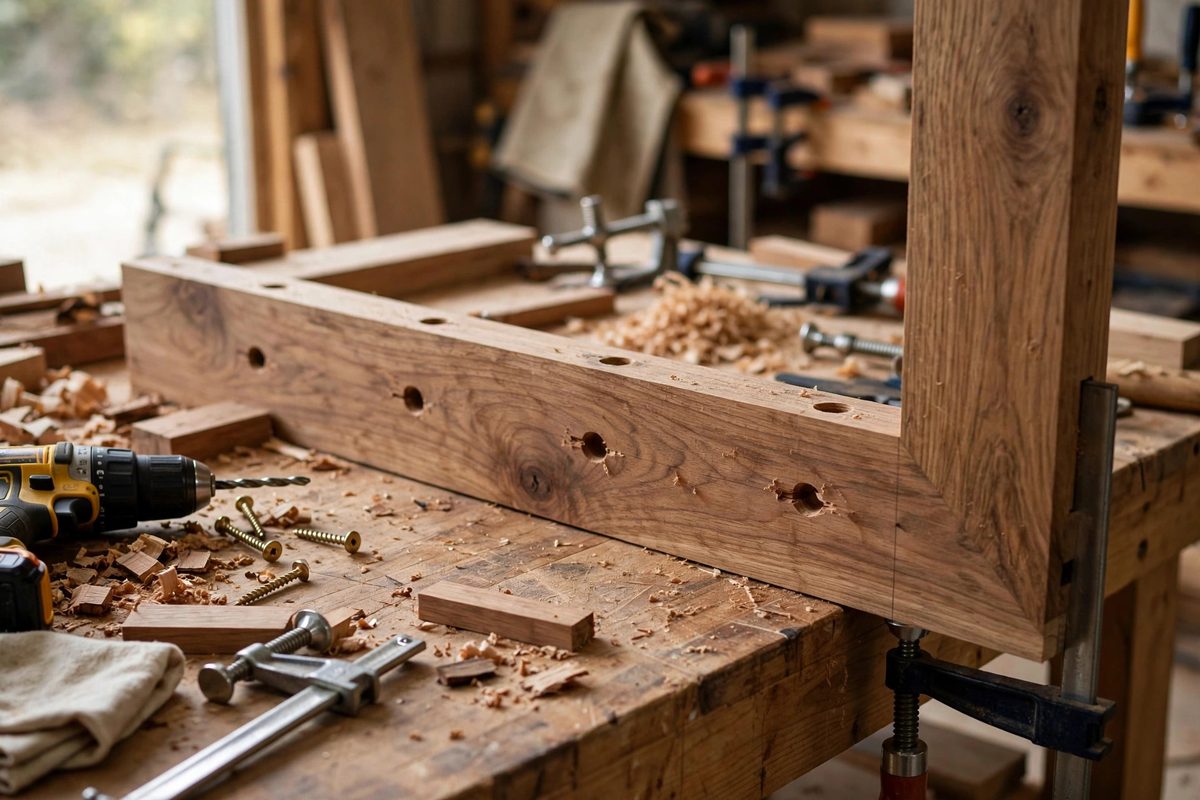
How Pocket Holes Carry Load in a Face Frame
A pocket screw pulls the end of one rail into the edge of a stile (or vice versa) with a clamping force angled through the joint. In hardwood, that angled pull is powerful: the screw's threads bite aggressively into the dense fibers, and the joint closes tight. But the same density that gives the screw its grip also means the wood does not forgive crowding. Two screws too close together in oak or maple split the stile between them, and a split stile is a failed joint no matter how tight the screws are.
The joint's strength comes from the screw's pull plus the glue surface, not from screw quantity. One well-placed screw with good glue coverage beats three crowded screws fighting each other. Spacing is about giving each screw its own undisturbed wood to bite into.
Spacing Rules for Rails and Stiles
For typical face frame stock, three-quarter inch thick and one and a half to two inches wide, the standard practice is two pocket holes per rail end on wider rails and a single centered hole on narrow rails. The two holes on a wide rail should be spaced to divide the rail's width roughly into thirds, keeping each screw well away from the edges and from each other.
On the stile side, the mating holes land along the stile's length, and here the spacing rule is about distance from the rail's edges: keep screws at least three-quarter inch from the end of the stile and from each other along its length. In hardwoods like oak, hickory, and hard maple, err toward wider spacing; the wood's splitting tendency punishes optimism.
Hardwood-Specific Precautions
Hardwood splits along the grain when a screw wedges fibers apart, and pocket screws, driven at an angle, are excellent wedges. The defenses are spacing, pilot awareness, and screw selection. Keep screws away from the ends of boards where the grain can split out to the edge. Drive screws with a clutch or adjustable driver and stop when the joint closes; over-driving in hardwood crushes fibers and can split the stile even with good spacing.
- Use coarse-thread screws in softer hardwoods (poplar, soft maple) and fine-thread in dense hardwoods (oak, hard maple, hickory); the thread must match the fiber.
- Clamp the joint fully closed before driving; the screw should hold the joint, not close it.
- Back the screw out and re-drive if it binds; a bound screw in hardwood is a split waiting to happen.
- Keep pocket holes off the show face; a misplaced hole on the visible side is permanent.
Glue: the Silent Partner
Pocket hole joints in face frames should always be glued. The glue provides the long-term strength and the resistance to racking; the screws provide the clamping pressure and the immediate handling strength. A screwed-but-unglued face frame joint will loosen over years of seasonal movement and door slamming, while a glued and screwed joint behaves as one piece of wood.
Apply glue to the end grain of the rail, assemble, clamp, and then drive the screws. The screws pull the joint tight while the glue cures, which is exactly the division of labor the system was designed for. Wipe squeeze-out promptly; dried glue on the face frame's show surface interferes with finishing.
Spacing for Special Cases
Wide rails, such as the bottom rail of a sink base or an apron rail, benefit from three pocket holes spaced evenly, because the wider glue surface needs clamping pressure distributed across it. Mitered face frame corners, where they occur, need the holes placed so the screws do not break through the miter face; this usually means a single hole centered and set back from the miter.
When joining hardwood face frames to plywood carcases, the spacing on the frame side follows the same rules, and the screws into the plywood need no special spacing beyond keeping them in solid material. The hardwood side is always the side that sets the limits.
Space for the wood, not for speed: thirds on wide rails, centered on narrow ones, clear of edges and ends, glued and clamped before the screw goes in. Hardwood rewards the careful layout with face frames that stay flat and tight long after the shop dust settles.
Related Guides
- Boring Concealed Cup Hinge Centers in Plywood Cases: Concealed cup hinges, the European hinges that disappear inside the cabinet, need a precise large-diameter bore in the door: the cup hole. In plywood
- Tuning Box Joint Finger Spacing on Table Saws: Box joints, the square-fingered cousins of dovetails, are cut on the table saw with a jig and a dado stack, and their quality lives entirely in the
- Build a Table Saw Crosscut Sled: Why Every Woodworker Needs a Crosscut Sled A crosscut sled is one of the most valuable jigs you can build for your table saw. Think of it as a
- Bevel Edge Angle Consistency on Turned Bowls: The bevel on a turning gouge, the ground surface just behind the cutting edge, is the turner's autopilot: when the bevel rubs the wood, it steadies
- Maintaining Traditional Wooden Bench Clamps: The wooden bench clamp, whether a leg vise with its massive wooden screw, a shoulder vise, or a traditional hand screw, is one of the oldest