
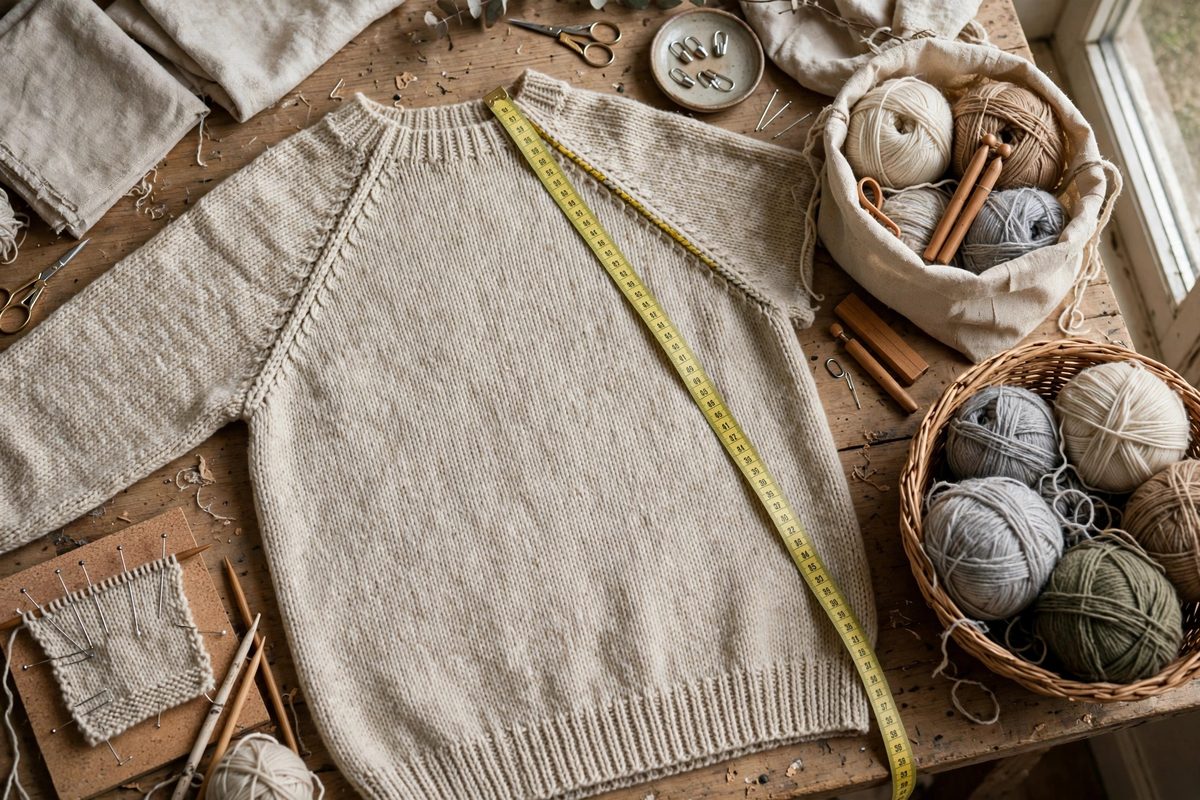
A raglan sleeve joins the body at a diagonal seam running from underarm to neckline, and the depth of that diagonal, how long the seam is, determines the fit more than any other single number. Too short and the armhole binds; too long and the shoulder sags. Because the seam runs diagonally, you cannot measure it directly from row gauge or stitch gauge alone; you need both, combined through the geometry of the diagonal. Here is how to calculate it from your own swatch.
Why the diagonal needs both gauges
Each raglan decrease row does two things at once: it consumes one stitch of width and adds one row of length. The seam therefore advances diagonally across your gauge grid, and its true length follows the Pythagorean relationship between the horizontal distance covered and the vertical distance covered. If your stitch gauge is 5 stitches per inch and your row gauge is 7 rows per inch, each decrease step moves 0.2 inches sideways and about 0.143 inches down. The seam's angle and length are fixed by those two numbers, which is why copying a raglan depth from a pattern written at a different gauge never quite fits.
The calculation, step by step
Start with your blocked gauges: stitches per inch (S) and rows per inch (R). Decide how many stitches the raglan seam will consume on one side; call that D (the number of decrease steps). The horizontal distance covered is D divided by S. If you decrease every row, the vertical distance is D divided by R; if you decrease every other row, it is 2D divided by R. The seam length is the square root of (horizontal squared plus vertical squared). For example, with S = 5, R = 7, D = 30 decreases worked every other row: horizontal = 6 inches, vertical = 60/7 ≈ 8.57 inches, seam ≈ √(36 + 73.5) ≈ 10.5 inches. That is the diagonal your shoulder will actually wear.
Choosing a target depth
For an adult garment, raglan seam lengths commonly fall in a broad band, roughly 9 to 12 inches for average builds, longer for broad shoulders, shorter for petite frames. Rather than guessing, measure a well-fitting raglan or set-in garment the wearer owns: lay it flat and measure from the underarm join to the neckline along the seam line. Work backward from that target through the formula to find how many decrease steps you need at your gauge. Round to a whole number of decrease rows and adjust the decrease frequency (every row versus every other row) to fine-tune.
Decrease frequency changes the angle
Decreasing every row makes a steeper, shorter seam; decreasing every other row makes a shallower, longer one. Many patterns mix the two: rapid decreases near the underarm for a roomy armhole, then slower decreases up the shoulder for a smooth line into the neck. Each change in frequency changes the seam angle at that point, so the seam becomes a gentle curve rather than a straight diagonal. That curve is not a flaw; it mirrors the actual shape of a shoulder. Just recalculate the length for each segment and add them.
Sleeve cap and body must agree
The raglan decreases happen on four seams simultaneously: two on the body, one on each sleeve. The sleeve's decrease count and the body's decrease count must produce the same seam length, or the pieces will not join cleanly. Since sleeve and body are usually worked at the same gauge, this mostly means using the same decrease schedule on all four seams. If the sleeve is worked at a different gauge, run the calculation separately for the sleeve's numbers and adjust its decrease count until the lengths match within a row or two.
Swatch, measure, calculate, then knit. The diagonal stops being a mystery the moment you treat it as geometry, and the sweater fits like it was drafted for its wearer, because it was.
Related Guides
- Calculating Sleeve Cap Shaping From Gauge Swatches: A set-in sleeve's cap, the curved top that fits into the armhole, is the most mathematical part of sweater knitting: a precise curve of bind-offs and
- Calculating Compound Shoulder Tapers in Drop-Sleeve Knits: Drop-shoulder sweaters look simple: the sleeve hangs from a straight shoulder line, no shaping required. But a well-fitting drop sleeve still needs
- Short Row Bust Dart Shaping Calculations for Sweaters: A sweater that fits the shoulders but strains across the bust, riding up and pulling at the buttons, is missing shaping where the body needs it
- Short-Row Dart Calculations for Custom Knitted Tops: A knitted top that fits beautifully through the shoulders but strains or sags at the bust is a shaping problem, and short-row darts are the elegant