
A sweater that fits the shoulders but strains across the bust, riding up and pulling at the buttons, is missing shaping where the body needs it. Short row bust darts add fabric exactly where fullness is required: extra rows across the front of the sweater at bust level, tapering to nothing at the sides, creating three-dimensional shaping in a flat-knit fabric. The technique is straightforward; the calculations that place and size the darts are what make them work. This guide covers measuring, computing the dart depth and placement, and working the short rows cleanly.
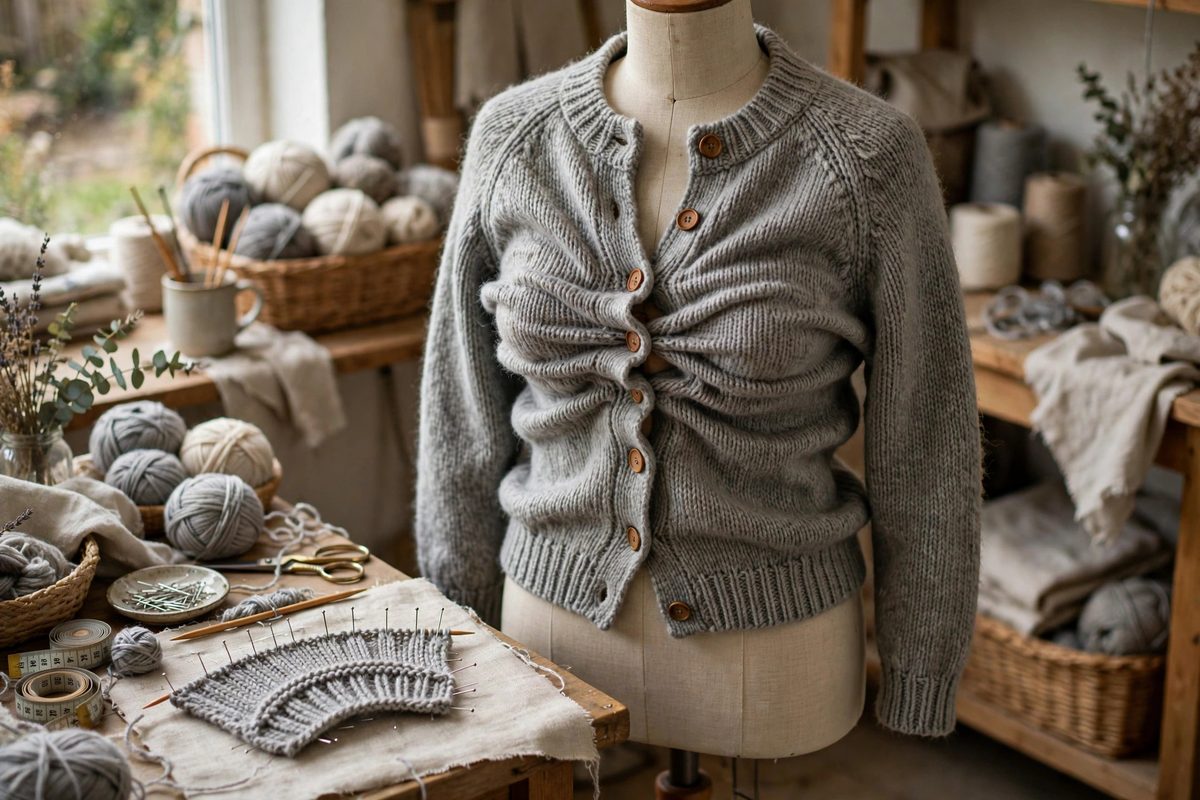
Why darts instead of generic ease
Adding overall ease to accommodate the bust makes the whole sweater baggy: the shoulders droop, the waist swims, and the garment fits nowhere well. Bust darts solve the specific problem, which is a difference in vertical length between the front and back of the torso. The front of the body from shoulder to waist is longer than the back over a full bust, and a sweater knit straight simply does not have that extra front length, so it borrows it from wherever it can, riding up at the hem and straining at the closures. Short rows insert the missing length only across the front, at the bust's fullest point, leaving the back and sides untouched. The result is a sweater that hangs level and closes without strain, fitted by geometry rather than by stretch.
Taking the measurements
Two measurements drive the calculation. First, the front length from the shoulder seam (or the base of the neck) over the fullest part of the bust to the waist, compared against the same measurement taken down the back. The difference between these, typically anywhere from one to several inches, is the total extra length the front needs. Second, the bust's fullest point located vertically from the shoulder, which sets where the darts center. Take these measurements wearing the undergarments intended for the finished sweater, standing naturally; posture affects the numbers, and a measurement taken slouching produces darts placed for a slouch. Record the row gauge accurately, since every calculation converts inches to rows and an optimistic gauge ruins the math.
Calculating dart depth and distribution
Convert the length difference to rows using the row gauge: this is the total number of short rows to distribute. The standard approach splits the dart into two symmetrical darts, one on each side of the front, or works them as a single set of wraps across the front; either way, the total added rows equals the measured difference. Distribute the short rows across a horizontal span centered on the bust's fullest point, with the turning points staggered so the shaping tapers gradually rather than stepping. A common distribution places the outermost turn near the side seam and steps inward toward the center, each successive short row working a few stitches further. The number of steps and the stitches per step follow from dividing the total rows by a sensible step count; more, smaller steps give smoother shaping, while fewer, larger steps work faster but can show as slight angles. There is no magic formula here, only the requirement that the total rows match the measurement and the distribution tapers smoothly.
Placing the darts vertically
The darts center on the bust's fullest point as measured, but the short-row section spans vertically around that point, typically starting an inch or two below the fullest point's upper reach and ending symmetrically below. In sweater construction, this usually falls somewhere between the underarm and the waist, and the exact placement must be coordinated with the pattern's overall shaping: waist decreases, hem ribbing, and any colorwork all interact with the dart zone. Work the darts before or after waist shaping consistently on both sides, and keep notes; a sweater with darts worked at different heights on the two fronts is a frustrating discovery at the finishing stage. If the pattern includes button bands or a zipper, verify that the added front length does not distort the closure alignment.
Working clean short rows
The short rows themselves use the standard wrap-and-turn or its alternatives, with the wraps later picked up invisibly. In a dart context, invisibility matters: the wraps sit in the middle of the garment front, fully visible. Work the wraps neatly, picking them up together with their stitches on the return pass so no holes or bars show. Keep tension even through the turning points, since tight turns pucker and loose turns gap. German short rows, with their doubled stitch instead of a wrap, are popular for darts precisely because they disappear so completely. Whichever method you use, practice it on a swatch first; the dart is not the place to learn the technique.
Fitting and adjusting
The calculations get you close; fitting gets you exact. Try the sweater on as the dart section completes, checking that the hem hangs level front and back and that the front no longer strains. If the front still rides up, the dart needs more rows; if the fabric pools above the bust, it has too many. These adjustments are easy mid-project and miserable after finishing, so fit early. Record what worked: body measurements change slowly, and a proven dart calculation transfers to future sweaters with only gauge conversion. The first calculated dart takes an afternoon of measuring and math; the fifth takes ten minutes.
Short row bust darts add measured front length where the body needs it: measure the front-back difference, convert to rows, distribute the shaping symmetrically around the fullest point, work the turns invisibly, and fit before finishing. Geometry, not ease, is what makes a sweater fit a real torso.
Related Guides
- Short-Row Dart Calculations for Custom Knitted Tops: A knitted top that fits beautifully through the shoulders but strains or sags at the bust is a shaping problem, and short-row darts are the elegant
- Calculating Sleeve Cap Shaping From Gauge Swatches: A set-in sleeve's cap, the curved top that fits into the armhole, is the most mathematical part of sweater knitting: a precise curve of bind-offs and
- Calculating Diagonal Raglan Depth From Stitch Gauges: A raglan sleeve joins the body at a diagonal seam running from underarm to neckline, and the depth of that diagonal, how long the seam is, determines
- Calculating Compound Shoulder Tapers in Drop-Sleeve Knits: Drop-shoulder sweaters look simple: the sleeve hangs from a straight shoulder line, no shaping required. But a well-fitting drop sleeve still needs