
A set-in sleeve's cap, the curved top that fits into the armhole, is the most mathematical part of sweater knitting: a precise curve of bind-offs and decreases that must match the armhole's dimensions while easing in the right amount of fullness. Calculating it from your gauge swatch, rather than copying generic numbers, produces sleeves that fit your yarn, your tension, and your body. The math is simple arithmetic; the payoff is a professional shoulder line.
Why gauge drives the calculation
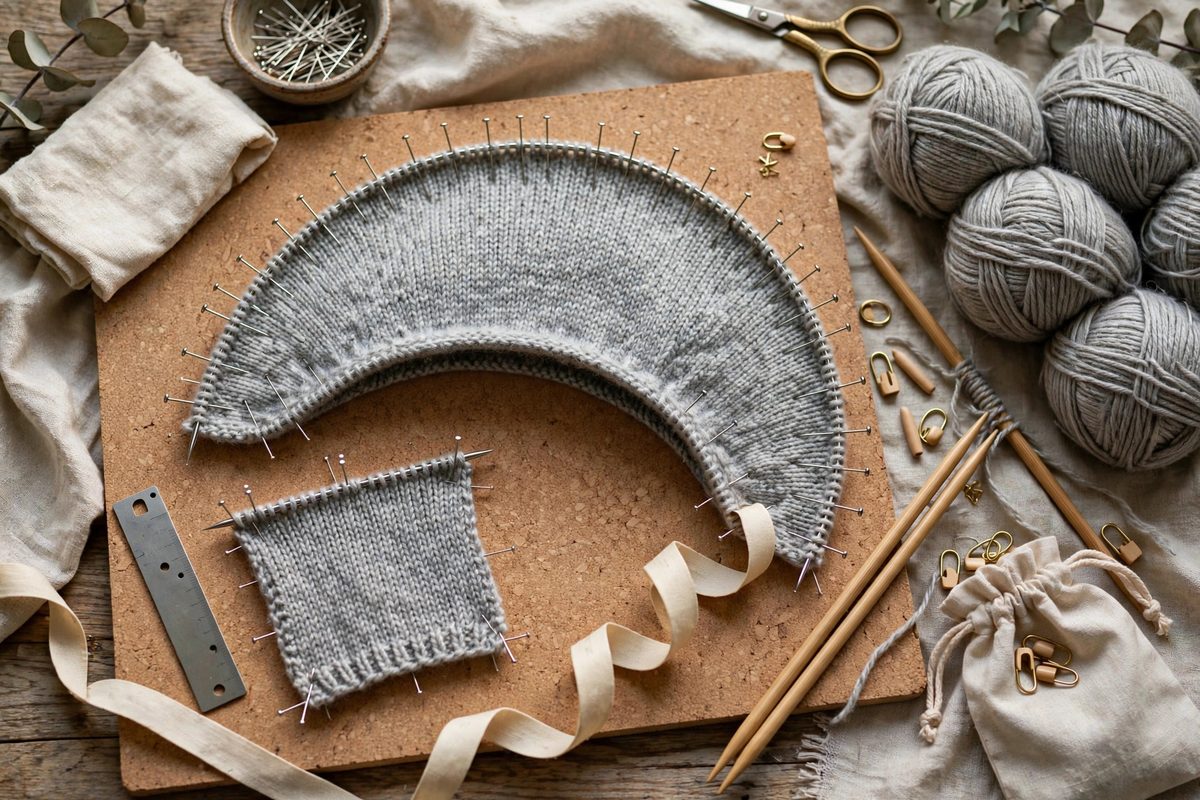
Sleeve cap shaping is specified in stitches and rows, but the armhole it must fit is specified in inches. The gauge swatch is the conversion factor between them. A cap calculated for someone else's gauge will be too tall, too short, too wide, or too narrow on your knitting, and no amount of blocking fixes a cap whose stitch counts were wrong. Swatch in the sleeve pattern stitch, blocked as the finished garment will be blocked, and measure honestly.
Measure both stitch and row gauge, because cap shaping consumes both: bind-offs and decreases shape the width in stitches, while the number of rows over which they occur sets the cap height. A swatch that gives only stitch gauge leaves half the calculation to guesswork.
Measuring the armhole
Determine the armhole depth, from the shoulder seam to the underarm, and the total armhole circumference or the front and back armhole shaping from your pattern or a well-fitting garment. The sleeve cap must span the armhole's width when seamed and match its depth, with a small amount of ease: the cap is traditionally slightly larger than the armhole, eased in during seaming for a smooth shoulder without puckering.
Convert these inch measurements to stitches and rows with your gauge. Now you have the cap's bounding box: so many stitches wide at the base, so many rows tall. The shaping distributes the stitch decreases across the rows to approximate the armhole's curve.
Distributing the shaping
A classic cap shape binds off a chunk of stitches at each underarm, then decreases gradually along the sides, then decreases more rapidly near the top, finishing with a final bind-off at the shoulder. The gradual-then-rapid profile mirrors the armhole's curve: gentle at the underarm, steeper toward the shoulder. Allocate roughly the bottom third of cap rows to gradual decreases, the middle third to steady decreases, and the top third to rapid decreases.
Calculate the decreases per section from your stitch and row counts: total stitches to decrease divided by rows available in each section, rounded to workable decrease intervals. Keep the shaping symmetric: whatever you do on one side, mirror on the other, or the cap skews. Write out the full shaping sequence row by row before knitting; improvising cap shaping mid-sleeve produces the lopsided caps that haunt finished sweaters.
Ease and fit considerations
The cap traditionally carries a small amount of positive ease over the armhole, eased in during seaming. Too much ease puckers; too little strains the seam. The right amount depends on the yarn and the garment style: crisp woolens ease beautifully, drapey yarns show every wrinkle. When in doubt, reduce the ease rather than increase it; a slightly snug cap seams more cleanly than an over-full one.
Consider the wearer's shoulder and upper arm: the cap calculation should start from real body measurements or a trusted garment, not from the pattern's schematic alone if the fit needs customizing. A sleeve cap is fitted engineering; generic numbers fit generic bodies.
Checking and adjusting
Knit the cap and check it against the armhole before seaming: pin the cap into the armhole and look for smooth fit without pulling or bagging. Minor discrepancies ease out in seaming; major ones mean rechecking the gauge math. It is far cheaper to reknit a cap than to seam a bad one and live with the shoulder.
Keep the calculation with the pattern notes: gauge, armhole measurements, shaping sequence. The next sweater in a different yarn becomes a fresh calculation from proven method rather than a fresh puzzle. Sleeve caps stop being intimidating once the arithmetic is routine.
Sleeve cap shaping is gauge arithmetic: swatch honestly, measure the armhole, convert to stitches and rows, distribute decreases in a gradual-then-rapid profile, allow modest ease, and verify before seaming. The shoulder seam will sit where it should, and the sleeve will look set in rather than stuck on.
Related Guides
- Calculating Compound Shoulder Tapers in Drop-Sleeve Knits: Drop-shoulder sweaters look simple: the sleeve hangs from a straight shoulder line, no shaping required. But a well-fitting drop sleeve still needs
- Short Row Bust Dart Shaping Calculations for Sweaters: A sweater that fits the shoulders but strains across the bust, riding up and pulling at the buttons, is missing shaping where the body needs it
- Calculating Diagonal Raglan Depth From Stitch Gauges: A raglan sleeve joins the body at a diagonal seam running from underarm to neckline, and the depth of that diagonal, how long the seam is, determines
- Short-Row Dart Calculations for Custom Knitted Tops: A knitted top that fits beautifully through the shoulders but strains or sags at the bust is a shaping problem, and short-row darts are the elegant