
A knitted top that fits beautifully through the shoulders but strains or sags at the bust is a shaping problem, and short-row darts are the elegant solution. Borrowed from sewing, darts add fabric exactly where the body needs it, and short rows let knitters place that extra fabric with precision. Calculating the dart, how much extra length, over how many stitches, is straightforward arithmetic that turns a generic pattern into a custom fit.
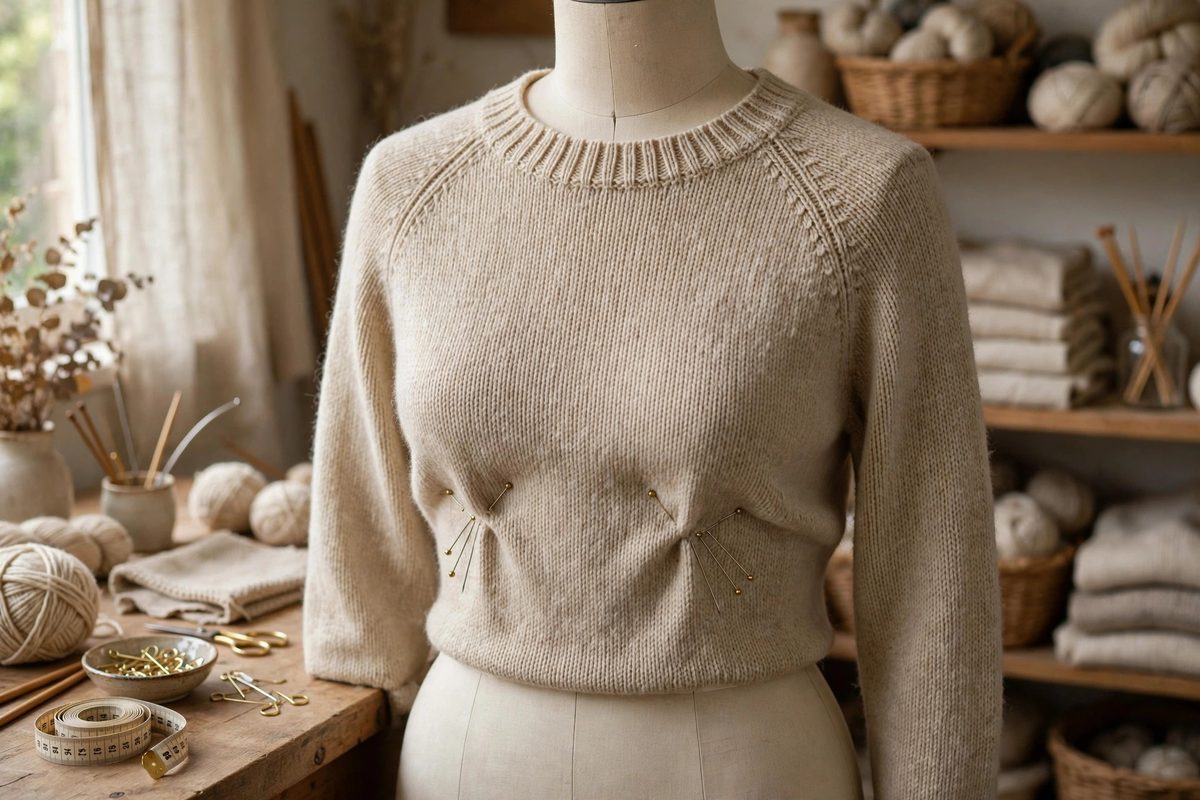
What a Short-Row Dart Does
A dart adds length to one part of the fabric without adding it everywhere. In a knitted top, the front typically needs more vertical length over the bust than the back needs across the shoulder blades; without a dart, you choose between a front that is too short (pulling, riding up) or a back that is too long (sagging, pooling). Short rows create the dart by working partial rows: you knit partway across, turn, and work back, building extra rows in the bust region while the rest of the garment stays at its original row count. The extra rows form a subtle wedge of fabric, invisible in the finished garment but transformative in fit.
Measuring What You Need
The dart calculation starts with two measurements: the vertical length needed over the bust (from shoulder to full bust to hem, following the body's curve) and the length the pattern provides at the same points. The difference is the dart depth: the total extra length the front needs. Measure on the body or on a well-fitting garment, not on the pattern schematic alone, because ease and wearing preference affect the real requirement. Also measure the horizontal extent: how wide the bust area is, which determines over how many stitches the dart spreads. A dart concentrated in too few stitches creates a visible bump; spread over the right width, it disappears into the fabric.
Converting Measurements to Rows and Stitches
Translate the dart depth into rows using your row gauge: dart depth in inches times rows per inch gives the total extra rows needed. Those rows are worked as short-row pairs (each out-and-back adds two rows at the turning point, one at the edges of the dart), so divide accordingly to get the number of turning points. The horizontal extent converts via stitch gauge into the stitch count the dart spans. Now plan the short-row sequence: the turning points step outward from the center (or inward from the edges, depending on method) across the dart's stitch span, each turn adding its rows to a progressively wider section. Space the turning points evenly: even spacing distributes the extra fabric smoothly, while clustered turns create visible ridges.
Placing the Dart Vertically
Vertical placement matters as much as size. The dart should center on the fullest point of the bust: too high and it adds length above where it is needed, creating excess at the shoulder; too low and it misses the bust apex, leaving the strain unrelieved. A good rule is to center the dart's turning-point zone on the bust apex, with the short rows extending a bit above and below. If you are modifying an existing pattern, the dart typically sits between the underarm and the hem shaping: plan it into the pattern's row sequence so it does not collide with waist shaping or other features. Sketch the dart placement on the schematic before knitting; moving a dart after the fact means ripping back.
Choosing a Short-Row Method
The calculation is independent of the short-row technique, but the technique affects the result's invisibility. Wrap-and-turn is the classic, reliable method; German short rows are nearly invisible in stockinette and increasingly popular; Japanese short rows suit textured fabrics. Whichever you use, work it consistently and resolve the wraps or turns neatly: a visible line of wraps defeats the dart's purpose. Practice the method in a swatch first, because fumbling the technique while also managing dart calculations is a recipe for errors. The dart should be undetectable in the finished fabric: if you can see where it is, something needs adjustment.
Trying On and Adjusting
The ultimate test is the body. Put the work on waste yarn or a spare cable at the dart section and try it on: the front should lie smooth over the bust with no pulling at the underarm and no excess pooling below. If it still pulls, the dart needs more rows; if it bags, fewer. This fitting step is why knitting the dart as calculated, then verifying, beats guessing: the calculation gets you close, and the fitting refines it. Record what worked: your dart numbers for a given gauge and body are reusable across patterns, which is the real payoff of doing the math once.
Short-row darts are custom fit expressed as arithmetic: measure the need, convert through gauge, space the turns evenly, place on the apex, and verify on the body. Do the calculation and the top stops being approximately right and starts being exactly yours.
Related Guides
- Short Row Bust Dart Shaping Calculations for Sweaters: A sweater that fits the shoulders but strains across the bust, riding up and pulling at the buttons, is missing shaping where the body needs it
- Calculating Sleeve Cap Shaping From Gauge Swatches: A set-in sleeve's cap, the curved top that fits into the armhole, is the most mathematical part of sweater knitting: a precise curve of bind-offs and
- Calculating Diagonal Raglan Depth From Stitch Gauges: A raglan sleeve joins the body at a diagonal seam running from underarm to neckline, and the depth of that diagonal, how long the seam is, determines
- Calculating Compound Shoulder Tapers in Drop-Sleeve Knits: Drop-shoulder sweaters look simple: the sleeve hangs from a straight shoulder line, no shaping required. But a well-fitting drop sleeve still needs