
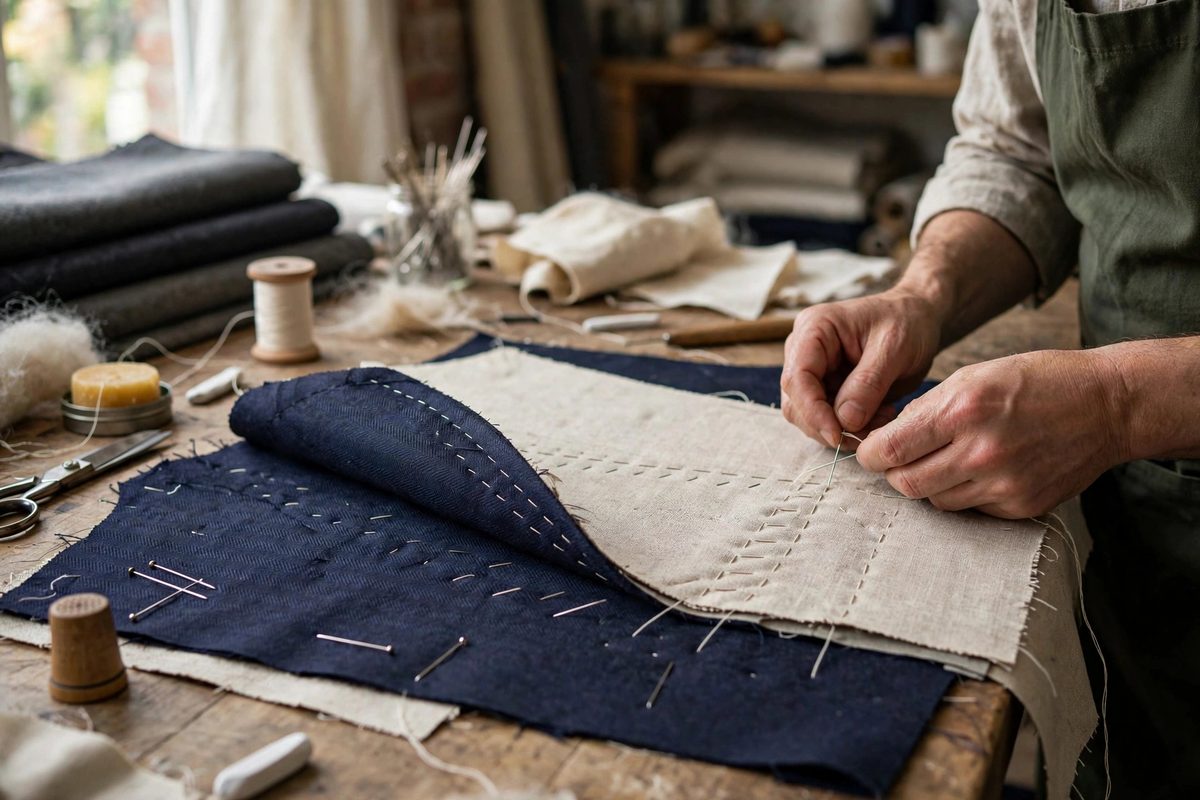
Pad stitching is the handwork that gives a tailored lapel its roll, its shape, and its quiet refusal to lie flat or bubble. It joins the canvas chest piece to the garment's front with rows of small diagonal stitches that do more than attach: they sculpt. Every row of pad stitching slightly shrinks and molds the canvas, building the three-dimensional curve a lapel needs. It is slow work, and it is the difference between a jacket that looks tailored and one that merely looks sewn.
What the canvas is doing in there
The chest piece, usually a layer of hair canvas or a canvas-and-flannel combination, is the skeleton of the jacket front. It extends from the shoulder over the chest and into the lapel, giving the garment body that the outer fabric alone cannot provide. Pad stitching attaches this skeleton to the front panels while shaping it, row by row, into the curve of a human chest and the roll of a lapel. Fusible interfacings try to do this job with glue, and they can approximate it, but glue cannot shape; it can only stiffen. Pad stitching shapes because each stitch draws the canvas up slightly, and hundreds of stitches add up to a controlled, permanent curve. That is why bespoke jackets still use it after centuries: no adhesive has ever replicated what a needle does to canvas.
Setting up the layers
Cut the canvas chest piece to the pattern, including the lapel portion, and baste it to the wrong side of the jacket front with the roll line marked clearly on the canvas. The roll line is the fold where the lapel turns back, and it is the most important marking in the whole operation. Everything about stitch density and direction orients around it. Use a long basting stitch in a contrasting thread so you can see and later remove it. The front fabric and canvas should lie flat together with no pulling; if the canvas is fighting the cloth at this stage, re-cut or reposition rather than stitching tension into the garment. Some tailors add a thin layer of flannel or domette between canvas and cloth for softness over the chest. If you do, baste it as part of the sandwich now.
The stitch itself
Pad stitching is a small diagonal stitch, roughly a quarter to three-eighths of an inch long, worked in parallel rows. You take a tiny bite of the canvas only, or canvas plus a thread of the outer cloth, never a full bite that shows on the face. The needle enters, travels diagonally, and exits, and the rows run perpendicular to the roll line in the lapel area, spaced about a quarter inch apart. The angle matters: stitches slant so that each row pulls the canvas slightly toward the roll, and the accumulation of those tiny pulls builds the curl. In the chest area above the roll line, the rows follow the body's curve and can be spaced a little wider, since their job there is attachment and gentle shaping rather than the firm roll of the lapel. Keep your tension even and moderate. Stitches pulled drum-tight will pucker the face; stitches left loose do no shaping at all. The rhythm becomes meditative quickly, which is fortunate, because a pair of lapels takes hundreds of stitches.
Building the roll
The lapel roll is shaped, not pressed, into existence. As you pad stitch the lapel section, hold the work so the canvas side curves toward you, encouraging the roll with your fingers as you go. Stitch density increases near the roll line itself, with rows placed closer together to firm up the fold. Below the button, where the front hangs straight, the stitching relaxes. This graduated density is what makes a lapel roll softly from the top button and then fall clean: firm where it turns, easy where it hangs. After stitching, press the lapel over a tailor's ham with steam, rolling it into shape rather than pressing it flat. Pressing a pad-stitched lapel flat destroys in minutes what took hours to build. The iron should coax the curve, never crush it.
Taping the roll line and finishing
Once the pad stitching is complete and the roll is pressed, baste a strip of twill tape along the roll line on the canvas side. The tape stabilizes the fold so it rolls at exactly the marked line through years of wear instead of migrating. Catch-stitch the tape to the canvas only. Then remove the basting that held the layers, check the face of the garment for any stitch that bit too deep (a careful pick with a needle releases it), and give the front a final steam. Stand back and look at the lapel from the side. It should describe a smooth, confident curve with no ripples, no flat spots, and no hesitation. That curve is hundreds of small decisions made correctly, and it is the signature of real tailoring.
Pad stitching rewards patience out of all proportion to its difficulty. The stitch is simple; the discipline is in the repetition. Learn it on a sample, then commit to a real garment, and you will understand why tailors guard this technique so closely.
Related Guides
- Horsehair Canvas Pad Stitching for Tailored Lapels: The difference between a jacket that looks expensive and one that looks homemade is often invisible: it is the interlining inside the lapel
- Haircloth Chest Canvas Molding for Structured Overcoats: The chest of a structured overcoat holds its shape because of what is inside it, not because of the outer fabric. Haircloth chest canvas, the stiff
- Pad Stitching Density for Tailored Collar Rolled Laps: The rolled lapel of a tailored jacket, curving smoothly from the collar to the button, holds its shape because of pad stitching: rows of small
- Steam Shaping Wool Canvas for Suit Collars: A suit collar does not get its elegant roll from cutting alone; it is shaped. Wool canvas, the traditional chest interfacing, can be shrunk and