
The difference between a jacket that looks expensive and one that looks homemade is often invisible: it is the interlining inside the lapel. Horsehair canvas, pad-stitched by hand to the lapel, gives tailored lapels their signature roll, body, and longevity. Fused interfacings are faster, but they cannot replicate what pad stitching does: a lapel that is shaped, not just stiffened, and that holds its roll for the life of the garment.
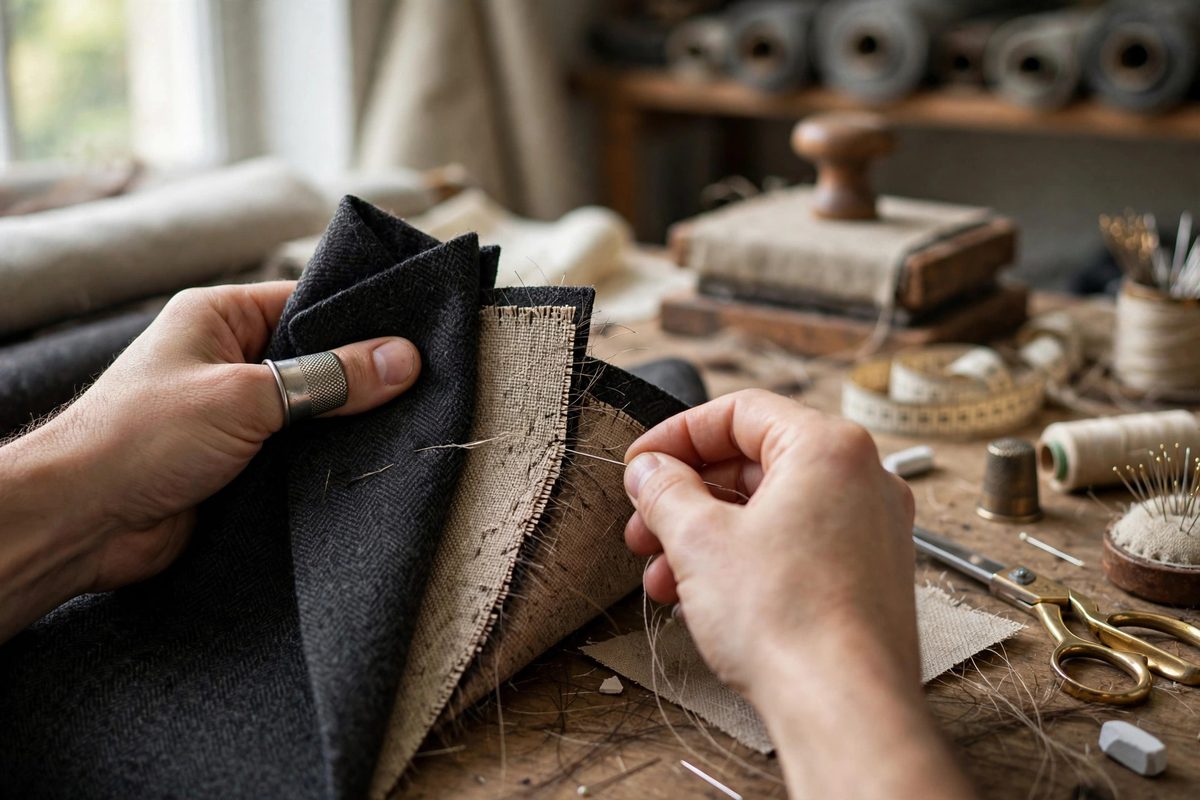
What Horsehair Canvas Is
Tailor's canvas, traditionally woven with horsehair (modern versions often blend horsehair with wool, cotton, or synthetics), is a resilient, springy interfacing fabric. The horsehair gives it a natural liveliness: it wants to return to shape after bending, which is exactly the property a lapel needs. Unlike fusible interfacings that glue stiffness onto the fabric, sewn-in canvas works mechanically: it is shaped by the pad stitching and holds that shape through its own resilience. The canvas comes in weights: choose one suited to the fashion fabric, substantial enough to support the lapel but not so heavy it overwhelms a lightweight cloth.
Why Pad Stitching Instead of Fusing
Pad stitching is a hand stitch that joins the canvas to the lapel fabric with rows of small diagonal stitches, and its magic is that the stitching itself shapes the lapel. By varying the stitch length and tension, the tailor eases the lapel fabric onto the canvas in a controlled curve: the lapel roll is literally stitched into existence. Fusing can only make the lapel uniformly stiff; pad stitching makes it roll. The hand-sewn connection also moves with the fabric instead of against it: a fused lapel can bubble or delaminate over time and with dry cleaning, while a pad-stitched lapel is mechanically joined and lasts as long as the threads hold. This is why bespoke tailoring still pad-stitches: the result cannot be achieved any other way.
Preparing the Lapel and Canvas
Cut the canvas to the lapel shape, usually including the full lapel and extending into the front body to anchor the shaping. Mark the roll line clearly on both canvas and fabric: the roll line is where the lapel turns, and the pad stitching shapes everything relative to it. Baste the canvas to the wrong side of the lapel fabric, aligning carefully: any misalignment here propagates through the entire pad stitching. The lapel fabric should be handled minimally from this point: every unnecessary handling risks stretching the bias-prone lapel area.
The Pad Stitching Technique
Work with the canvas side up, using a strong thread. The stitch is a small diagonal: the needle takes a tiny bite of the lapel fabric (just a thread or two, invisible from the right side) and a longer bite of the canvas, forming diagonal rows. Space the rows about half an inch apart in the main lapel area, closer together approaching the roll line where more control is needed. The shaping happens through easing: as you stitch, gently roll the lapel over your hand or a tailor's ham, coaxing the fabric into the curve while the stitches lock it to the canvas. The stitches on the roll line itself are worked slightly tighter, defining the crease; away from the roll line, the stitching is more relaxed, letting the lapel fall naturally. This graduated tension is the skill: it takes practice to feel, so pad-stitch a sample lapel before the real garment.
Shaping the Roll
The lapel roll, that soft turnover from the garment front to the lapel face, is the visual signature of tailoring. Build it deliberately: the canvas is cut and stitched to encourage the fabric to break exactly on the roll line, with the fullness distributed so the roll is smooth, not creased. After pad stitching, press the lapel over a ham, using steam to set the shape: the canvas's resilience plus the pressed shape plus the stitching's easing combine into a roll that springs back when disturbed. A well pad-stitched lapel can be crushed in a suitcase and still recover its roll: that is the horsehair working.
Common Mistakes and Corrections
Stitches showing on the right side mean the needle bit too deeply into the fashion fabric: keep the lapel-side bites to a thread or two. A lapel that will not roll usually has pad stitching worked too uniformly: the shaping requires varied tension, tighter at the roll line, easier elsewhere. Puckering indicates the fabric was eased unevenly or the canvas was misaligned: unpick the affected rows and redo them, because pressed-in puckers in a lapel are permanent. And impatience is the meta-mistake: pad stitching a pair of lapels takes hours, and rushing produces exactly the flat, lifeless result the technique exists to prevent.
Horsehair canvas and pad stitching are the soul of the tailored lapel: shape stitched in by hand, resilience built into the materials, a roll that lasts decades. It is slow work, and it is the reason bespoke lapels look like nothing else.
Related Guides
- Canvas Chest Piece Pad Stitching for Structured Lapels: Pad stitching is the handwork that gives a tailored lapel its roll, its shape, and its quiet refusal to lie flat or bubble. It joins the canvas chest
- Pad Stitching Density for Tailored Collar Rolled Laps: The rolled lapel of a tailored jacket, curving smoothly from the collar to the button, holds its shape because of pad stitching: rows of small
- Steam Shaping Wool Canvas for Suit Collars: A suit collar does not get its elegant roll from cutting alone; it is shaped. Wool canvas, the traditional chest interfacing, can be shrunk and
- Haircloth Chest Canvas Molding for Structured Overcoats: The chest of a structured overcoat holds its shape because of what is inside it, not because of the outer fabric. Haircloth chest canvas, the stiff