
Micro macrame works at jewelry scale: fine cords, tiny knots, and pieces that must hold their shape under daily wear. The clove hitch, the workhorse knot of micro macrame, does the structural work, and its tension locking, the way it grips and stays put, determines whether a piece lasts or slowly unravels.
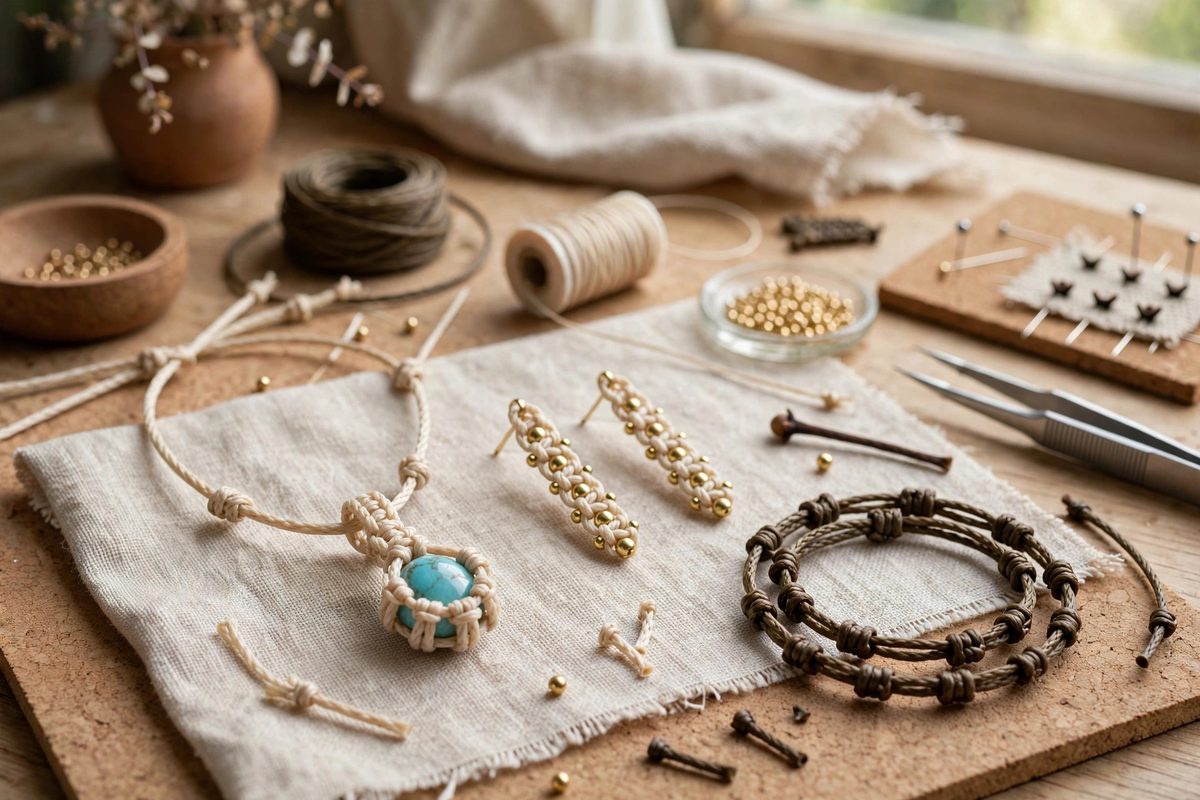
How the clove hitch locks
A clove hitch in macrame consists of two half-hitches worked around a holding cord. The locking comes from friction: each half-hitch cinches against the cord and against its partner, and the pair jams in a way that resists sliding. The lock depends on the cord's texture and the tightness of the hitches; slick cords lock less willingly than textured ones. Understanding that the lock is friction, not magic, tells you what to adjust when a hitch slips.
Tension technique for the tiny scale
At micro scale, tension control is fingertip work. Each half-hitch should be tightened with a firm, even pull, seating it fully against the previous knot before the next is tied. Inconsistent tension is the main cause of failure: a loose hitch in a row of tight ones is the one that slips. Develop a rhythm, tie, tighten, check, and maintain it through the whole piece. Many micro macrame artists work with the piece pinned to a board, which frees both hands for tensioning and keeps the work from shifting mid-knot.
Cord choice and lockability
Not all cords lock equally. Waxed polyester and nylon cords grip well and are the standards for micro macrame jewelry; unwaxed slick cords need more careful tensioning. Cord diameter matters too: very fine cords have less surface area for friction and need tighter hitches. Test the lock before committing to a design: tie a sample row of clove hitches on the chosen cord, tug it the way wear will tug it, and see if anything moves. The sample takes minutes and prevents a bracelet that loosens in a week.
Direction changes and the lock
Clove hitches lock best when worked in a consistent direction along the holding cord. When the pattern changes direction, the holding cord bends and the hitches on the outside of the bend loosen slightly. Compensate by tightening those hitches a touch more, or by working the turn over two cords instead of one for extra grip. Direction changes are also where beginners lose their tension rhythm; slow down at the turns, because the knots tied carelessly at a turn are the ones that fail.
Finishing the ends
A row of clove hitches is only as secure as its ends. The final hitch in a sequence needs to be locked so it cannot work loose: finish with an extra half-hitch, or thread the working cord back through the last few hitches before trimming. Melt or glue the cut ends according to the cord type; a fused end that is also threaded through the knots is doubly secure. The finishing is not decoration; it is the last line of defense for the whole piece.
Testing the finished piece
Before a piece leaves your hands, stress-test it. Tug the cords the way a wearer will: pulling, twisting, catching. Flex the piece repeatedly. If any hitch slips, it would have slipped in wear, and now is the time to know. A piece that survives your testing will survive the wearer. This quality check is what separates jewelry from knotted string.
Tie each hitch with even, firm tension, choose cords that grip, secure the direction changes and the ends, and test before delivery. The clove hitch will do its job, holding the piece together knot by knot, as long as you give it the tension it needs to lock.
Related Guides
- Half-Hitch Micro Knots on Miniature Beaded Chords: Macrame jewelry lives at a scale where a millimeter matters: a bracelet cord barely thicker than thread, beads the size of seed pearls, knots that
- Half Hitch Knot Locking Around Polished Stones: Setting a polished stone in macrame jewelry without metal findings comes down to one humble knot: the half hitch. Wrapped in series around the stone
- Micro Macrame Spiral Knots With 0.4mm Cordage: Micro macrame shrinks the ancient art of knotted cord down to jewelry scale, and the spiral knot, the half-knot repeated until it twists into a
- Micro Macrame Lark Head Knots on Beaded Cording: Micro macrame jewelry works at a scale where every knot is visible and every millimeter matters. The lark's head knot, the foundational mounting knot