
A home-built photometer measures chemical concentrations by shining light through a sample and measuring how much is absorbed: more absorption means more of the absorbing substance. The relationship is governed by the Beer-Lambert law, in which absorbance equals the absorptivity times the concentration times the path length, the distance the light travels through the sample. Path length is the instrument constant the builder controls, and calibrating it correctly is what turns a light sensor in a box into a quantitative instrument. Get the path length wrong and every concentration reading is wrong by the same factor, precisely and confidently.
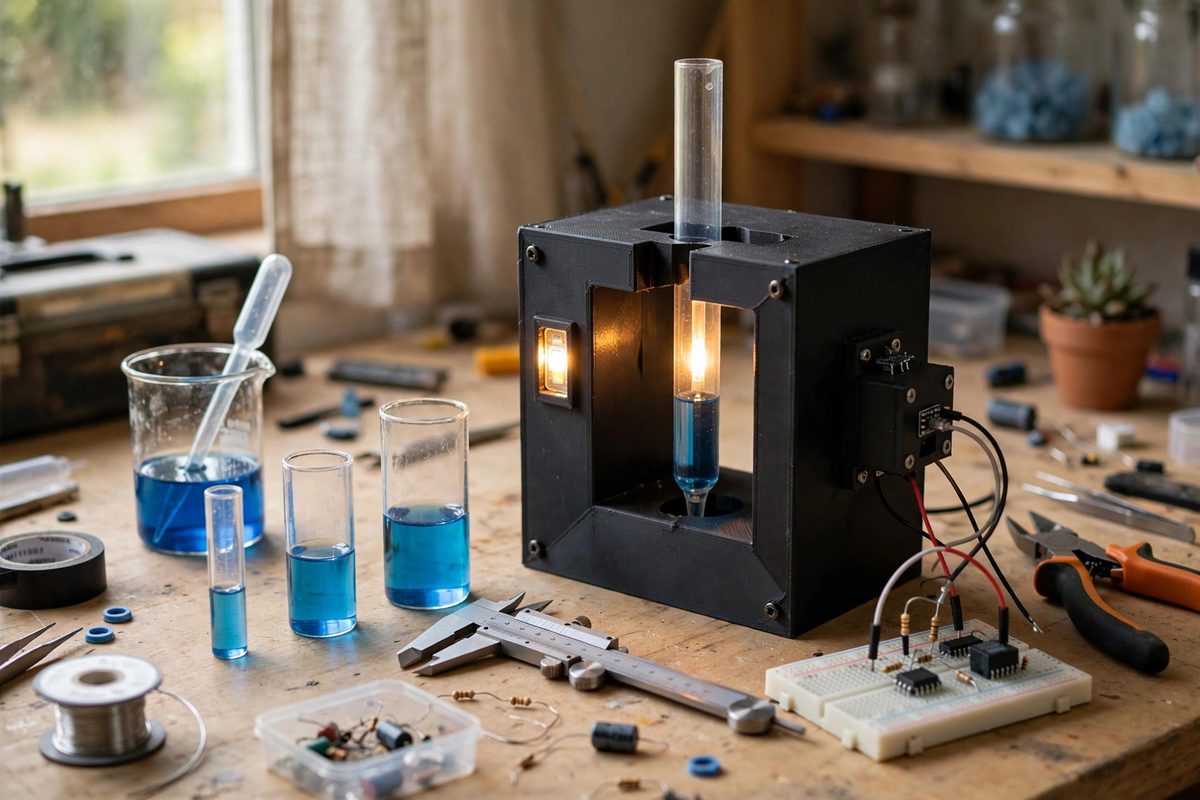
The Beer-Lambert Law and Path Length
The law states that absorbance is proportional to concentration and to path length: double the concentration at the same path length, double the absorbance; double the path length at the same concentration, double the absorbance. This linearity is the photometer's entire operating principle: measure absorbance, divide by the known constants, read concentration. Path length enters as a direct multiplier, which means a 10% error in path length is a 10% error in every measurement, with no way to detect it from the data alone. The path length is set by the cuvette or sample cell geometry: the internal distance between the windows the light passes through. Standard cuvettes fix this at a nominal value, but home-built cells, 3D-printed holders, and improvised vials have whatever path length the builder actually created, which must be measured, not assumed.
Measuring the Actual Path Length
Do not trust the nominal dimension: measure the light path as built. For a rectangular cell, measure the internal distance between the optical windows with calipers, accounting for any window thickness if the measurement is taken externally. For cylindrical vials, the path length is the internal diameter along the light axis, but beware: a cylindrical vial acts as a lens, focusing or diverging the beam, which complicates the effective path length beyond the simple diameter. This is why rectangular cuvettes are preferred for quantitative work: the flat windows present a uniform path length across the beam. If the build uses an improvised cell, characterize it: fill it with a standard absorbing solution of known concentration and absorptivity, measure the absorbance, and solve for the effective path length. This empirical calibration captures all the geometric quirks, lensing, beam divergence, window effects, in one number, which is more honest than the caliper reading.
Calibrating With Standard Solutions
The robust calibration method uses standard solutions rather than geometry alone. Prepare a series of known concentrations of a stable absorbing substance, measure each in the photometer, and plot absorbance against concentration. The slope of that line, for a linear response, equals absorptivity times path length; with a known absorptivity, the path length drops out. More practically, the calibration curve itself becomes the instrument's scale: future unknowns are read off the curve, and the path length never needs to be known explicitly, as long as the same cell is used for calibration and measurement. This is the key insight: consistent geometry matters more than known geometry. Calibrate and measure with the same cell, in the same holder, with the same alignment, and the path length cancels out of every comparison. The calibration curve should be checked periodically and whenever the cell or holder changes.
Alignment and Stray Light
Path length calibration assumes the light actually travels the intended path. Misalignment, the beam clipping the cell wall or passing at an angle, changes the effective path length and introduces stray light that bypasses the sample. Design the holder to constrain the cell position repeatably: a snug pocket, not a loose slot, with the optical axis fixed. Baffle the light path so the detector sees only light that passed through the sample: ambient light leaking into the detector adds a constant offset that corrupts low-absorbance readings especially. Test for stray light by measuring a strongly absorbing blank: the residual signal is the stray light floor, and it sets the instrument's upper absorbance limit. Keep the optics clean: fingerprints on windows scatter light and effectively shorten the path, a calibration error that drifts with handling.
Linearity Limits and Dilution
The Beer-Lambert law holds over a limited absorbance range; at high concentrations, the relationship curves, and the photometer's readings go nonlinear. Know the instrument's linear range from the calibration curve: the concentrations where the plotted points form a straight line. Samples reading above that range must be diluted into range, with the dilution factor applied to the result; this is standard analytical practice, not a workaround. Also respect the low end: near-zero absorbance, noise and stray light dominate, and the relative error balloons. The path length can be chosen to position expected concentrations in the sweet spot: a longer path amplifies weak absorbances, a shorter path tames strong ones. This is why commercial photometers offer multiple path lengths, and why the home builder should consider making the cell swappable.
Path length is the quiet constant in every photometer reading: measure the cell as built, calibrate with standard solutions in the same geometry, control alignment and stray light, and dilute into the linear range. The instrument then reports concentrations, not just light levels, which is the entire point of building it.
Related Guides
- Titration Setup Accuracy in Home Chemistry Kits: Titration, the careful addition of one solution to another until a reaction completes, is the classic quantitative chemistry technique, and home kits
- Spectrophotometer Cuvette Drift in Educational Labs: Educational spectrophotometers are workhorses, but their readings drift, and the cuvettes are often the culprit. A scratched, fogged, or mismatched
- Calibrating Optical Density in Spectrophotometer Vials: Optical density, the workhorse measurement of home chemistry and biology builds, tells you how much light a sample absorbs, which in turn tells you
- Spectrophotometer Drift Correction in Educational Kits: Educational spectrophotometers, the build-it-yourself kits that let students measure color and concentration with light, are wonderful teaching tools