
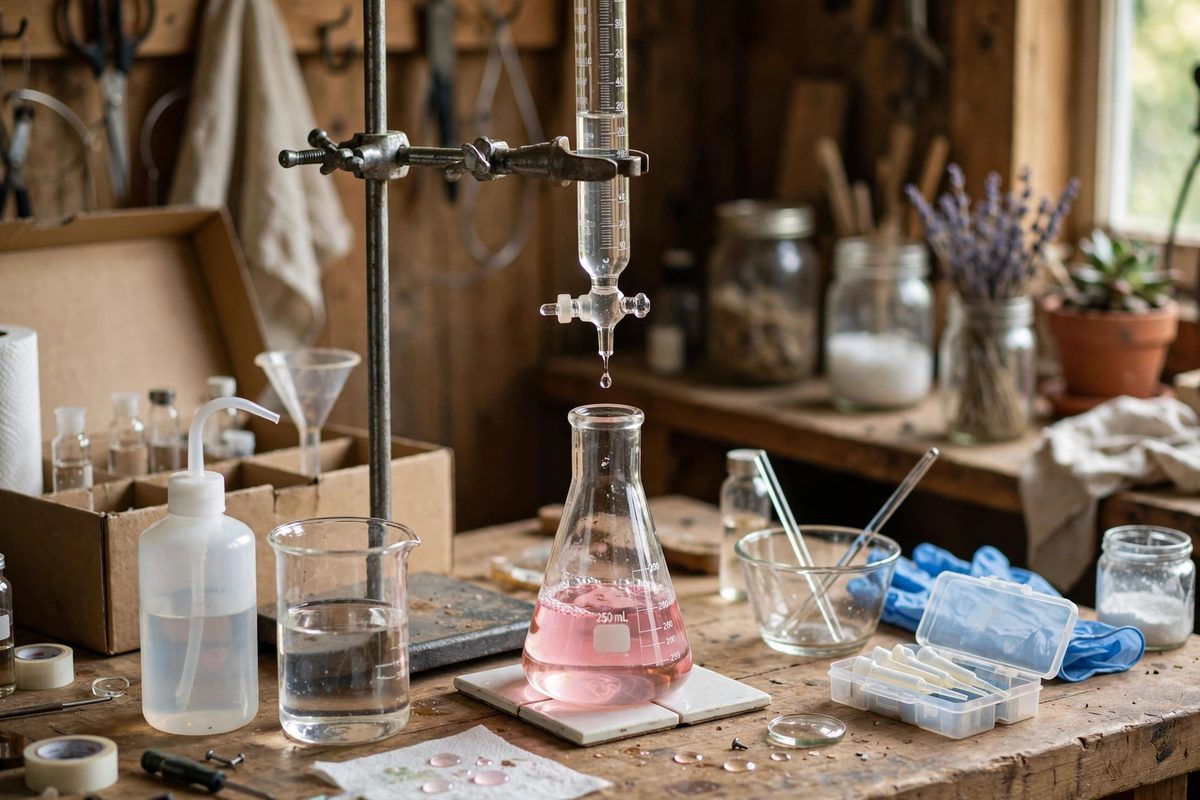
Titration, the careful addition of one solution to another until a reaction completes, is the classic quantitative chemistry technique, and home kits can teach it genuinely well. But titration's accuracy lives or dies on setup: glassware calibration, endpoint detection, and technique discipline. A sloppy setup teaches the motions while producing numbers that mean nothing; a careful one produces real analytical results on a kitchen table. The difference is all in the details.
Why setup dominates accuracy
Titration math is simple: concentration equals moles over volume, and the volume is what you measure. Every error in volume measurement, in reading the burette, in delivering drops consistently, in knowing your glassware's true capacity, flows directly into the result. Technique errors compound: a one-drop overshoot past the endpoint on a small titration can shift the result by several percent.
The home kit's advantage is that these errors are visible and teachable. A student who sees their triplicate titrations scatter learns what precision means more deeply than any lecture. The setup's job is to make the achievable precision as good as the kit allows, so the lesson is about technique, not about fighting bad equipment.
Glassware: calibration and selection
Use a burette for the titrant, not a graduated cylinder or a dropper. The burette's fine graduations and stopcock control exist precisely for this job. Before trusting it, check its calibration: deliver a known volume of water into a tared container on a scale, and compare the mass to the expected volume. Inexpensive kit glassware can deviate meaningfully from its markings; a one-time calibration turns a suspect burette into a trusted one.
Use a volumetric pipette or a calibrated graduated cylinder for the analyte aliquot, and an Erlenmeyer flask as the reaction vessel: its narrow neck reduces splashing and its shape swirls well. Rinse the burette with titrant before filling, and the pipette with the analyte solution, so residual rinse water does not dilute your measured volumes. These rinses are not fussiness; they remove a systematic dilution error.
Endpoint detection done right
The endpoint is the observable signal, usually a color change, that the reaction is complete. Choose an indicator whose transition range brackets the expected equivalence point; the wrong indicator gives a systematically early or late endpoint no matter how good the technique. Add only a drop or two of indicator: excess indicator is itself a reactant that consumes titrant and shifts the result.
Approach the endpoint slowly. Titrate briskly until near the expected volume, then add drop by drop, swirling between additions, watching for the first permanent color change. The classic beginner error is blasting past the endpoint and calling the overshot volume the result. Run a fast scout titration to find the neighborhood, then two or three careful titrations for the real data.
Technique discipline
Read the burette at eye level at the bottom of the meniscus, with a white card behind it for contrast. Record to the finest graduation you can estimate honestly, usually half the smallest division. Swirl consistently, not violently; splashing analyte onto the flask walls above the liquid removes it from the reaction. Wash down any splashes with a little distilled water before continuing.
Control drop size at the endpoint by partially closing the stopcock so the titrant emerges in fractions of drops, touching the drop to the flask wall and washing it in. This half-drop technique is what separates rough titrations from good ones, and it is entirely a matter of stopcock feel, which is why practice matters.
Safety and chemical sense
Home titration uses dilute reagents, but dilute does not mean harmless. Wear eye protection always; burettes are at face height and splashes happen. Know the hazards of your specific reagents, keep neutralizing agents and cleanup materials at hand, and dispose of waste according to local guidance, never down the drain by default. Titrate in a clear, stable workspace away from food and small children.
Replicates are the accuracy check: three titrations agreeing within a drop or two indicate good technique; scatter indicates a setup or technique problem to diagnose before trusting any single number. That diagnostic habit, more than any single result, is what the home titration lab is really teaching.
Titration accuracy is setup plus discipline: calibrated glassware, proper rinses, the right indicator used sparingly, eye-level readings, half-drop endpoint control, and triplicate runs. The home kit can deliver genuine analytical chemistry when the setup is respected. Measure carefully, and the numbers will be real.
Related Guides
- Colorimeter Path Length Calibration in Home Photometers: A home-built photometer measures chemical concentrations by shining light through a sample and measuring how much is absorbed: more absorption means
- Spectrophotometer Drift Correction in Educational Kits: Educational spectrophotometers, the build-it-yourself kits that let students measure color and concentration with light, are wonderful teaching tools
- Spectrophotometer Cuvette Drift in Educational Labs: Educational spectrophotometers are workhorses, but their readings drift, and the cuvettes are often the culprit. A scratched, fogged, or mismatched
- Calibrating Optical Density in Spectrophotometer Vials: Optical density, the workhorse measurement of home chemistry and biology builds, tells you how much light a sample absorbs, which in turn tells you