
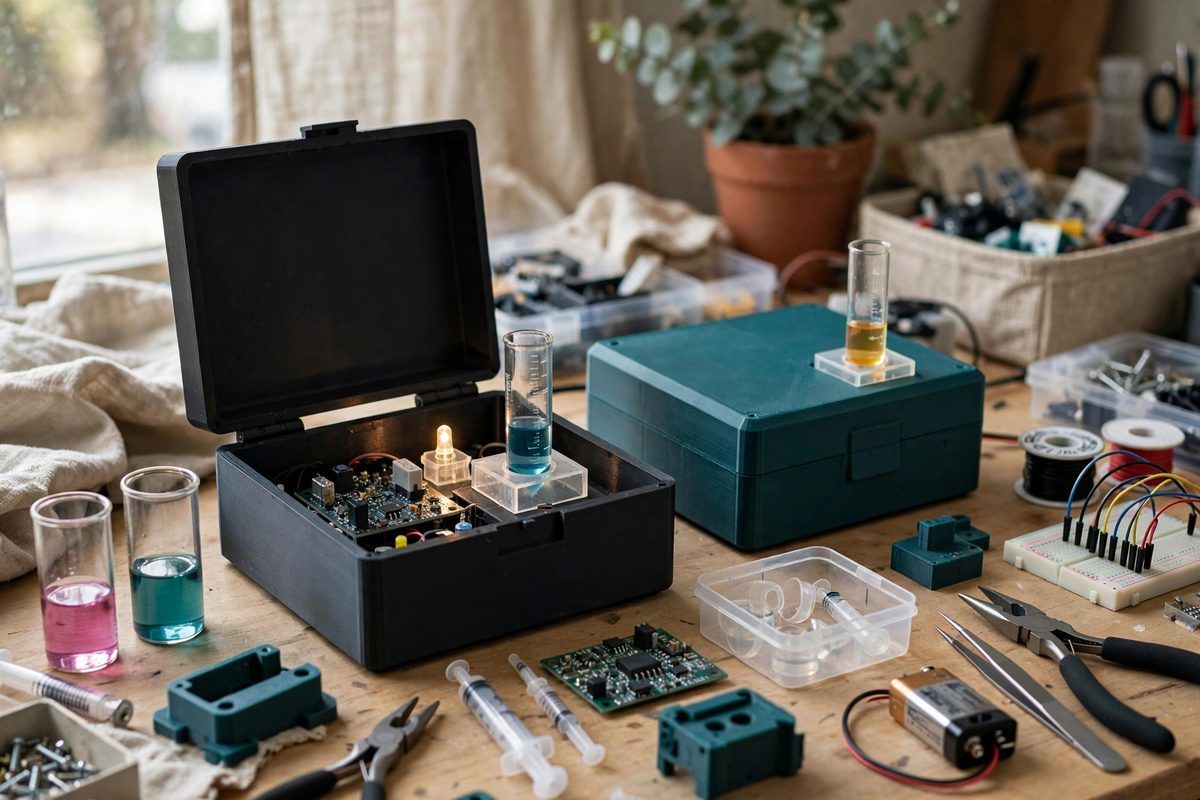
Educational spectrophotometers, the build-it-yourself kits that let students measure color and concentration with light, are wonderful teaching tools with one chronic problem: drift. The readings wander over time even when nothing in the sample changes, and students end up chasing phantom chemistry. Understanding what causes drift and how to correct for it turns a frustrating kit into a reliable instrument and teaches a genuine lesson about how real measurement works.
What Drift Looks Like in Practice
Drift shows up as a slow creep in the absorbance or transmittance reading while the sample sits undisturbed in the instrument. A student blanks the instrument, inserts the sample, records a value, and ten minutes later the same sample reads differently. Sometimes the drift is monotonic, creeping steadily in one direction; sometimes it wanders. Either way, it corrupts any experiment that depends on comparing readings over time, which is most of quantitative chemistry: kinetics runs, calibration curves, and equilibrium measurements all assume the instrument is stable between readings. Teaching students to recognize drift is itself valuable, but a kit that drifts badly teaches frustration instead of chemistry.
The Usual Sources of Drift
Drift has a handful of usual suspects, and educational kits are vulnerable to all of them. The light source, often an LED or small incandescent bulb, changes intensity as it warms up and as its power supply fluctuates; a warming LED can drift noticeably for many minutes. The detector, typically a photodiode or a simple light sensor, has its own temperature dependence and dark current that shifts with ambient conditions. Stray light leaking into the sample chamber adds a variable offset, especially in a classroom with changing daylight. And the sample itself can change: settling suspensions, temperature shifts, and photochemical reactions all move the reading for reasons that have nothing to do with the instrument. Sorting out which source dominates is the first step to correcting it.
Warm-Up and Blank Discipline
The cheapest drift correction is procedural. Let the instrument warm up with the light source on for a substantial period before any measurements: much of the worst drift happens in the first minutes as the LED and electronics reach thermal equilibrium, and measuring through that period guarantees wandering readings. Re-blank frequently, not just once at the start: taking a fresh blank reading before each sample, or at fixed intervals, cancels slow drift because both the blank and the sample ride the same drifting baseline. Teach students this as standard lab practice rather than a kit workaround, because professional spectroscopists do exactly the same thing.
Reference Channels and Ratiometric Measurement
The more robust fix is a reference channel: split off part of the light source to a second detector that never sees the sample, and report the ratio of sample signal to reference signal instead of the raw sample signal. If the LED dims by five percent, both channels dim together and the ratio stays constant. This is how serious instruments defeat source drift, and it is buildable in a kit: a beamsplitter or even a simple geometric split of the LED output, plus a second photodiode and a ratio calculation in software. Ratiometric measurement does not fix detector drift in the sample channel or sample changes, but it eliminates the largest single drift source in most educational kits.
Software and Calibration Strategies
Software can correct what hardware cannot. A simple approach is periodic auto-zeroing against a stored blank, applied as a time-interpolated correction between blanks. A better approach for kinetics work is to measure the drift rate on a stable reference (a sealed cuvette of a stable dye, or even an empty chamber) and subtract the fitted drift from the sample data. Keep the correction transparent: students should see the raw data and the correction separately, because hiding the correction teaches them to trust instruments blindly. The kit's software should log temperature if a sensor is available, since correlating drift with temperature often reveals the dominant mechanism and suggests the fix.
Mechanical Stability Matters Too
Do not overlook the mechanical side. A cuvette that sits slightly differently each time it is inserted produces apparent drift that is really positioning error; a well-designed cuvette holder with a positive stop beats a loose slot. Light leaks around the chamber lid change with room lighting and look exactly like drift; a light-tight chamber with a proper seal eliminates this. And secure the optical path: a kit whose LED, grating, and detector can shift when the box is bumped will never give stable readings. Rigidity is a form of drift correction.
Drift is not a flaw to hide; it is a phenomenon to understand and correct. Warm up the instrument, blank often, consider a reference channel, correct transparently in software, and build the optics rigid. Do that, and the educational spectrophotometer becomes what it should be: an honest instrument that teaches students how measurement really works.
Related Guides
- Spectrophotometer Cuvette Drift in Educational Labs: Educational spectrophotometers are workhorses, but their readings drift, and the cuvettes are often the culprit. A scratched, fogged, or mismatched
- Calibrating Optical Density in Spectrophotometer Vials: Optical density, the workhorse measurement of home chemistry and biology builds, tells you how much light a sample absorbs, which in turn tells you
- Titration Setup Accuracy in Home Chemistry Kits: Titration, the careful addition of one solution to another until a reaction completes, is the classic quantitative chemistry technique, and home kits
- Colorimeter Path Length Calibration in Home Photometers: A home-built photometer measures chemical concentrations by shining light through a sample and measuring how much is absorbed: more absorption means