
Educational spectrophotometers are workhorses, but their readings drift, and the cuvettes are often the culprit. A scratched, fogged, or mismatched cuvette introduces errors that students blame on their technique or their chemistry. Understanding cuvette drift keeps the instrument honest and the lessons on track.
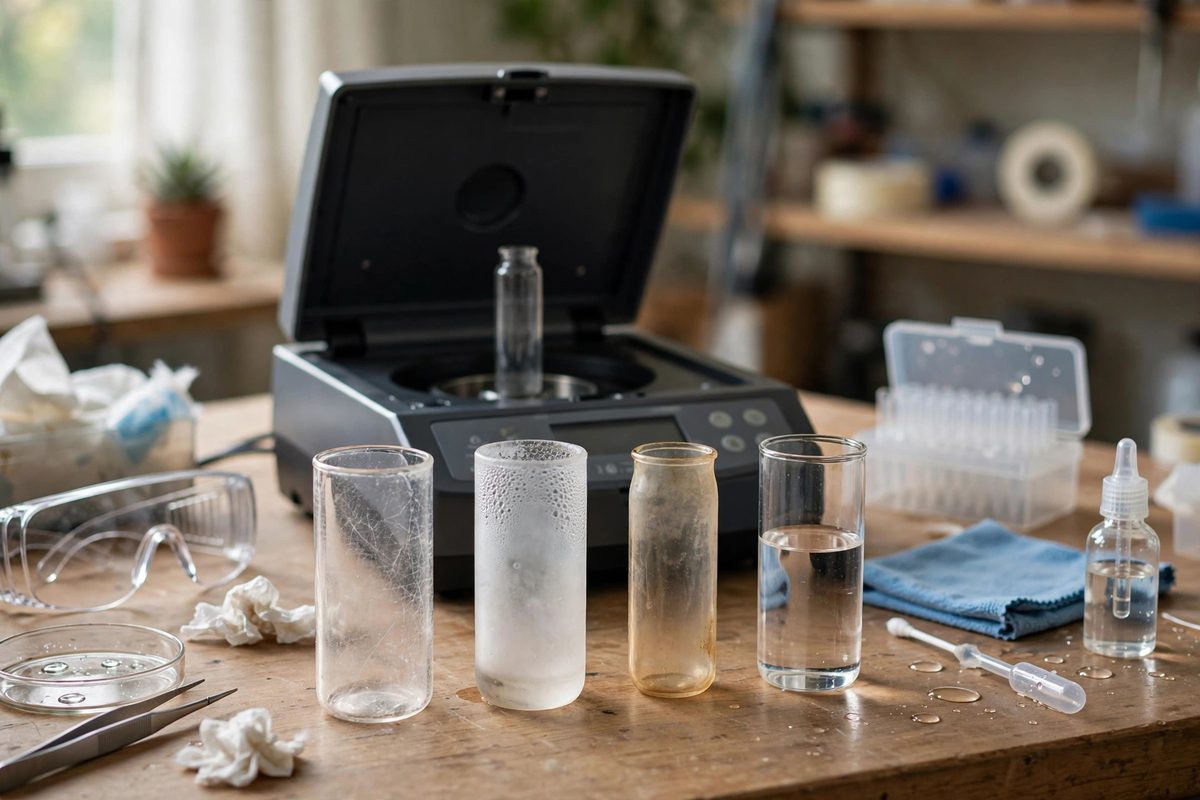
What drift looks like in practice
Drift shows up as readings that creep over time, baselines that will not zero, or replicate samples that disagree with each other. Students notice it as "the machine is being weird," and instructors notice it as a lab section's worth of unusable data. Before suspecting the instrument's electronics or the lamp, suspect the cuvettes: they are the consumable in the optical path, they take the most handling, and they degrade in ways that mimic instrument failure.
Scratches and surface damage
The optical faces of a cuvette must be clean and clear for light to pass through predictably. In a teaching lab, cuvettes get wiped with paper towels, knocked against benches, and scrubbed with brushes, all of which scratch the faces. Scratches scatter light, which the detector reads as absorbance, so a scratched cuvette reports concentrations that are not there. Handle cuvettes by the frosted or ridged sides only, never touch the clear faces, and wipe with lens tissue, not lab wipes. When the faces are visibly scratched, retire the cuvette; polishing rarely restores optical quality.
Fogging and chemical etching
Some cuvettes fog from the inside after repeated exposure to certain solvents or strong reagents. Plastic disposable cuvettes are the usual victims; they are convenient and cheap but not chemically universal. Glass cuvettes resist more chemistry but etch over time with strong bases and hydrofluoric acid, which no teaching lab should have near cuvettes anyway. Match the cuvette material to the lab's reagents at the start of the term, and keep a written compatibility note at the instrument so nobody improvises with the wrong cuvette.
Cuvette matching and orientation
Even new cuvettes vary slightly in path length and optical quality. For work where precision matters, use a matched set: cuvettes manufactured and verified to be optically equivalent. Mark one face of each cuvette and always insert it in the same orientation, because rotating a cuvette changes which imperfections sit in the beam path. The blank and the sample should be read in the same cuvette or in matched cuvettes; mixing random cuvettes between blank and sample is a classic source of mysterious offsets.
Cleaning protocol that preserves the cuvettes
Write the cleaning procedure down and enforce it. Rinse promptly after use, soak in a mild detergent solution rather than scrubbing, rinse with distilled water, and air-dry inverted on a clean rack. Never use abrasive cleaners or brushes inside optical cuvettes. For stubborn residues, an appropriate solvent soak beats mechanical scrubbing every time. A posted one-page cleaning sheet at the instrument does more for cuvette life than any lecture.
Verifying the instrument, not just the cuvettes
When drift persists after the cuvettes check out, verify the instrument itself. Run a standard of known absorbance, check the lamp's warm-up behavior, and confirm the wavelength calibration. Keep a log of these checks; a drift history distinguishes a dying lamp from a bad week of cuvettes. In a teaching lab, the instrument log is also a teaching tool: students who see that professionals verify their tools learn to verify theirs.
Treat cuvettes as the optical instruments they are: handle the right faces, match them, clean them gently, and verify the whole system on a schedule. The readings will settle down, and the students can get back to learning chemistry instead of fighting the hardware.
Related Guides
- Spectrophotometer Drift Correction in Educational Kits: Educational spectrophotometers, the build-it-yourself kits that let students measure color and concentration with light, are wonderful teaching tools
- Calibrating Optical Density in Spectrophotometer Vials: Optical density, the workhorse measurement of home chemistry and biology builds, tells you how much light a sample absorbs, which in turn tells you
- Titration Setup Accuracy in Home Chemistry Kits: Titration, the careful addition of one solution to another until a reaction completes, is the classic quantitative chemistry technique, and home kits
- Colorimeter Path Length Calibration in Home Photometers: A home-built photometer measures chemical concentrations by shining light through a sample and measuring how much is absorbed: more absorption means