
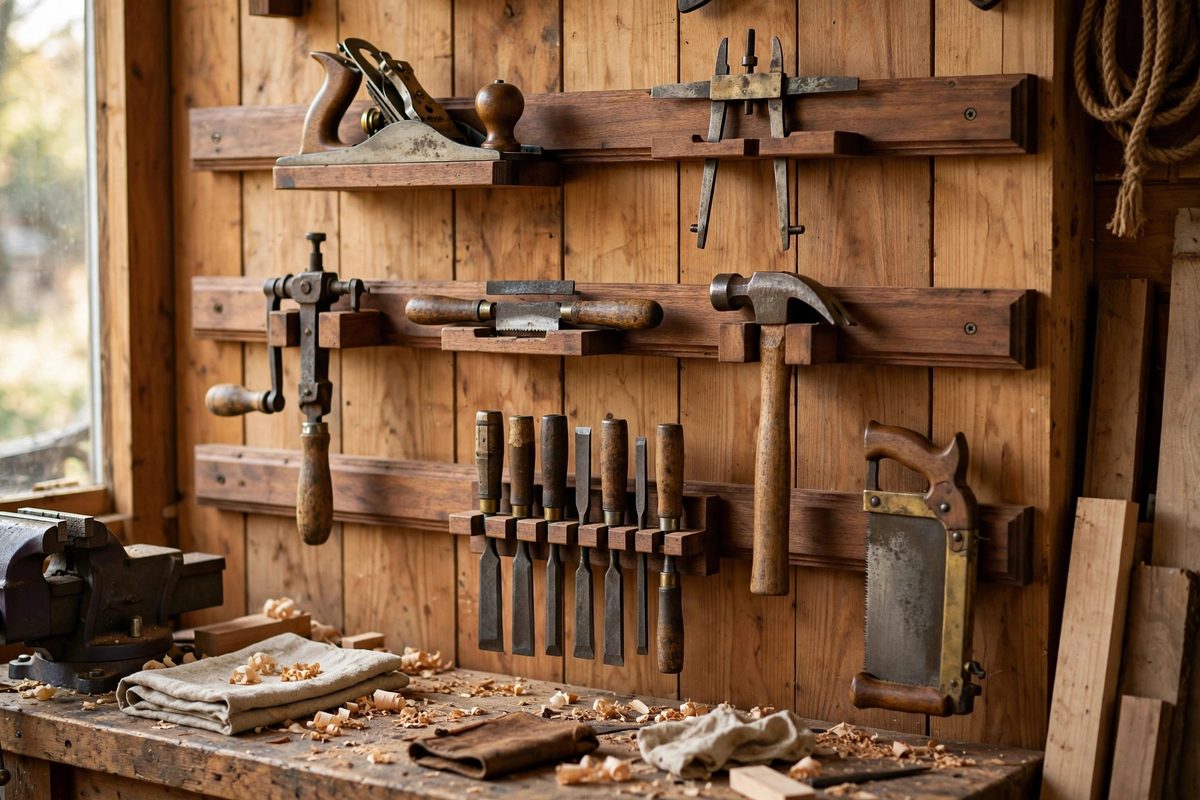
Vintage tools deserve display that respects them: visible, accessible, and held securely without stressing century-old handles and mechanisms. The French cleat system, a wall-mounted rail with a 45-degree bevel that mates with matching beveled hangers, is the ideal backbone for a vintage tool rack. It holds heavy tools securely, lets you rearrange the display without new holes in the wall, and supports custom holders for every odd shape in the collection. The spacing of the cleats is the design decision that makes the system sing or struggle.
Why French cleats suit vintage tools
A French cleat joint is self-tightening under load: the weight of the hanging piece wedges the bevels together, so the connection actually firms up as tools get heavier. Unlike pegboard hooks, which work loose and let tools migrate, or fixed shelves that dictate placement, cleats give you infinite horizontal adjustment and easy rehanging. For vintage tools, this matters practically: the collection grows, the display evolves, and individual pieces come down for use or maintenance and go back up. Each tool or tool group gets its own cleat-mounted holder, custom-fitted to its shape, and the holders can be rearranged, added, or rebuilt without disturbing the wall rails. The wall carries the structure once; everything else stays flexible forever.
The 45-degree bevel and rail construction
The standard French cleat is a strip of plywood or solid wood ripped with a 45-degree bevel along one long edge. The wall rail mounts bevel-up, so its angled face slopes outward and up; the hanger on the tool holder gets the mating bevel facing down and in. Gravity does the rest. Make the rails from stable plywood, three-quarter inch stock is the norm, ripped into strips three to four inches wide; the bevel should be clean and consistent, since a wavy bevel makes hangers sit crooked. Fasten wall rails directly into studs with serious screws, because the rail carries the entire collection's weight. A rail fastened only to drywall is a collapse waiting for the heaviest plane to be hung. Level each rail carefully during installation; a rail that slopes lets hangers creep sideways over time.
Spacing the rails for tool sizes
Rail spacing is where custom planning pays off. Space the horizontal rails to match the tools: the vertical distance between rails should accommodate the tallest tool in each row with clearance, while keeping rails close enough that short tools do not waste wall space. A common approach is to mount rails on a regular grid, say every six to eight inches, which handles most hand tools, and then use the grid flexibly: a long hand saw spans two rails with a tall holder, a block plane hangs from one. Plan the layout on paper first, grouping tools by type and size: saws together, planes together, measuring tools together. Leave growth space in each group, because a full rack with no room for the next acquisition is a design failure. The beauty of the grid is that rearranging never requires new wall holes; only the holders move.
Custom holders for odd shapes
Vintage tools come in shapes that defy standard hooks: molding planes with fences, braces with sweeps, levels of odd lengths, drawknives, spokeshaves. Each gets a holder built for its geometry, mounted to a cleat hanger. Design holders that support the tool without stressing it: cradle a plane by its body, never by its tote; hang a saw by its handle with the teeth protected and away from fingers; support long levels at two points to prevent sag. Line contact points with felt or leather to protect original finishes and japanning. Keep tools visible and their markings readable; a display that hides the maker's stamp defeats its own purpose. Label the holders or the rail beneath with the tool's identity; future you, and visitors, will appreciate it.
Weight, safety, and the wall
Add up the weight honestly. A collection of planes, saws, and braces gets heavy fast, and the wall system must carry it with margin. Distribute heavy tools across multiple studs, keep the heaviest pieces low where a failure does less damage, and never hang anything above head height that could injure someone if it fell. Check hangers periodically for loosening, especially in the first months as wood holders settle. In seismic areas or busy shops, add a small retaining lip or a drop of museum putty at the hanger-rail interface to prevent walking. The system is only as safe as its weakest fastener, so the unglamorous work of solid stud attachment and periodic checks is what makes the beautiful display trustworthy.
Rip the bevels true, screw the rails to studs, space the grid for your tools with room to grow, and build each holder to cradle its tool kindly. The French cleat rack turns a pile of vintage tools into a working museum that rearranges in minutes.
Related Guides
- Rare Earth Magnetic Cleats for Vintage Tool Displays: Vintage tools deserve to be seen, and a wall display beats a drawer every time. But screws through a 100-year-old plane body are vandalism, and most
- Magnetic Tool Bar Polarity Spacing on Pine Boards: Magnetic tool bars are the clean way to display antique tools: the tools hang visible, accessible, and off the bench, with no hooks marring their
- Slotted Leather Tool Loops for High-Density Tool Boards: A wall of antique tools deserves better than nails and wire. Slotted leather loops hold each tool securely, look appropriate to the collection, and
- Recessed Rare Earth Magnet Spacing for Antique Chisels: Displaying antique chisels on a magnetic rack looks clean and keeps the tools accessible, but rare earth magnets are strong enough to be a problem if