
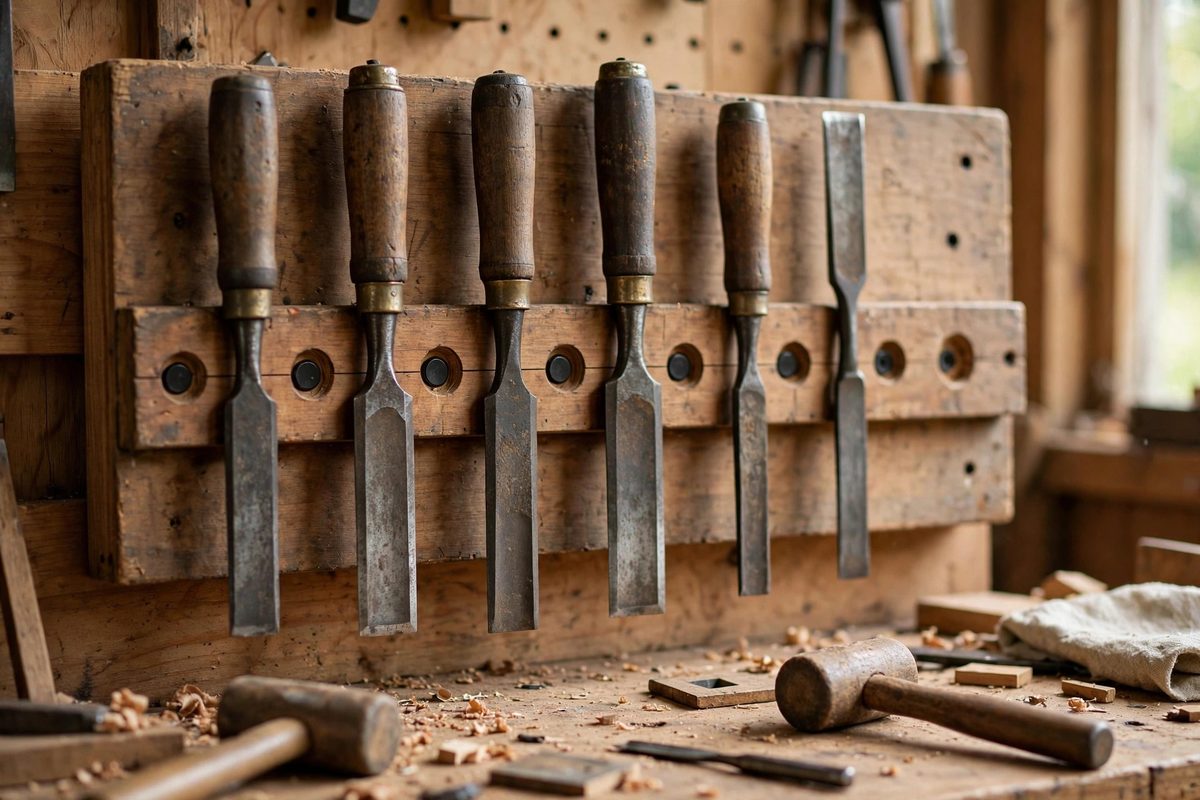
Displaying antique chisels on a magnetic rack looks clean and keeps the tools accessible, but rare earth magnets are strong enough to be a problem if placed carelessly. Recessing the magnets into the display board and spacing them correctly holds each chisel securely without magnetizing the tools into a clump or letting them slide. The details matter because a chisel that falls off a wall display lands edge-first.
Why Recess the Magnets
A surface-mounted magnet holds the chisel off the board by the magnet's own thickness, creating a lever arm that lets the chisel rock and walk. A recessed magnet sits flush with the board surface, so the chisel lies flat against the wood with full contact and no rocking. Recessing also protects the brittle magnet from impacts; rare earth magnets chip easily, and a chipped magnet loses strength and sheds sharp fragments. Drill the recess to a snug depth so the magnet face sits just at or barely below the board surface, epoxied in permanently.
Spacing Along the Chisel
Each chisel needs at least two magnet contact points: one near the blade and one near the handle, so the tool cannot pivot off. For long chisels, add a third magnet at the middle to prevent sag-induced walking. Space the magnets to match the chisel's balance: the blade end is heavy steel and needs a strong hold, while the handle end is lighter. Position the blade magnet where the blade's flat fully covers it, maximizing contact area, because magnetic holding force depends heavily on how much steel actually touches the magnet's field. A magnet half-covered by the blade holds far less than its rating suggests.
Spacing Between Chisels
Chisels hung too close together become one magnetic assembly: the tools attract each other, clump, and become hard to remove individually. Leave enough space between adjacent chisels that each can be lifted straight off without dragging its neighbor. Roughly an inch or more of gap between tools is a practical minimum, more for large slicks and framing chisels. Also consider the field interaction through the board: magnets placed close together on the back side can interfere, so keep the recess pattern aligned to the tool layout rather than gridding the whole board uniformly.
Magnet Strength Selection
Bigger is not better. An oversized magnet makes chisels hard to remove without prying, risks chipping the magnet when tools snap on, and can magnetize the chisel steel enough to attract metal filings in the shop. Size the magnet to the tool: modest discs for carving chisels, larger ones for heavy framing chisels. The hold should feel secure but the tool should lift off with a deliberate pull, not a wrestling match. Test the strength with the actual chisel before epoxying the magnet in; pulling a glued-in magnet back out is miserable.
Protecting the Tools
Bare magnets against tool steel can, over time, leave marks or encourage corrosion where moisture gets trapped. A thin leather or felt pad over each recessed magnet cushions the contact, protects both the tool finish and the magnet, and costs almost nothing in holding force. Keep the display away from damp walls, and wax or oil the chisels as you normally would; the display method does not change the tools' need for rust prevention. Check the mounting board's own attachment to the wall with the same seriousness, because a board full of chisels is heavy.
Recess the magnets flush, space them to the tools' balance points, keep tools separated, and size the strength to a firm but removable hold. The chisels will hang straight, come off easily, and go back on exactly where they belong.
Related Guides
- Rare Earth Magnetic Cleats for Vintage Tool Displays: Vintage tools deserve to be seen, and a wall display beats a drawer every time. But screws through a 100-year-old plane body are vandalism, and most
- Custom French Cleat Spacing for Vintage Tool Racks: Vintage tools deserve display that respects them: visible, accessible, and held securely without stressing century-old handles and mechanisms. The
- Magnetic Tool Bar Polarity Spacing on Pine Boards: Magnetic tool bars are the clean way to display antique tools: the tools hang visible, accessible, and off the bench, with no hooks marring their
- Slotted Leather Tool Loops for High-Density Tool Boards: A wall of antique tools deserves better than nails and wire. Slotted leather loops hold each tool securely, look appropriate to the collection, and