
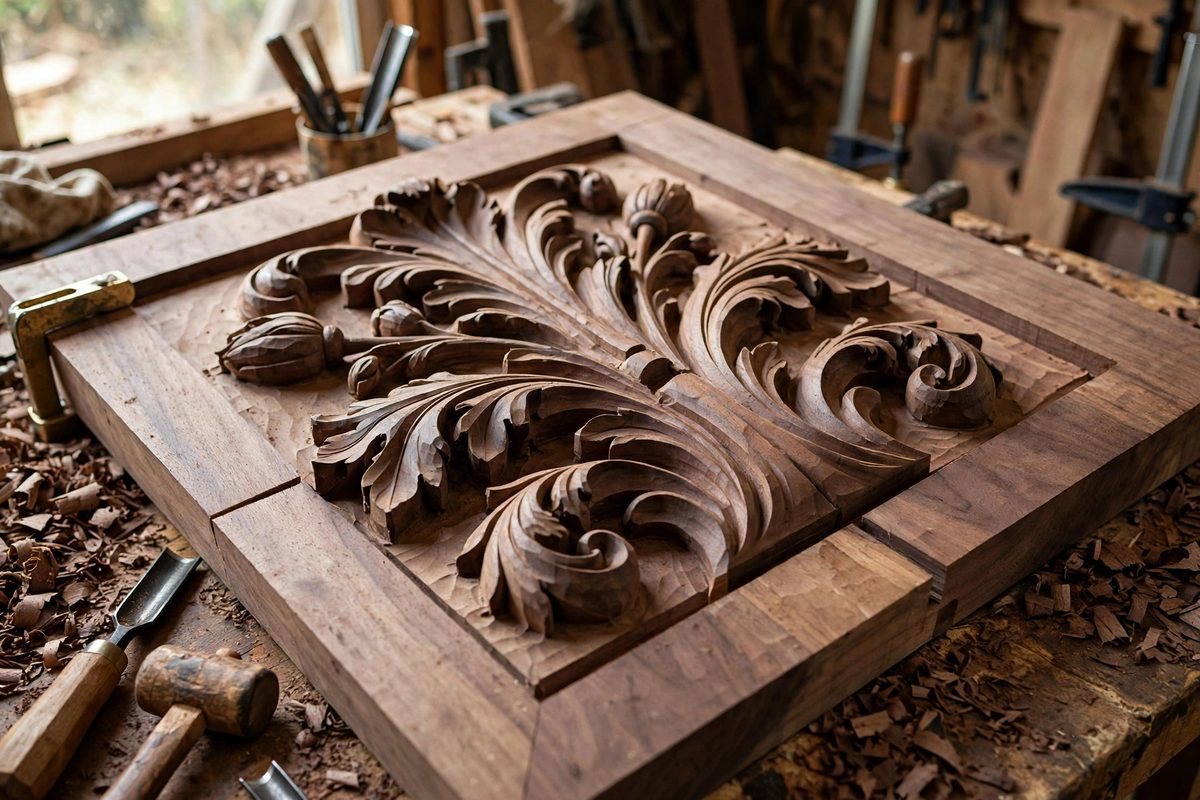
Deep relief carving is sculpture emerging from a panel: forms rise high above the background, undercut and rounded, with real depth and shadow. The stop cut is the carver's declaration of where a form ends and the background begins, and in deep relief those cuts go deep. Walnut, with its rich color, straight grain, and forgiving carving character, is the classic deep relief wood. But walnut has limits, and a stop cut driven past them splits the form it was meant to define. Deep stop cuts in walnut are a controlled violence, and control is the whole art.
What a Stop Cut Does in Deep Relief
A stop cut severs the wood fibers along the outline of a form, creating a clean boundary that the background can be lowered away from. In shallow relief, the cut is a nick; in deep relief, it is a trench, sometimes half an inch or more deep, that defines forms rising dramatically from the panel. The cut does two jobs: it prevents the background removal from tearing into the form, and it establishes the crisp shadow line that gives deep relief its drama.
The hollow chisel, a chisel with a curved cutting edge, follows the contours of rounded forms better than a flat chisel, and its cut walls curve with the form instead of stepping. For deep relief's flowing shapes, the hollow chisel's stop cut looks like the form's natural boundary rather than a machined trench.
Why Walnut Suits Deep Stop Cuts
Walnut's grain is generally straight and its texture even, which means a deep cut propagates predictably instead of veering along wild grain. It is hard enough to hold a crisp cut wall but soft enough to carve without exhausting the hands, and it does not splinter capriciously the way some ring-porous woods do. The dark color also helps: deep relief is about shadow, and walnut's natural darkness deepens every undercut.
Walnut's weakness is its occasional interlocked or figured grain, which can be hiding in an otherwise straight board. A stop cut that hits a grain reversal can dive or lift unexpectedly. Read the board before committing to depth: sight down the grain, feel for direction changes, and adjust the cut depth where the grain turns.
Cutting Deep in Stages
Never drive a stop cut to full depth in one pass. Cut in stages, deepening the trench progressively, and clear the background down in corresponding stages. The staged approach does two things: it lets you check the form's outline at each depth before committing further, and it keeps the cutting forces manageable, since a deep cut in one blow risks splitting past the line.
Angle the chisel slightly into the form, not straight down or outward. The slight undercut angle means the trench wall leans under the form, which both strengthens the shadow line and gives the background clearance to be lowered without touching the form. Straight-down cuts leave a wall that the background tools will inevitably nick.
- Keep the mallet blows controlled and rhythmic; frantic hitting loses the line.
- Clear chips from the trench often; packed chips wedge the chisel and split the walls.
- Work the outline in sections, completing each section's depth before moving on, to keep the line consistent.
- Stop and sight the form frequently; deep relief distorts the eye's sense of the outline.
Managing Grain Direction in the Cut
A stop cut running with the grain severs fibers cleanly and goes deep easily; a cut running across the grain meets resistance and wants to crush rather than slice. Plan the cutting order so the difficult cross-grain sections are cut while the surrounding wood still supports them, and use lighter mallet work on cross-grain stretches.
Where the outline turns sharply, such as the tip of a leaf or a tight scroll, cut the turn as a series of short straight segments rather than forcing the chisel around the curve. Forced curves in deep cuts lever against the form and can snap delicate projections. Patience at the turns preserves the forms that make deep relief worth doing.
Knowing When Deep Enough Is Deep Enough
The stop cut only needs to go as deep as the background will be lowered, plus a small margin for the final cleanup. Cutting deeper than the background wastes effort and weakens the panel for no visual gain; the extra depth is invisible once the background is at its level. Mark the target background depth on the panel's edge as a reference, and cut to it, not past it.
Deep relief is seductive: every extra sixteenth of depth adds drama, until the panel gets fragile or the forms get spindly. The master's eye knows the depth where the shadow is rich and the structure is sound, and stops there. Cut to the plan, clear the background, and let the walnut's own darkness do the rest.
Stage the depth, angle into the form, respect the grain, and stop at the plan. Deep stop cuts are the foundation deep relief stands on, literally and visually, and walnut rewards the carver who treats them with disciplined respect.
Related Guides
- Grain Orientation Planning for Relief Acanthus Leaves: The acanthus leaf is the classic relief carving subject, all scrolling lobes and undercut tips, and its beauty depends on wood that cooperates. Grain
- Build a Table Saw Crosscut Sled: Why Every Woodworker Needs a Crosscut Sled A crosscut sled is one of the most valuable jigs you can build for your table saw. Think of it as a
- Bevel Edge Angle Consistency on Turned Bowls: The bevel on a turning gouge, the ground surface just behind the cutting edge, is the turner's autopilot: when the bevel rubs the wood, it steadies
- Maintaining Traditional Wooden Bench Clamps: The wooden bench clamp, whether a leg vise with its massive wooden screw, a shoulder vise, or a traditional hand screw, is one of the oldest
- Miter Box Spline Reinforcement for Picture Frames: A picture frame miter joint is a structural weak point wearing a pretty face: two 45-degree cuts glued end-grain to end-grain, which is the weakest