
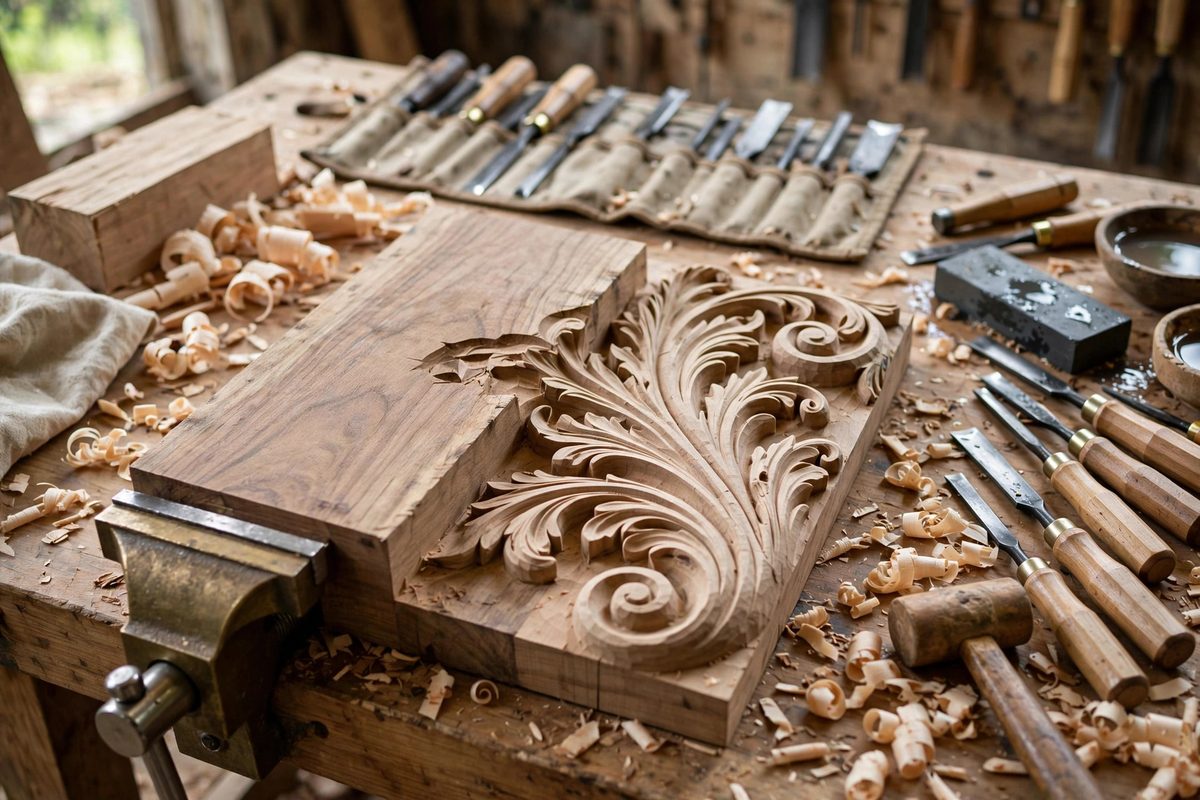
The acanthus leaf is the classic relief carving subject, all scrolling lobes and undercut tips, and its beauty depends on wood that cooperates. Grain orientation planning, deciding how the leaf's forms align with the wood's grain before the first cut, determines whether the delicate lobe tips carve cleanly or snap off. The planning happens on paper; the consequences happen at the gouge.
Why Grain Direction Matters
Wood splits and carves cleanly along the grain and tears across it. An acanthus leaf has elements pointing in every direction: the central stem runs one way, the lobes curl outward, the tips flick in various directions. Wherever a thin carved element runs across the grain, it is weak and prone to chipping; wherever it runs with the grain, it is strong and carves smoothly. Since the leaf cannot align all its parts with the grain simultaneously, the planning is about choosing which parts get the favorable orientation and protecting the rest with technique.
Orienting the Leaf on the Board
As a rule, align the leaf's main axis, the central stem, with the grain direction. The stem is the structural backbone of the carving, and it should have maximum strength. The side lobes will then run partially across the grain, which is unavoidable, but their bases remain anchored in with-grain wood. Avoid orienting the leaf diagonally across the board, which gives no element a clean grain direction and leaves every tip vulnerable. If the design includes multiple leaves, orient each one to the grain independently rather than rotating the whole composition for convenience.
Carving the Cross-Grain Lobes
The lobe tips, curling across the grain, need special handling. Carve them with very sharp tools taking light cuts, always cutting downhill with the local grain direction even when that direction changes along the lobe's curve. Support the tip from behind with a finger while cutting its top surface; the backing prevents the vibration that snaps cross-grain tips. Leave the tips slightly thicker than the design's final dimension until the surrounding work is done, then refine them last when there is no more heavy carving nearby to transmit shock. A tip carved early and refined late survives; a tip finished early and then carved around does not.
Undercutting With the Grain in Mind
Acanthus carving lives on undercuts that separate the lobes and create shadow. Undercut from the side where the grain supports the cut, working the gouge so the waste side, not the finished lobe, takes any tearing. Deep undercuts behind cross-grain lobes are the highest-risk cuts in the carving; take them in small stages and check the remaining attachment frequently. If a lobe's attachment looks thin, stop undercutting there; the shadow will still read with a shallower cut, but a broken lobe reads as a repair.
Wood Selection for Acanthus
Choose a carving wood with fine, even grain and minimal figure for acanthus work; dramatic grain patterns fight the leaf's forms visually and carve unpredictably. Basswood and similar soft hardwoods are forgiving for learning, while denser fruitwoods reward experience with crisper detail. Whatever the species, the blank should be straight-grained and defect-free through the carving area; a knot or grain reversal hidden in the blank becomes a crisis at the gouge. The wood selection is part of the grain planning, made before the pattern is even transferred.
Align the stem with the grain, protect the cross-grain tips with sharp tools and backing, undercut cautiously, and start with straight-grained stock. The acanthus leaf will then emerge with its lobes intact and its shadows deep, the way the classical carvers intended.
Related Guides
- Deep Relief Hollow Chisel Stop Cuts on Walnut: Deep relief carving is sculpture emerging from a panel: forms rise high above the background, undercut and rounded, with real depth and shadow. The
- Bevel Rubbing Mechanics on End Grain Hollows: Hollowing end grain on the lathe, boring into the end of a spinning blank to make a box, goblet, or hollow form, is where bevel rubbing either saves
- Shear Scraping Outside Curves on End Grain Goblets: An end grain goblet, turned with the grain running vertically through the form, presents the turner with end grain across the entire outside curve
- Build a Table Saw Crosscut Sled: Why Every Woodworker Needs a Crosscut Sled A crosscut sled is one of the most valuable jigs you can build for your table saw. Think of it as a
- Bevel Edge Angle Consistency on Turned Bowls: The bevel on a turning gouge, the ground surface just behind the cutting edge, is the turner's autopilot: when the bevel rubs the wood, it steadies