
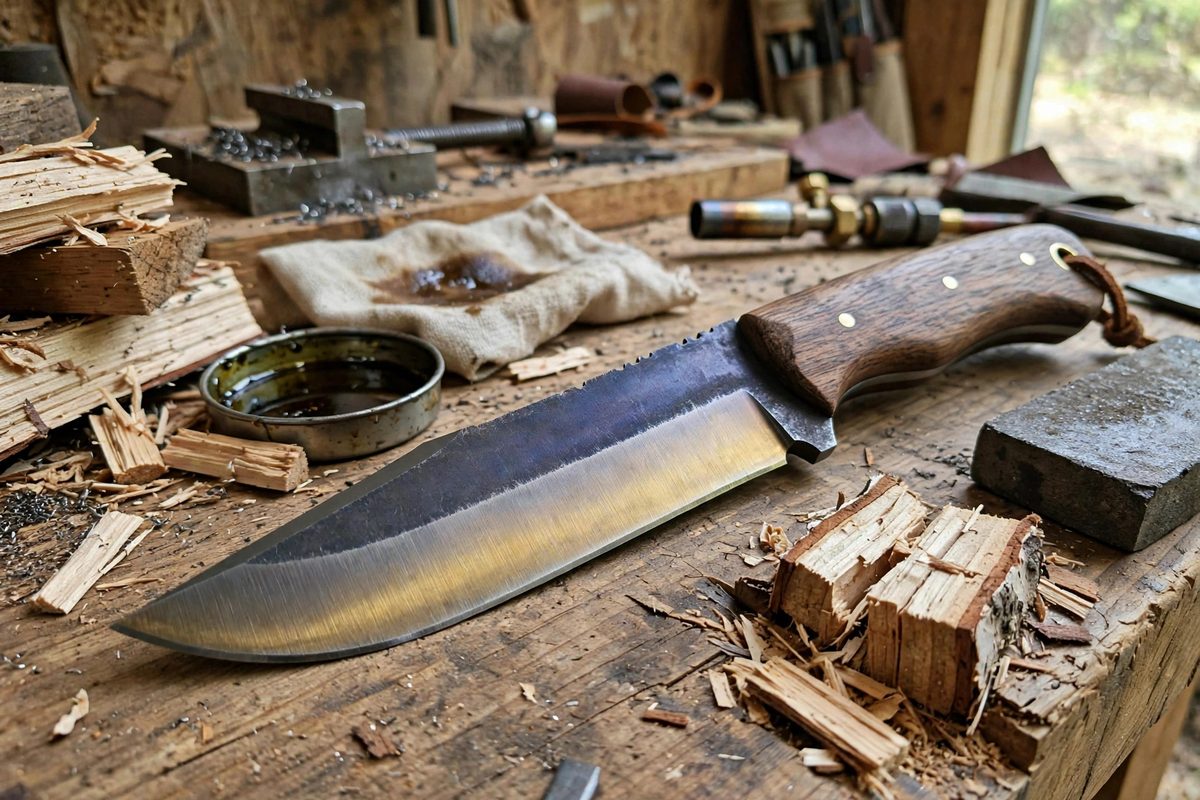
A Scandi grind, the single flat bevel beloved of bushcraft knives, puts a wide, thin edge on the blade. That edge needs to be hard enough to cut and tough enough to survive batoning, and those two demands fight each other. Differential tempering on O1 tool steel resolves the fight: a hard edge, a tough spine, in one blade.
What differential tempering achieves
Tempering trades hardness for toughness: higher tempering temperatures soften the steel but make it less brittle. Differential tempering applies different temperatures to different parts of the blade, so the edge stays hard while the spine and tang get a tougher, springier temper. On a Scandi-ground bushcraft knife, this means the wide bevel holds its edge through carving while the blade survives the lateral stresses of batoning and prying. It is the best of both tempers in one piece of steel.
O1 tool steel basics
O1 is an oil-hardening tool steel popular with knifemakers for its forgiving heat treatment and excellent edge qualities. It hardens well in a simple forge or kiln setup, takes a fine edge, and responds predictably to tempering. For differential tempering, O1's wide tempering range is an asset: the difference between an edge temper and a spine temper is achievable with controllable methods. Know the steel's hardening temperature and quench medium before starting; O1 wants a proper austenitizing soak and an oil quench, not improvisation.
The hardening step
Harden the whole blade first: heat to the critical temperature, soak to fully austenitize, and quench in warm oil. The blade comes out of the quench fully hard and fully brittle, which is expected; the tempering that follows is what makes it a knife. Check for warps after the quench and correct them now, while the steel is in its most workable hardened state. Clean the blade thoroughly; scale and oil residue interfere with the tempering that follows.
Drawing the spine temper
The classic differential temper uses a heated block or a torch to draw heat into the spine while keeping the edge cool. Polish the blade so the temper colors show, then apply heat to the spine and watch the colors run toward the edge: straw at the edge for hardness, progressing through brown and purple to blue at the spine for toughness. Quench the edge in water to stop the heat when the colors are right, holding the spine's temper where you want it. This is the knifemaker's skill moment; the colors move fast and there is no undo.
Tempering the edge
After the differential draw, temper the whole blade in an oven at the edge's target temperature to stabilize it. This evens out the stresses and ensures the edge temper is consistent through the bevel. The oven temper will not undo the spine's higher temper; tempering is a one-way process toward softer, and the lower temperature cannot reverse the higher one. Two one-hour cycles with a cool-down between is the standard practice for stress relief.
Safety in heat treatment
Heat treatment involves red-hot steel, hot oil, and torches: the full catalog of shop hazards. Wear eye protection, heat-resistant gloves, and natural fiber clothing; have a fire extinguisher rated for oil fires nearby; quench in a safe location away from flammables. Heated steel looks like cold steel above about nine hundred degrees in bright light, so handle every blade as if it is hot until verified. The knife is not worth a burn.
Harden fully, draw the spine's temper with heat and color, stabilize the edge in the oven, and respect the hazards throughout. The Scandi blade will carve keenly and baton toughly, which is exactly what a bushcraft knife is for.
Related Guides
- Cryogenic Quenching Protocols for Tool Steels: After the conventional quench, many tool steels retain a percentage of austenite, the high-temperature crystal phase, that never converted to hard
- Cryogenic Quench Schedules for High-Carbon Tool Steels: High-carbon tool steels earn their hardness in the quench, but a conventional quench leaves unfinished business: a percentage of the steel's
- Heat Treating Ten Ninety-Five High Carbon Steel Knives: 1095 is the classic American knife steel: simple, honest high-carbon steel with about 0.95 percent carbon, no fancy alloying, and a well-earned
- Sub-Zero Quench Protocols for Cryogenic High Carbon D2: D2 tool steel holds an edge well but leaves retained austenite behind after a standard quench, and retained austenite is soft, unstable, and prone to