
1095 is the classic American knife steel: simple, honest high-carbon steel with about 0.95 percent carbon, no fancy alloying, and a well-earned reputation for taking a screaming edge. It is also unforgiving. Without proper heat treatment, 1095 is just soft bar stock; with it, the same bar becomes a blade that holds an edge through hard use. The heat treat sequence, normalize, harden, temper, is not optional ritual. Each step does specific metallurgical work, and skipping or rushing any of them shows up in the finished knife.
What heat treatment actually does
Steel's hardness comes from its crystal structure, not from some additive. Heated above its critical temperature, steel's iron atoms rearrange into a structure that can dissolve carbon; quenched rapidly, the carbon gets trapped in a distorted, extremely hard structure called martensite. That is hardening. But fresh martensite is brittle as glass, so tempering, a lower-temperature reheating, relaxes it slightly, trading a little hardness for a lot of toughness. Normalizing, heating and air-cooling before hardening, refines the grain structure so the final blade is fine-grained rather than coarse. A coarse-grained blade chips; a fine-grained blade holds. Every step serves the edge: normalizing prepares the grain, hardening creates the hardness, tempering tunes it to usable.
Normalizing: the step beginners skip
After forging or grinding, the steel's grain structure is a mess: stressed, uneven, and coarse from the heat of working. Normalizing fixes this. Heat the blade evenly to just above non-magnetic temperature, a bright red heat where a magnet no longer sticks, and let it cool in still air. Repeat two or three times, letting it cool fully between cycles. Each cycle refines the grain further. You will know it is working if you break a test piece: normalized 1095 shows a fine, velvety grain at the break instead of coarse sparkle. Do not quench during normalizing; the point is the slow air cool, which lets the structure settle. Bladesmiths who skip normalizing often get blades that harden unevenly or chip inexplicably, and they blame the quench when the real failure happened three steps earlier.
Austenitizing and quenching
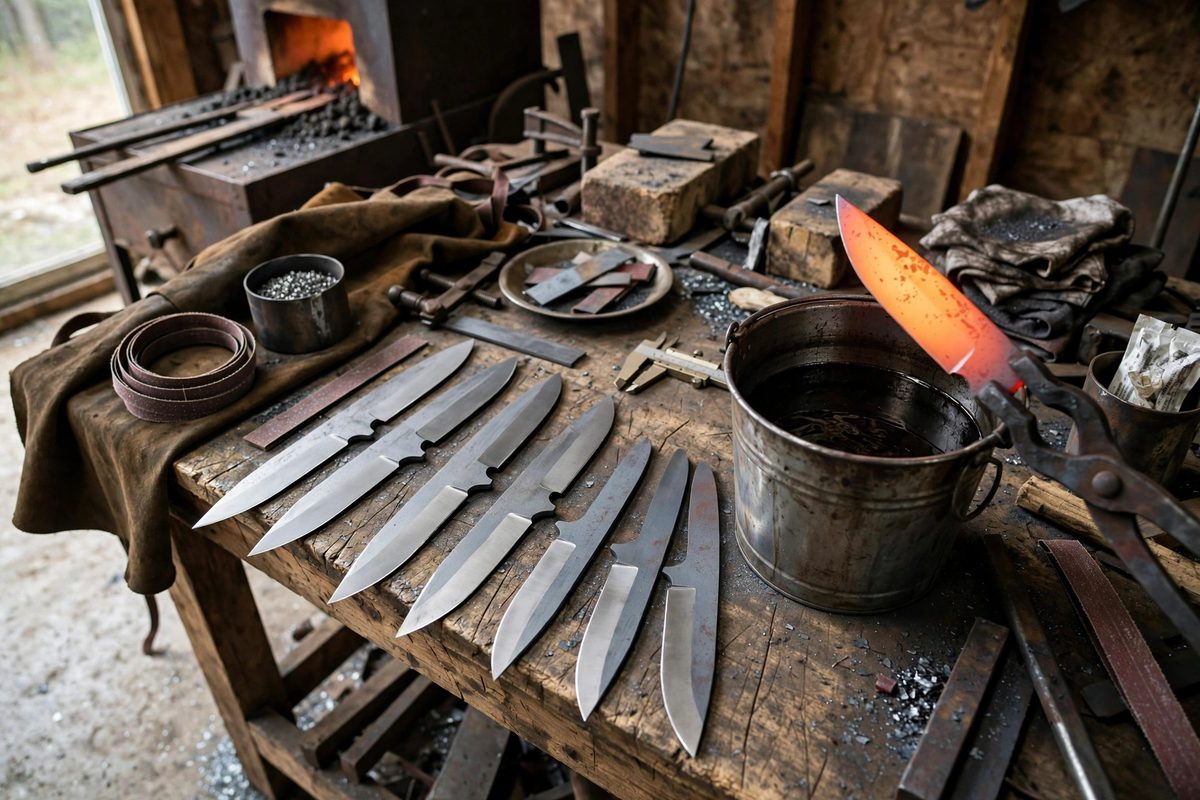
For the hardening heat, bring the blade to the austenitizing temperature: just past non-magnetic, roughly 1450 to 1500 degrees Fahrenheit, judged by an even, bright red color in dim light. Soak briefly, just long enough for the heat to soak through the blade's thickness; 1095 needs only a short soak, and overshooting the temperature or soaking too long grows the grain you just refined. Then quench in warm oil, moving the blade point-first with a gentle slicing motion to break up vapor bubbles that would insulate spots and cause soft patches. Use a proper quench oil rather than motor oil: it quenches at the right speed and is far less of a fire and fume hazard. The blade should come out hard enough that a file skates across it instead of biting. Test immediately, because a blade that did not harden needs to go right back through the cycle, not forward to tempering.
Tempering to usable hardness
Temper as soon as the quenched blade reaches room temperature; do not leave hardened 1095 sitting, because untempered martensite can crack spontaneously. Tempering temperatures for 1095 typically run from about 400 to 450 degrees Fahrenheit for a working knife, yielding hardness in the high 50s on the Rockwell C scale: hard enough to hold an edge, tough enough to survive lateral stress. Lower tempering temperatures give harder, more brittle blades suited to fine cutters; higher temperatures give tougher blades for choppers. Temper twice, cooling to room temperature between cycles, because the first temper does not convert everything and the second pass stabilizes the structure. Use an oven thermometer to verify your oven's actual temperature; kitchen ovens lie, and 50 degrees of error moves the hardness noticeably.
Safety is part of the process
Heat treating involves fire, hot oil, and 1500-degree steel, and the safety practices are not optional extras. Quench oil can flash into flame when the hot blade enters; keep a tight-fitting lid nearby to smother the tank, work away from flammables, and wear eye protection, leather gloves, and natural-fiber clothing. Ensure strong ventilation, because quenching produces acrid smoke. Handle the blade with tongs rated for the weight, and assume every piece of steel near the forge is hot until proven otherwise. Normalize your respect for the process along with the steel: most heat-treat injuries come from rushing, not from the equipment itself.
Normalize two or three times, harden from an even bright-red heat into warm oil, and temper twice at a verified temperature. That sequence turns 1095 bar stock into a real knife, and there is no shortcut that does the same work.
Related Guides
- Cryogenic Quench Schedules for High-Carbon Tool Steels: High-carbon tool steels earn their hardness in the quench, but a conventional quench leaves unfinished business: a percentage of the steel's
- Sub-Zero Quench Protocols for Cryogenic High Carbon D2: D2 tool steel holds an edge well but leaves retained austenite behind after a standard quench, and retained austenite is soft, unstable, and prone to
- Differential Tempering on O1 Tool Steel Scandi Grinds: A Scandi grind, the single flat bevel beloved of bushcraft knives, puts a wide, thin edge on the blade. That edge needs to be hard enough to cut and
- Cryogenic Quenching Protocols for Tool Steels: After the conventional quench, many tool steels retain a percentage of austenite, the high-temperature crystal phase, that never converted to hard