
Assembly guide photos and videos are only as good as the light they are shot in. Harsh overhead shop lights create blown highlights, black shadows, and colors that lie, which makes the guide harder to follow and the work look worse than it is. Diffused, high-CRI overhead lighting fixes all three problems at once, and it improves the actual assembly work too.
Why CRI matters for guides
The color rendering index measures how truthfully a light source shows colors compared to daylight. Low-CRI shop lights make reds look brown, blues look gray, and wood tones go muddy; a guide shot under them misrepresents the materials. High-CRI lighting, in the nineties or above, shows colors honestly, so the viewer sees what the maker sees. For assembly guides, where identifying the right part or wire often depends on color, honest color is not aesthetic fussiness; it is instructional accuracy.
Diffusion kills the harsh shadows
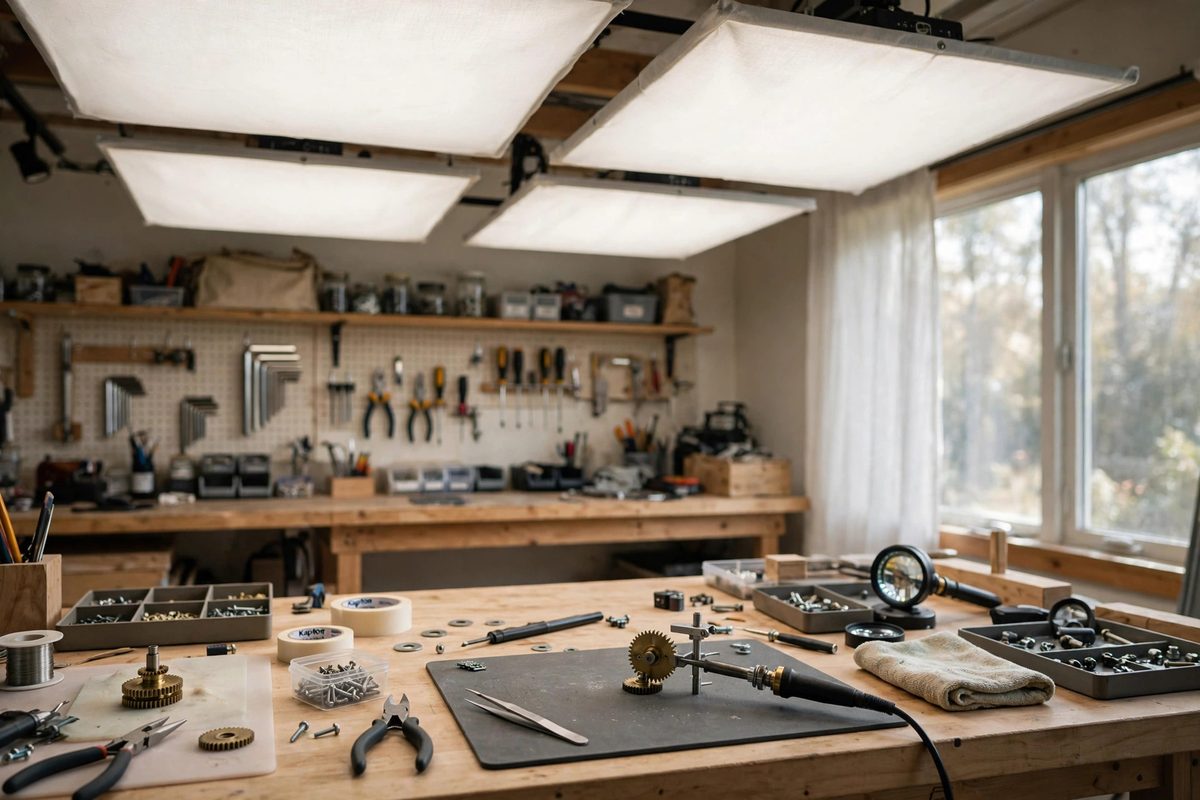
Bare overhead lights are point sources: they cast hard-edged shadows that hide exactly the details a guide needs to show, like the inside of an assembly or the alignment of small parts. Diffusion spreads the source, softening shadows until they reveal instead of conceal. A large diffused panel overhead acts like a cloudy sky: even, shadowless illumination from above. The practical options range from purpose-built softbox panels to a simple white shower curtain or diffusion fabric hung below the existing lights. The effect matters more than the equipment.
Positioning for assembly work
Overhead is the right direction for assembly: it lights the work surface evenly and matches how the assembler's hands and eyes are oriented. Position the diffused source directly above the work area, large enough that the light wraps around the hands and parts rather than casting hand shadows onto the work. Avoid placing the source behind the camera position only; the assembly area needs the light, and the camera benefits from what the work receives. For video guides, consistent overhead light also keeps the exposure stable as the work moves.
Color temperature consistency
Mixing light sources of different color temperatures, daylight from a window plus warm shop lights, creates color casts that confuse both cameras and viewers. Pick one color temperature for the assembly area, typically a neutral daylight around five thousand Kelvin, and make all the sources match. Block or balance competing sources: close the blinds or match the window light. Consistent temperature means the camera's white balance stays put and the colors stay honest through the whole guide.
Brightness and camera exposure
The light must be bright enough for the camera without blowing out. Diffused high-CRI panels can deliver plenty of illumination; the diffusion that softens shadows also spreads the light, so you may need more raw output than expected. Set the exposure for the brightest part of the scene and check that detail survives in both highlights and shadows. For step-by-step photos, consistent brightness across all steps matters more than maximum brightness in any one; the viewer should not have to adjust to a new exposure every photo.
The work benefits too
Good guide lighting is good work lighting. The same diffused, high-CRI overhead that makes the photos honest makes the assembly itself easier: colors read correctly, small details are visible, and eye strain drops. Many makers install the lighting for the guides and keep it for everything else. Light is a tool, and like any tool, the right one improves both the work and the record of the work.
Hang a large diffused source overhead, keep the CRI high and the temperature consistent, and expose for the highlights. The assembly guides will show the work truthfully, and the work itself will go better under honest light.
Related Guides
- Micro Photography Rigging for Fine Mechanism Bench Guides: A bench guide for a fine mechanism, a watch movement, a lock, a small engine, lives or dies on its photographs. The reader needs to see exactly which
- Focus Stacking Precision Rigs for Macro Mechanism Guides: Macro photography of small mechanisms, watch movements, lock internals, tiny gear trains, hits a hard wall called depth of field. At high
- Focus Stacking Setup for Macro Tool Walkthroughs: Macro photography of tools, showing the grind of a chisel edge or the teeth of a saw at life size and beyond, runs into a physics problem: at high
- Multi-Angle Workbench Macro Rigging for Fine Lathes: Photographing small lathe work at macro range is a battle against vibration, shadow, and depth of field, and the rig holding the camera matters as