
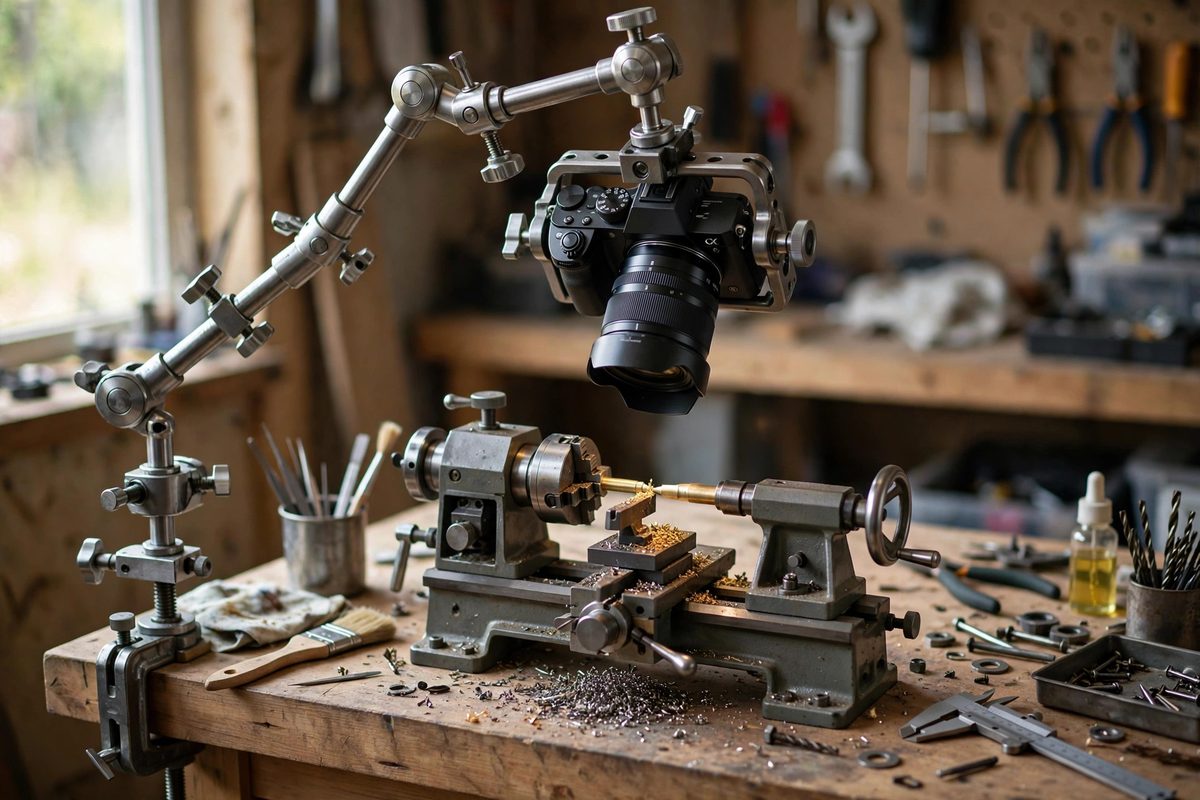
Photographing small lathe work at macro range is a battle against vibration, shadow, and depth of field, and the rig holding the camera matters as much as the camera itself. A multi-angle workbench rig lets you return to the same viewpoint, light from a controlled direction, and shoot the work instead of fighting the setup. The goal is simple: put the camera where you want it, keep it there, and move it again without starting over.
Choosing a Base That Does Not Transmit Vibration
Lathe workbenches hum. The lathe motor, the shop refrigerator, even footsteps cross the frame during a long exposure. A macro rig needs its own mass decoupled from the bench surface, and the simplest version is a heavy plate sitting on sorbothane pads or dense foam. The camera mount attaches to the plate, not to the bench, so bench vibration dies in the padding before it reaches the lens. Heavier is better here: a thick steel or stone offcut that you grunt to lift will hold steadier than any clever spring gadget. If the bench itself moves when you lean on it, consider floor-standing legs for the rig that bypass the bench entirely.
Arms That Hold Position Under Load
Articulated friction arms and ball-head clusters are the workhorses of macro rigging because they position a camera in seconds and lock down hard. The trick is buying, or building, arms rated well above your camera weight. A friction arm at ninety percent of its rated load drifts during the shoot. Keep the arm short, keep the load light, and the joint stays honest. For overhead shots, a copy-stand style vertical column with a sliding cross arm is sturdier than any gooseneck and returns to the same height every time. Mark common heights with tape on the column so setups repeat exactly.
Controlling Light Angles for Fine Detail
Fine lathe detail, tool marks, grain patterns on tiny turnings, lives or dies on raking light. Mount at least one light on the rig itself, positioned low and to the side, so grazing illumination is independent of the camera position. Overhead room lights wash out the texture you are trying to show. A small dimmable panel on its own short arm gives you control of the angle, and moving the light a few degrees reveals or hides tool marks on demand. Diffuse the source with a scrap of frosted plastic to kill hot spots while keeping directionality. Two lights let you separate the work from the background by lighting each from a different angle.
Repeating Angles for Process Documentation
A tutorial sequence falls apart when every photo comes from a slightly different angle. Build the rig with repeatability in mind: fixed stops for common camera positions, taped marks on the bench, even a wooden V-block the work sits in every time. For turning sequences, a small reference mark on the chuck face lets you return the work to the same rotational position between shots. Consistency across a ten photo process run is what separates documentation that teaches from a pile of pretty pictures that confuses.
Managing Depth of Field at Close Range
Macro distances turn millimeters of depth of field into your working envelope. The rig helps by letting you position the work plane parallel to the sensor, so the maximum of your subject sits inside the thin focus zone. A sliding stage under the work, even a crude threaded-rod version, lets you nudge focus by moving the subject instead of the lens. For critical detail shots, stop the lens down and accept longer exposures; the rigid rig and decoupled base make multi-second shots practical. Focus stacking from a stable rig turns impossible depth into a crisp composite, and the stack only works if nothing shifts between frames.
A macro rig is not a camera accessory, it is a second workbench dedicated to the eye instead of the hand. Build it heavy, light it from the side, and make every position repeatable, and your process photos will start explaining themselves.
Related Guides
- Micro Photography Rigging for Fine Mechanism Bench Guides: A bench guide for a fine mechanism, a watch movement, a lock, a small engine, lives or dies on its photographs. The reader needs to see exactly which
- Focus Stacking Setup for Macro Tool Walkthroughs: Macro photography of tools, showing the grind of a chisel edge or the teeth of a saw at life size and beyond, runs into a physics problem: at high
- Focus Stacking Precision Rigs for Macro Mechanism Guides: Macro photography of small mechanisms, watch movements, lock internals, tiny gear trains, hits a hard wall called depth of field. At high
- Diffused High-CRI Overhead Lighting for Assembly Guides: Assembly guide photos and videos are only as good as the light they are shot in. Harsh overhead shop lights create blown highlights, black shadows